
Race Gybe
Technique / Wing Foil
It’s definitely time to have a look at the Race Gybe. We’ve had a few questions concerning the difference between this power dumping speedster and the good old duck gybe. Funnily enough, unbeknown to many wingers, their duck gybe may well in fact be a race gybe as they can look extremely similar when done smoothly. At the end of the day, it’s all about what you do with your hands. Either way the Race Gybe, as well as being a new challenge, is yet another enjoyable, stylish and practical alternative to your standard gybe.
The beauty with this bad boy is that it works equally well in light winds and also when you’re well powered. In light winds, much like the duck gybe, the race gybe’s wing position means that you won’t get backwinded by your induced wind as you carve through downwind. In strong winds, the wing position allows you to dump power and aides in keeping your weight centred over your foil, preventing breaching. Truly irresistible! More good news, if you find the duck gybe, or more specifically, the idea of letting go with your front hand whilst carving into a gybe somewhat intimidating. Here in the Race gybe, you can keep both hands firmly on the handles much longer.

The prerequisite for trying this. You should already be gybing comfortably and balanced heel to toe on the foil, meaning you can carve and ride toe side. Right, let’s dive into the how, with a little recap on some gybing pointers as we go.
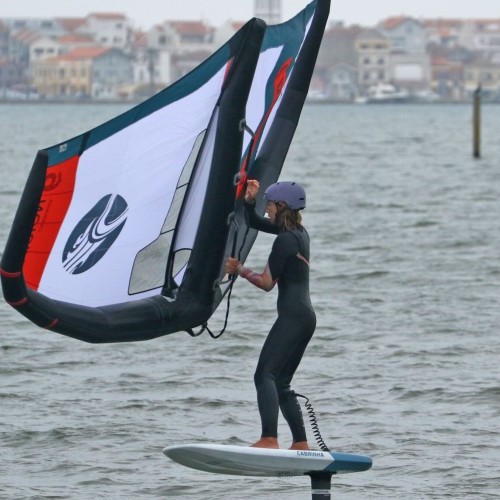
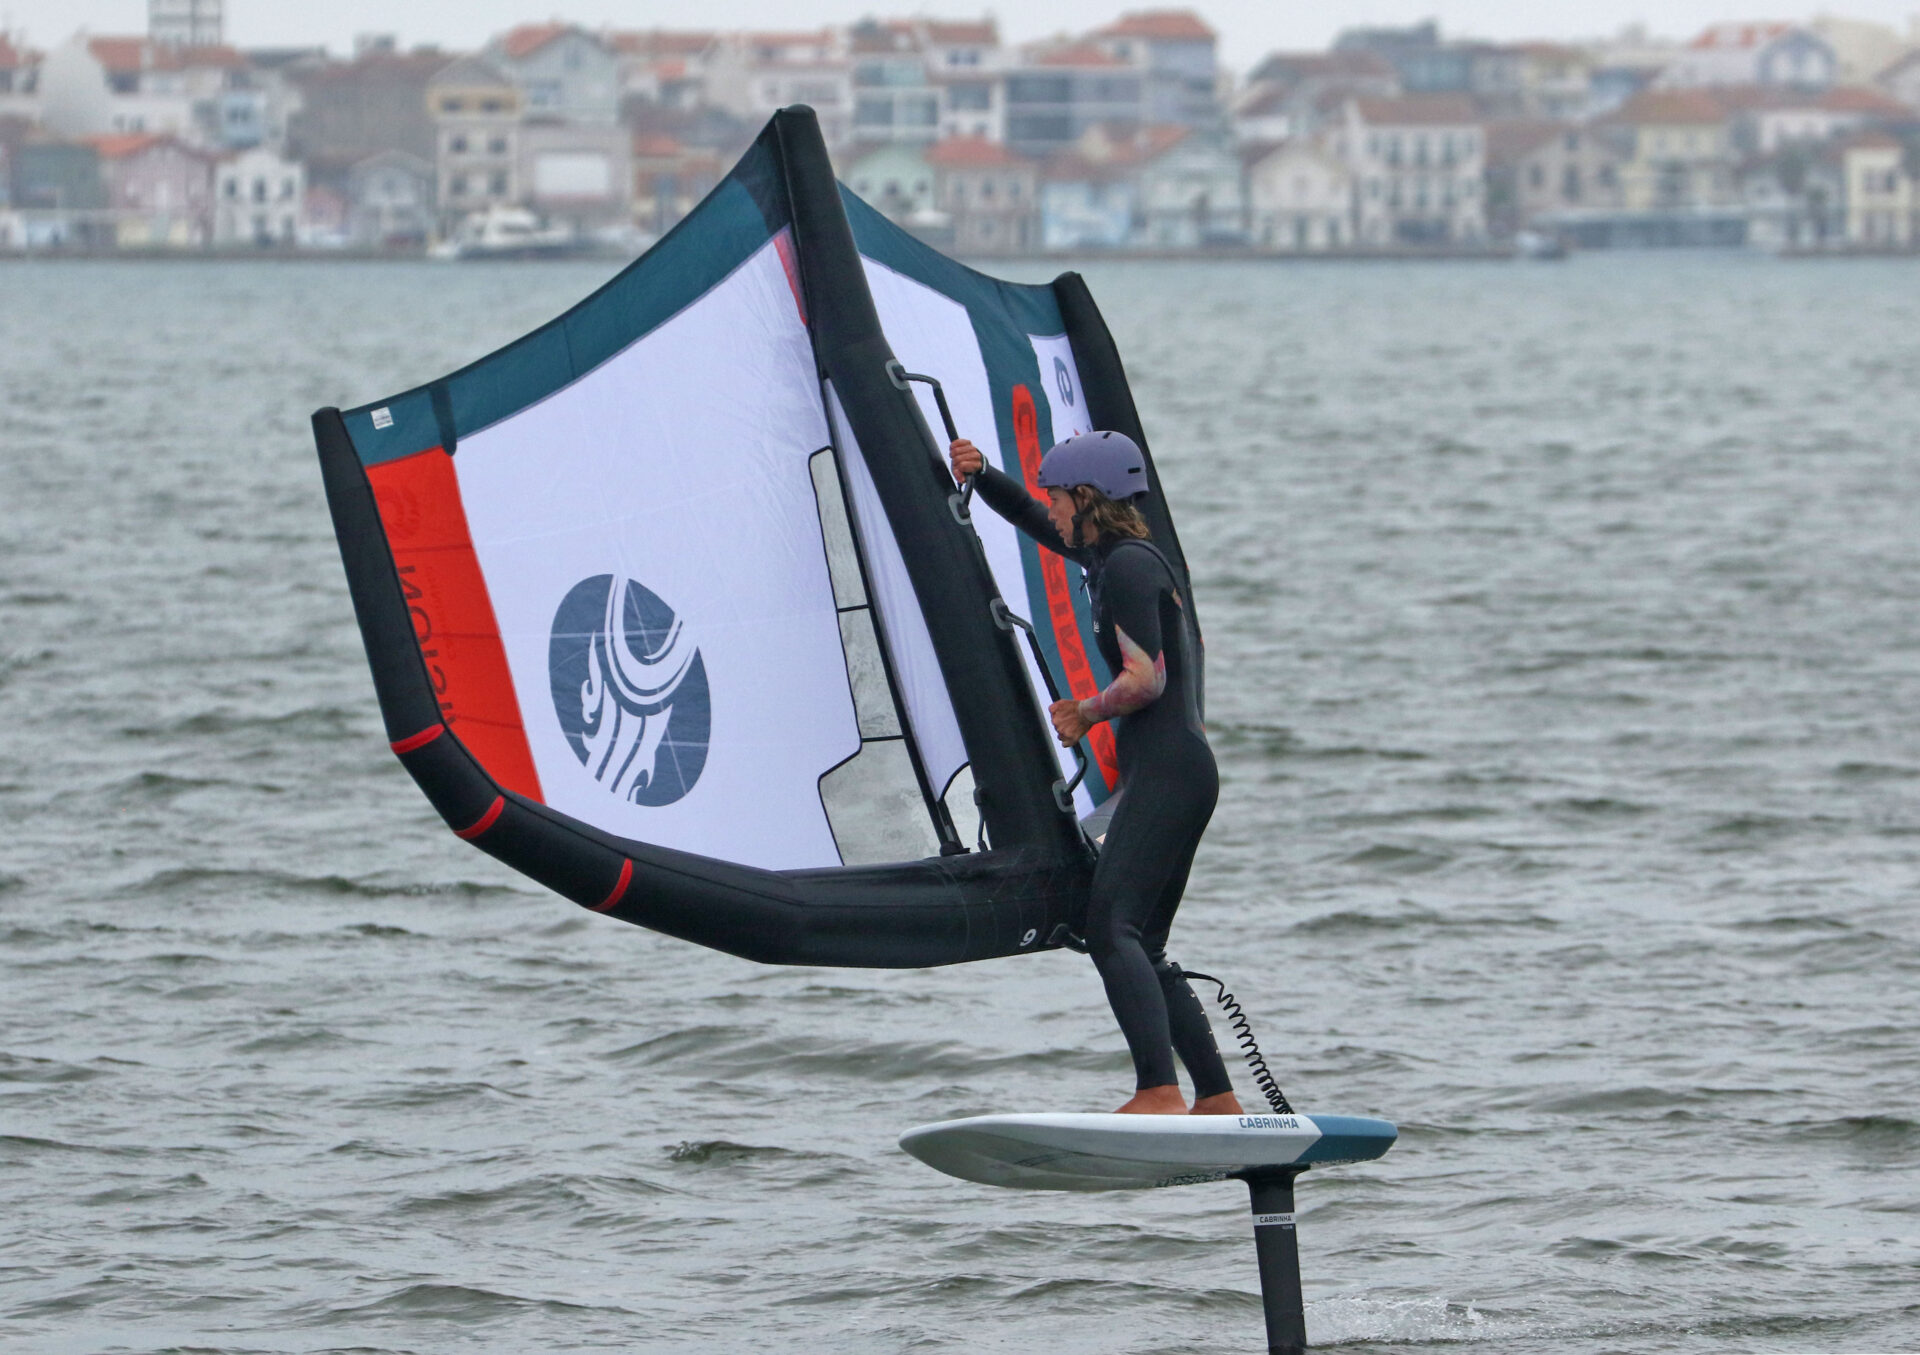
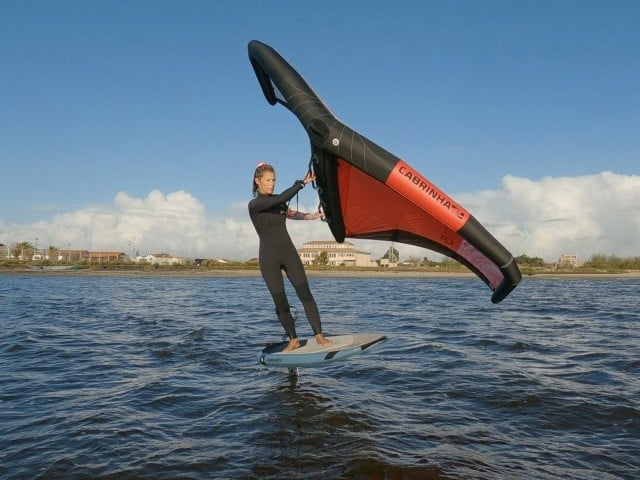
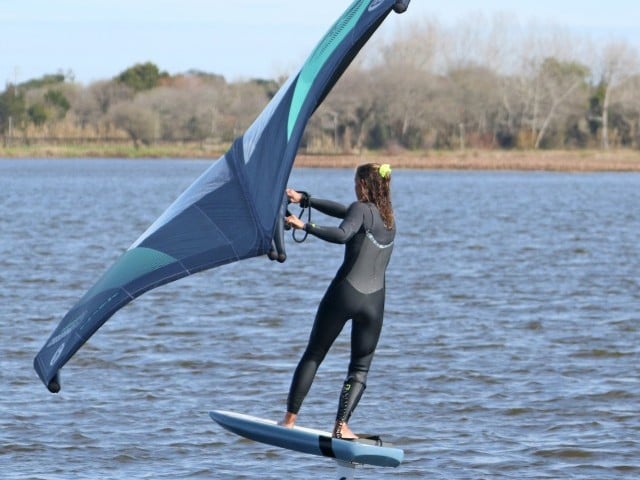
Approach & Set UP Pic A.
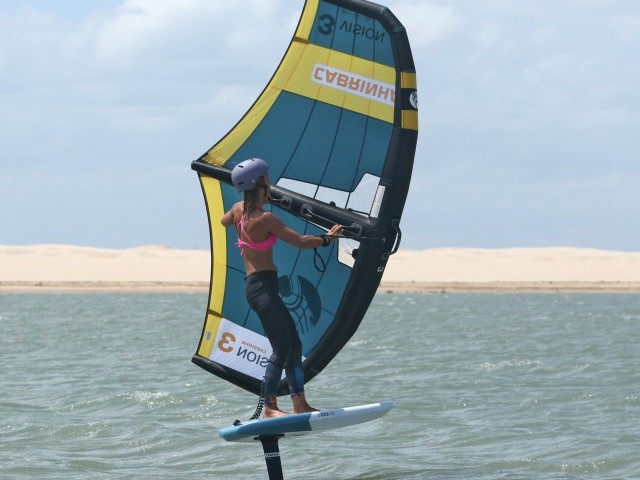
For learning purposes we’re going to go for the same approach as we use for the regular gybe. Your aim is to get over the board and into your gybing stance, position your wing low and pointing forward and check for space. Start off sailing slightly upwind and have a good check around to make sure that the coast is clear, and you have room to gybe! Pointing slightly upwind helps you get your bearings, and it can make it easier to get your wing down and pointing forward. Make sure you’re standing on the board, not supporting yourself too much on the wing. Finally check your feet. If you usually move your back foot a tad further across and a touch forward to help with carving, do the same here, and it helps with carving to point your back foot slightly forward. Here Karine is heading upwind, over the board, she’s checked her feet, her wing is down and pointing forward and she’s had a good look.
Bear Away Pic B.
You should be well versed in the art of bearing away by now. Bearing away helps you get over the board and therefore makes it easier to carve. Bearing away also makes you go faster, moving the apparent wind so that your wing behaves better whilst also giving you more momentum and glide to get around your gybe. You can see that Karine has pushed her wing forward and has sheeted in to push the nose of her board away from the wind. As your bear away keep your wing down.
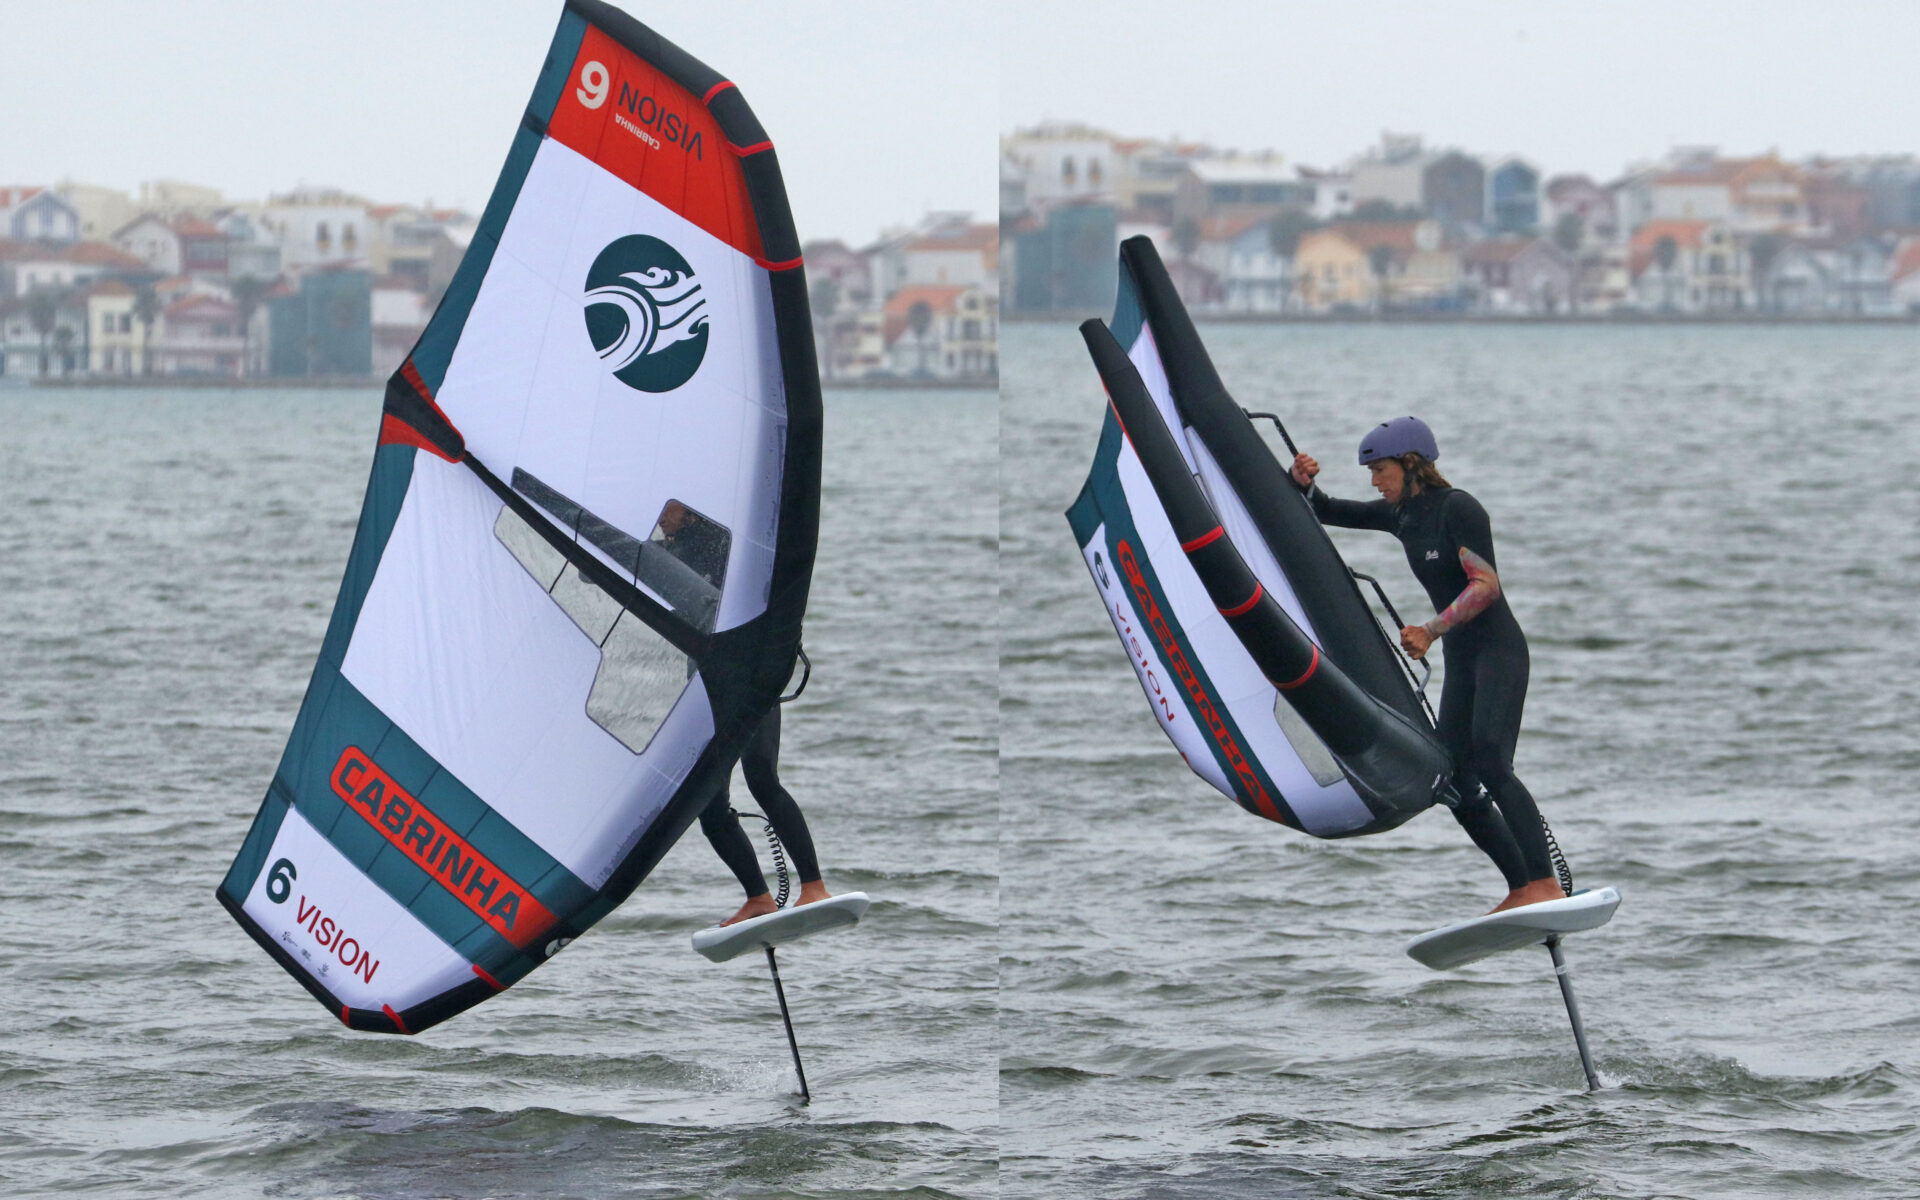
Carve Pic C.
Now that you’re balanced you can flex your ankles, lean gently onto the balls of your feet and drive your knees across to start your carve. From this moment on, it’s the same motto as any gybe, “keep carving”! You aim is to keep the board turning whilst you do the rest until you’re comfy and happy flying out on your toes! As you initiate your carve, keep the wing sheeted in with your rear arm and push down on your front hand to keep the wing low. Karine’s ankles are flexing, her knees are driving across and as a result her board and foil bank over and start to carve. Her wing is low, pointing forward and sheeted in.
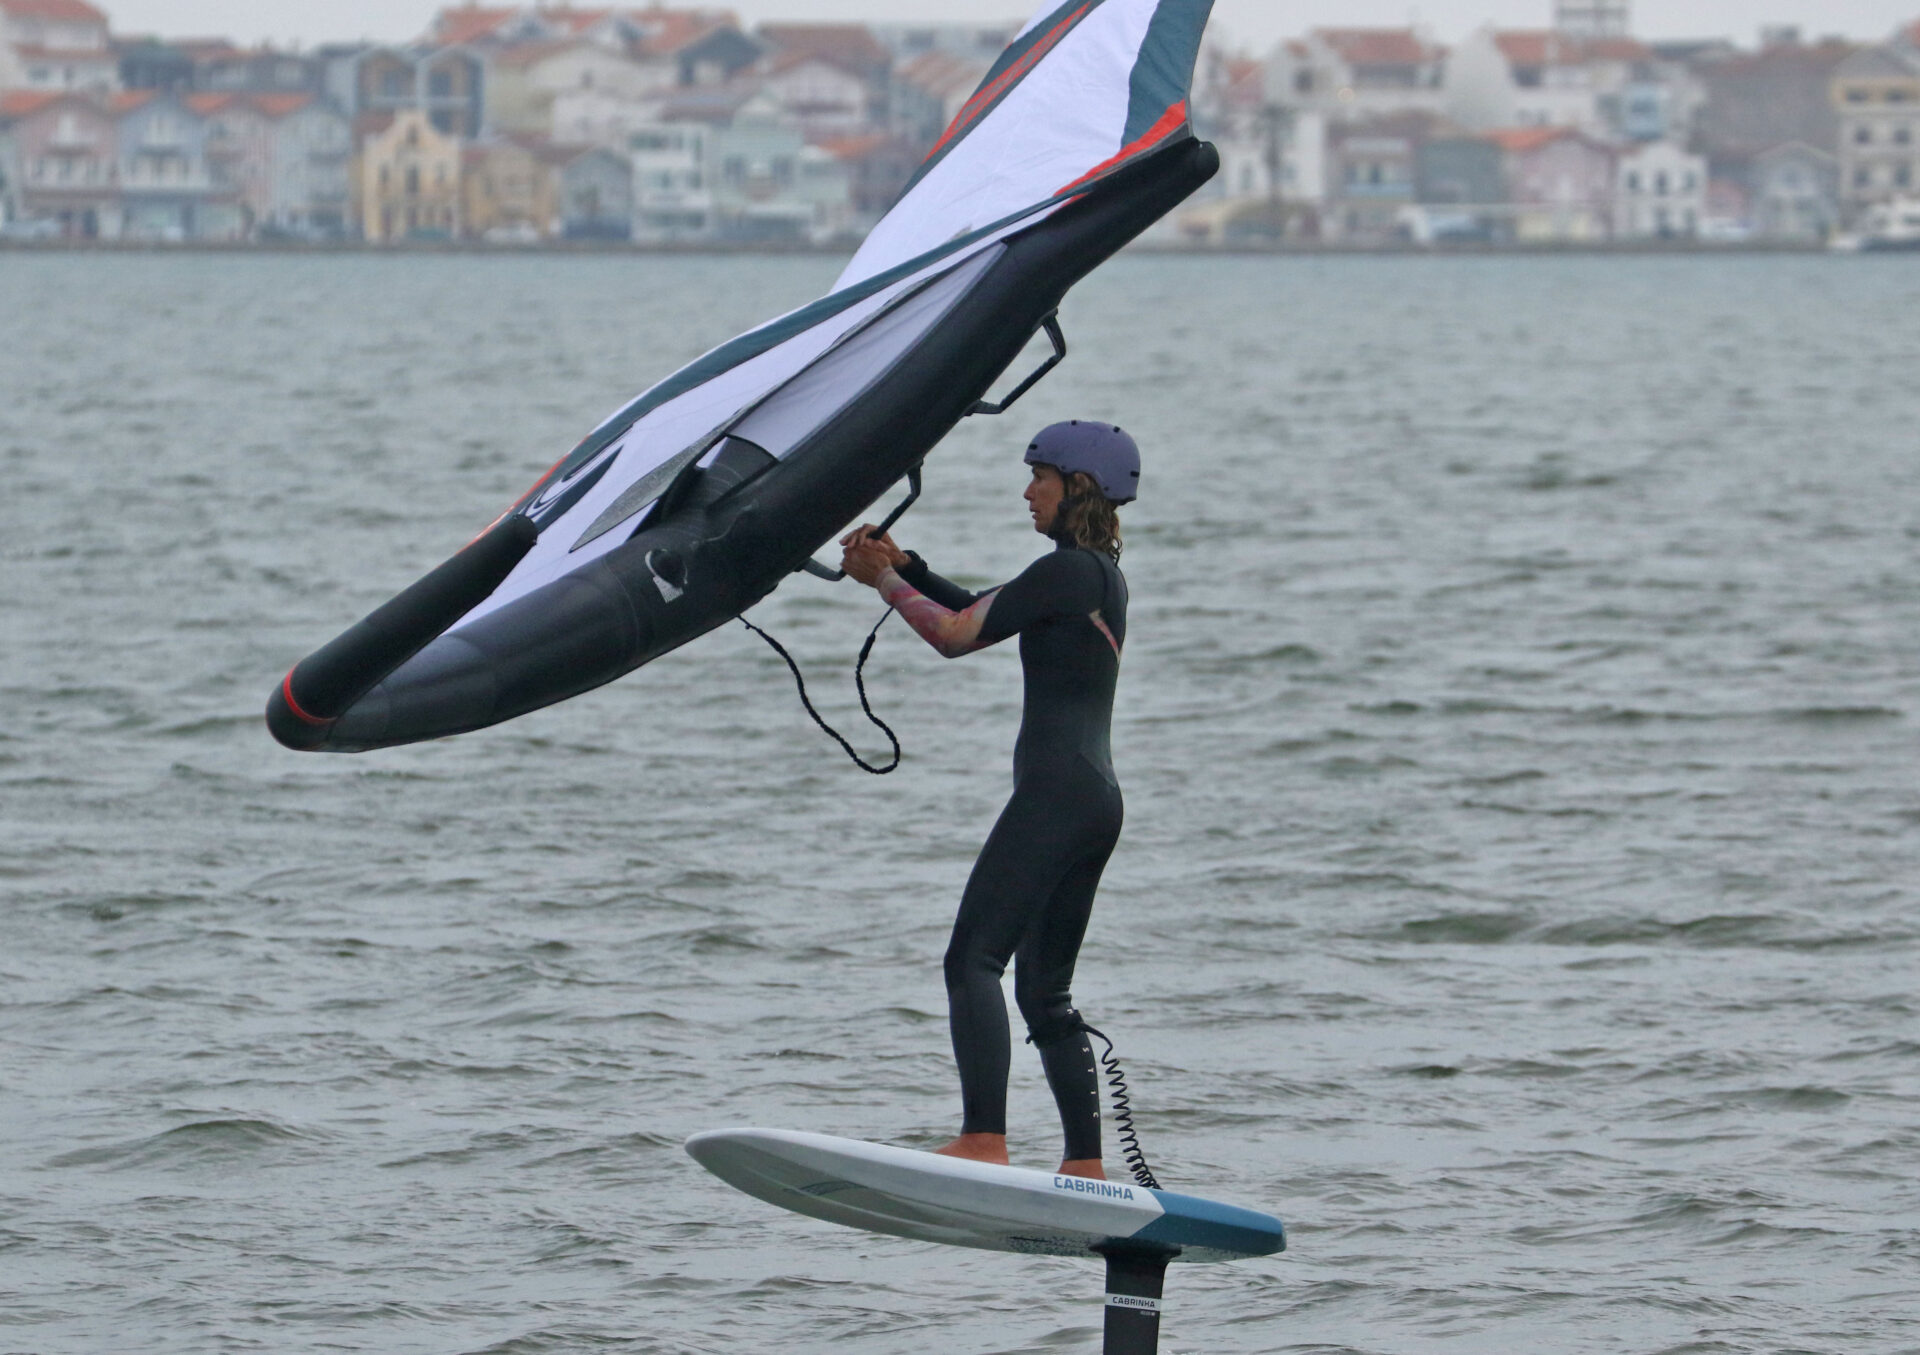
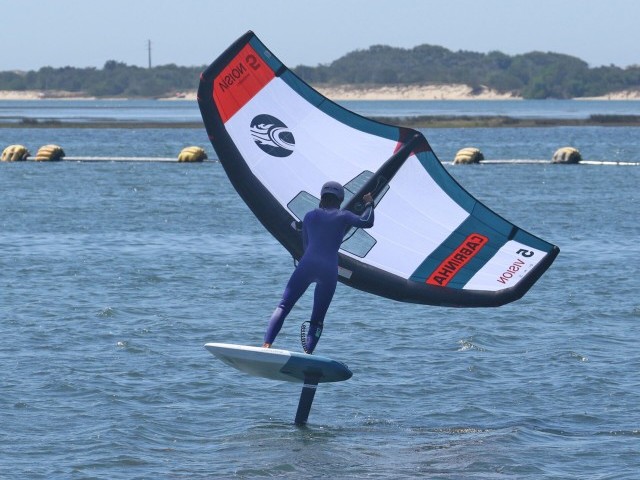
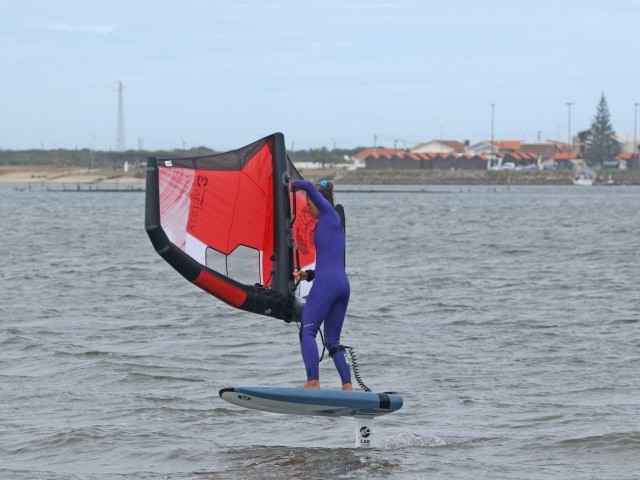
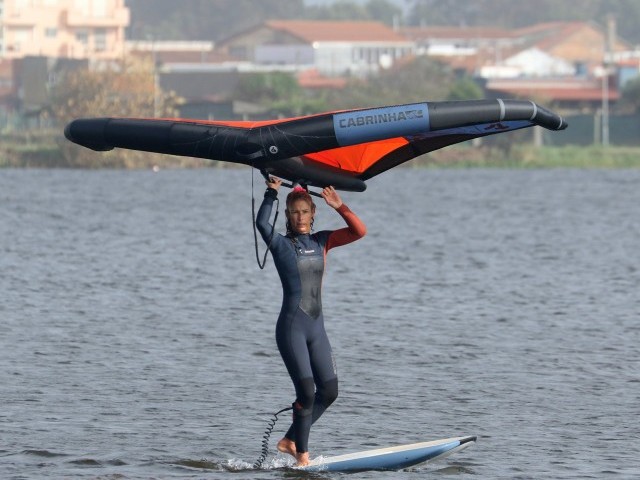
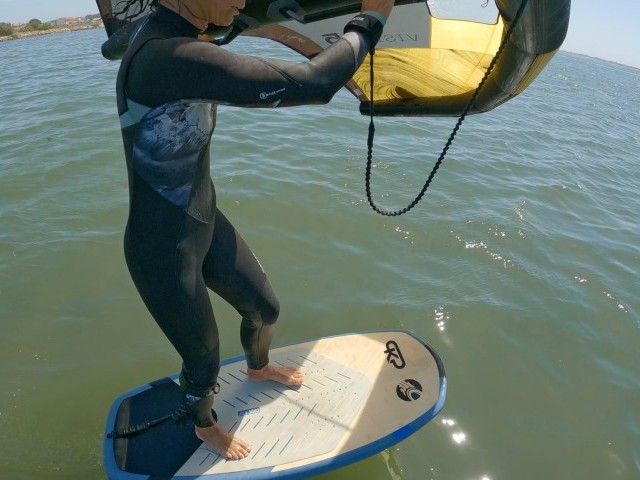
Wing Down Pic D.
Whether you’re used to gybing or duck gybing, this is where things get very different. You’re aiming to get your wing pointing straight down at the water whilst keeping both hands firmly on their handles or boom. To get the wing into this position start by pushing your front hand down. As the wing drops, any wind left in it will help push it down. At the same time push your rear hand up and forward to keep the wing tip out of the drink. If you’re powered you can sheet the back arm out as you do this. Aim to keep the leading edge close to your board. As long as you are carving, and therefore turning further away from the wind you’ll be delighted to find that the wing drops and depowers. You can see that Karine pushes her front hand down and lifts her rear hand. Once her wing is pointing down, Karine holds her front hand in, to keep the leading edge close whilst her rear hand has pushed up and out, so that her wing is almost leaning away from her. Brilliant!
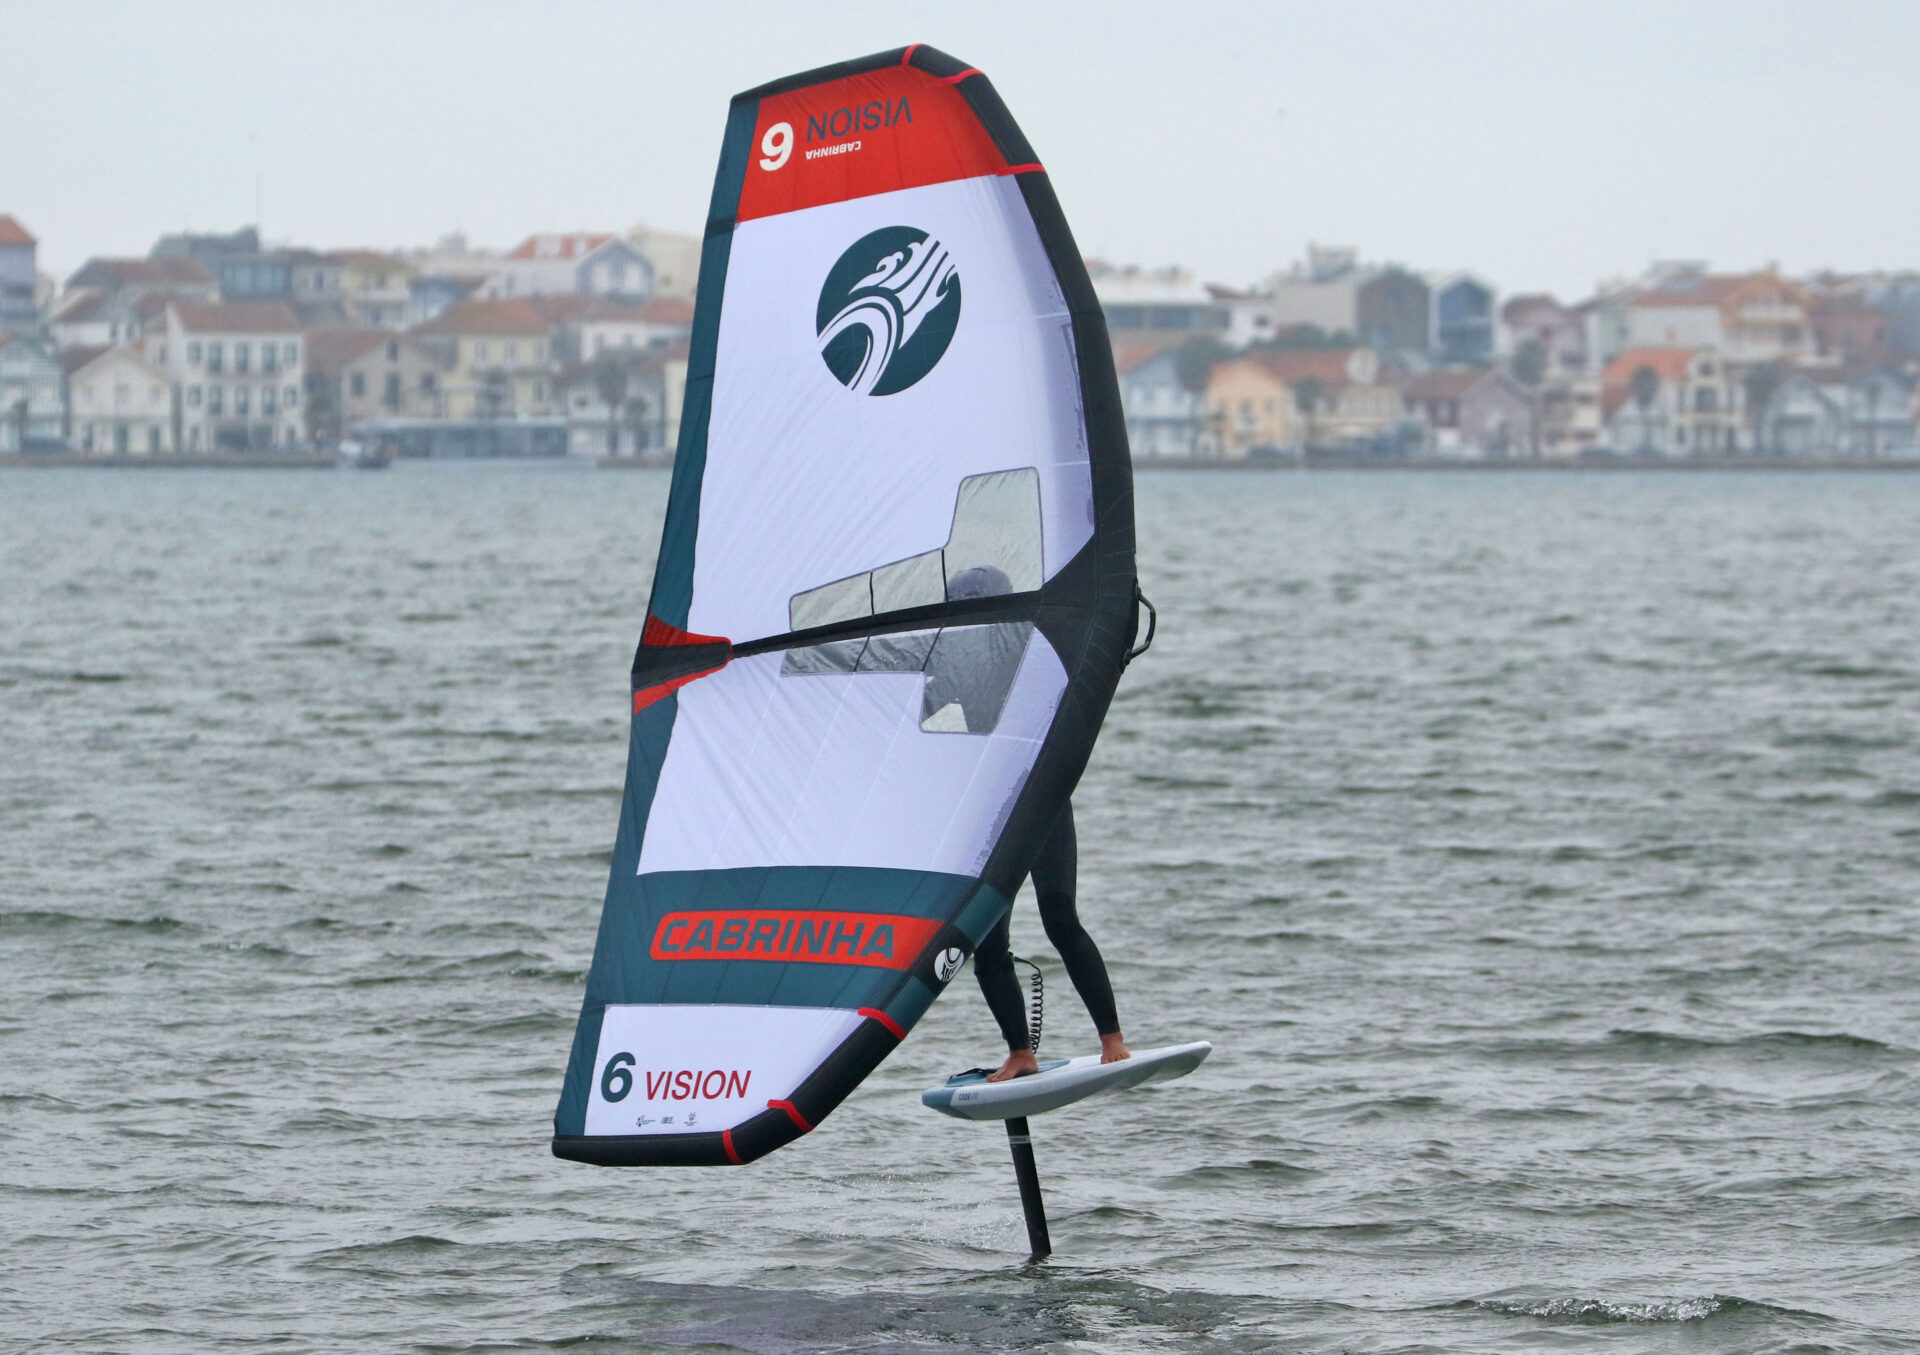
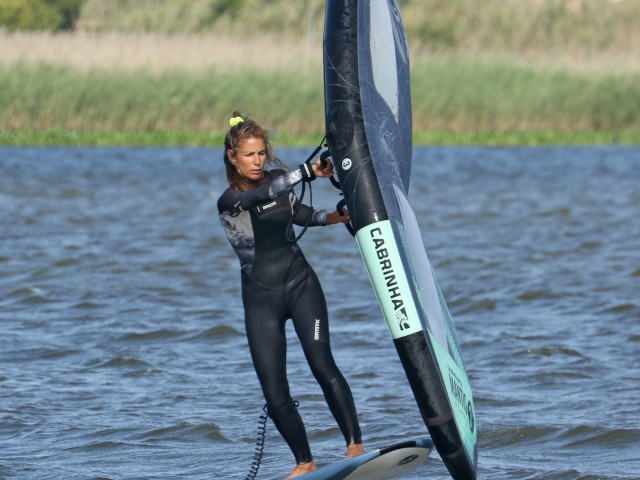
Patience Pic E.
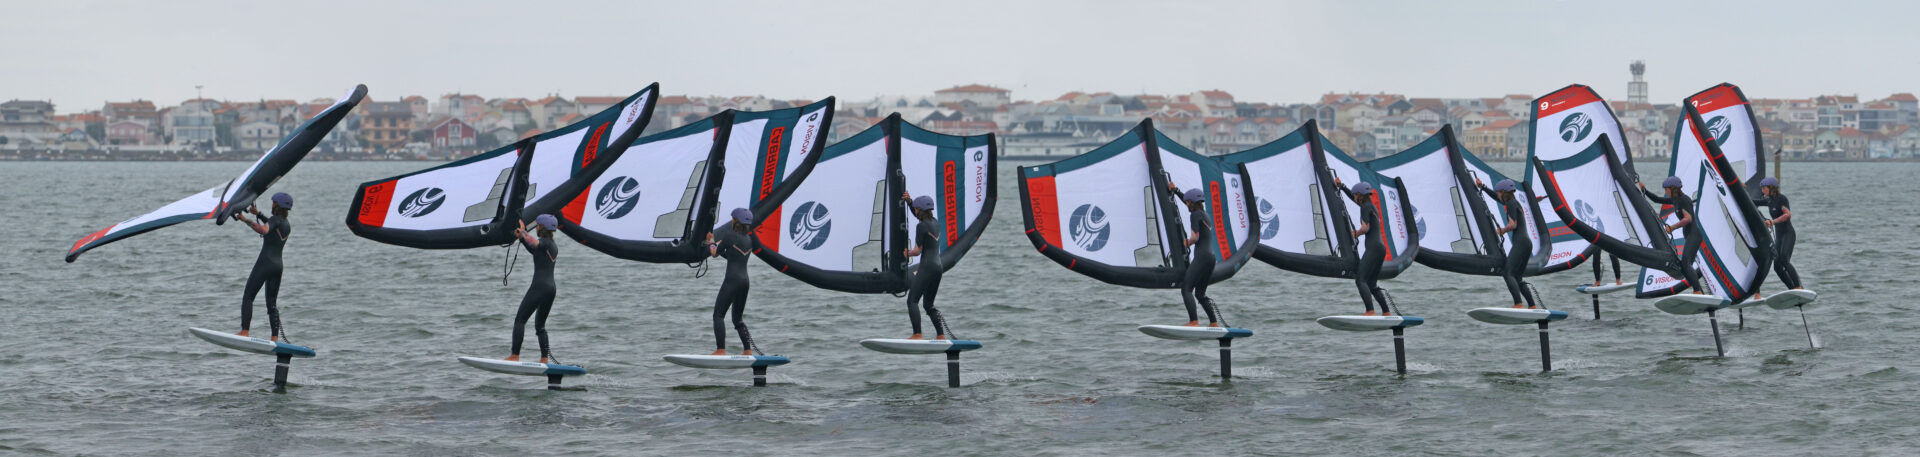
Timing is everything, and with the Race Gybe it’s all about waiting. There’s no rush as you will be using the wind to help lift the wing. This means that you need to carve through downwind and slightly further than you’d think sensible. It’s back to your keep carving motto. It’s worth reminding yourself that during a gybe you won’t know exactly where you are in relation to the wind. Remember the downwind zone from our first gybing video. It’s the same here. What you will notice is that the wing will go light with no wind in it once it’s down and the perpendicular to the wind. This gives you an inkling that you’re in that zone. In this photo Karine has passed through downwind, she’s held the wing in the same position and focuses on carving, making sure that her board and foil stay banked, and she keeps turning. The sequence at the end of this article really demonstrates how many frames Karine has the wing down for!
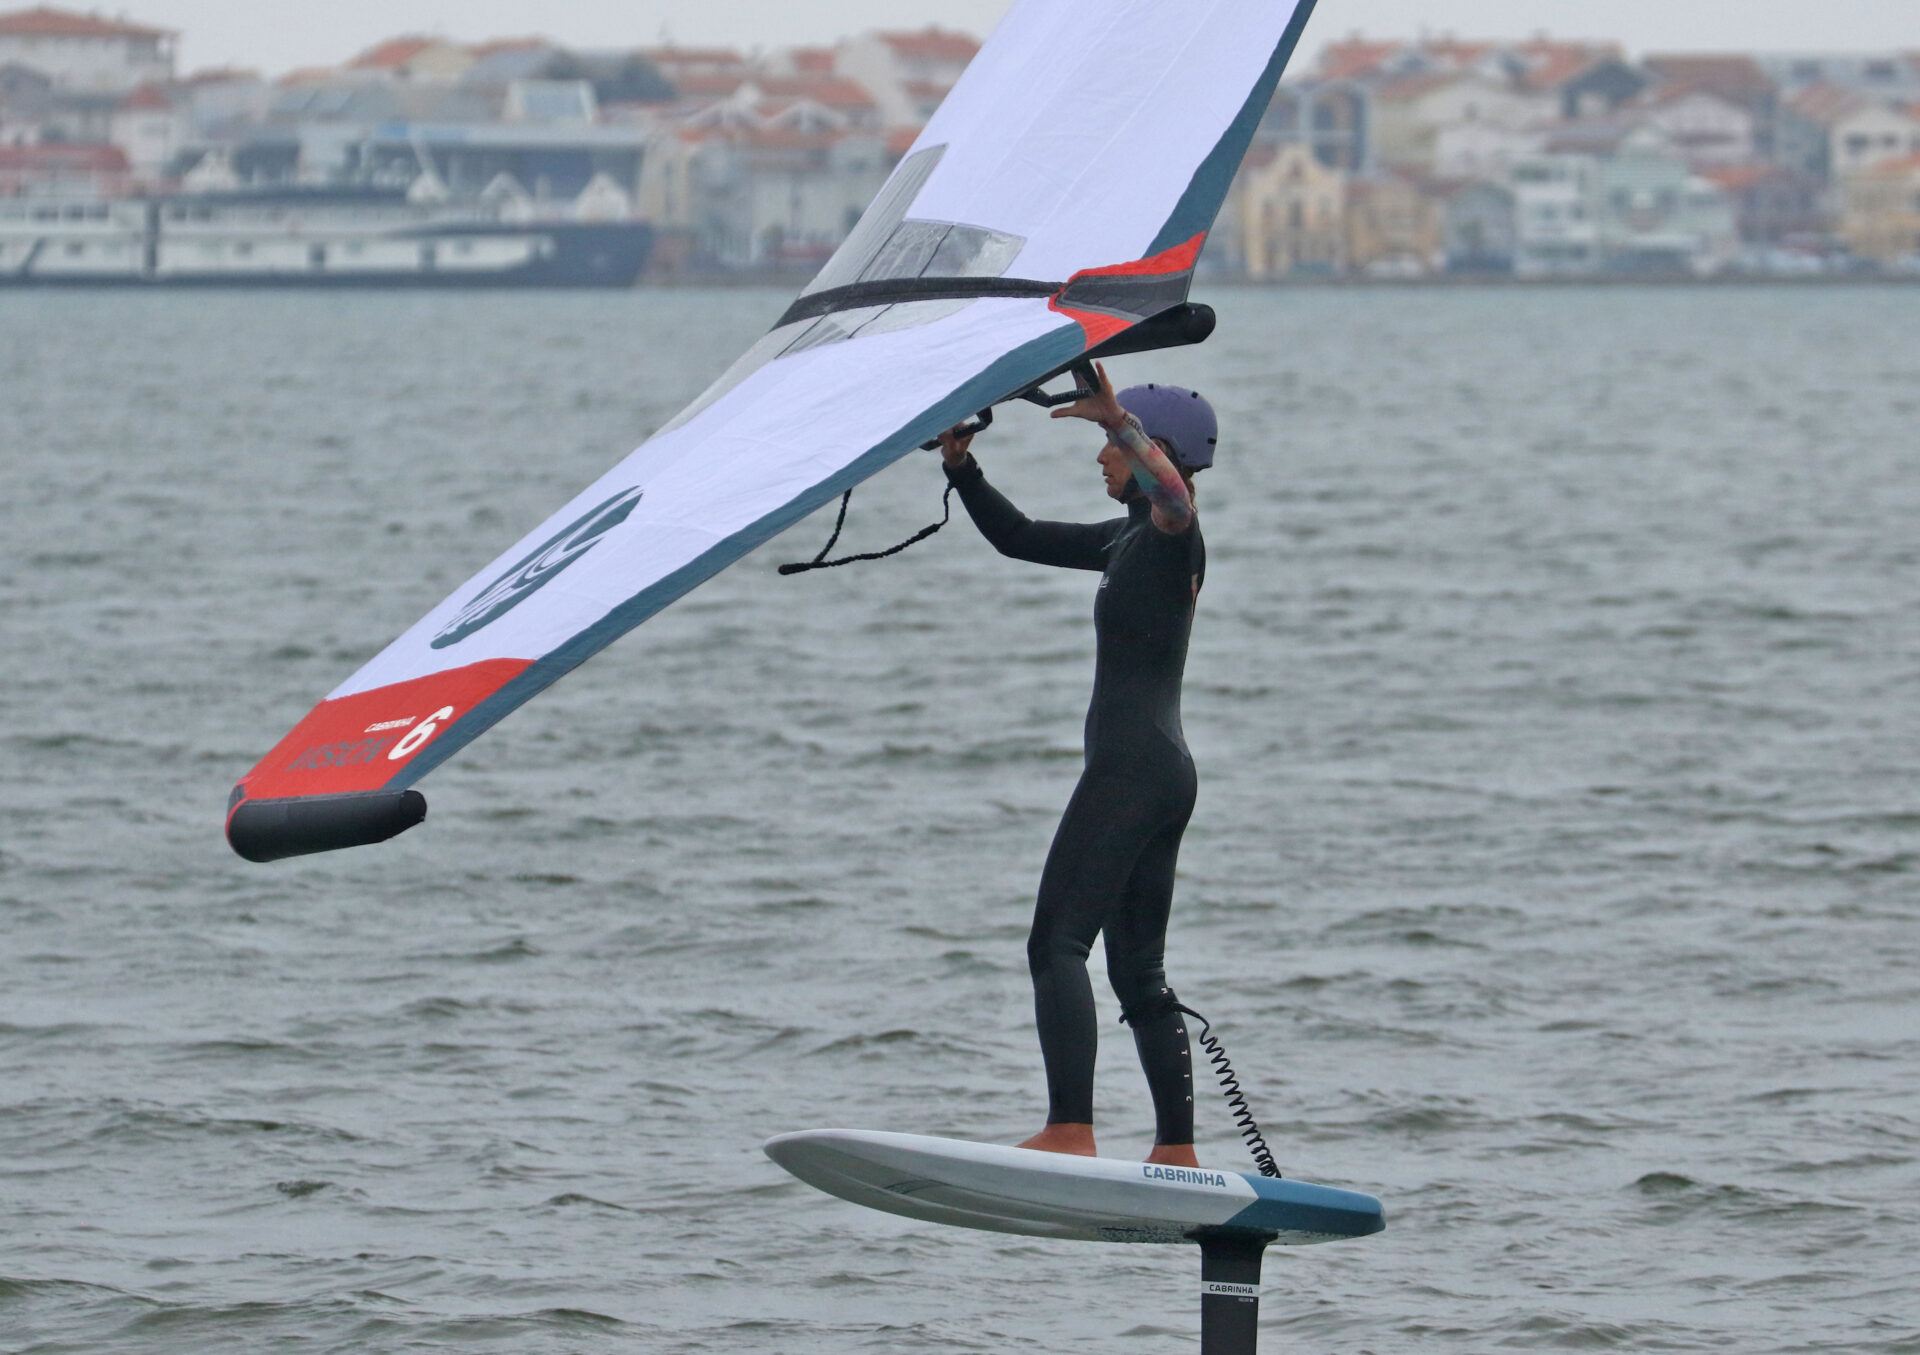
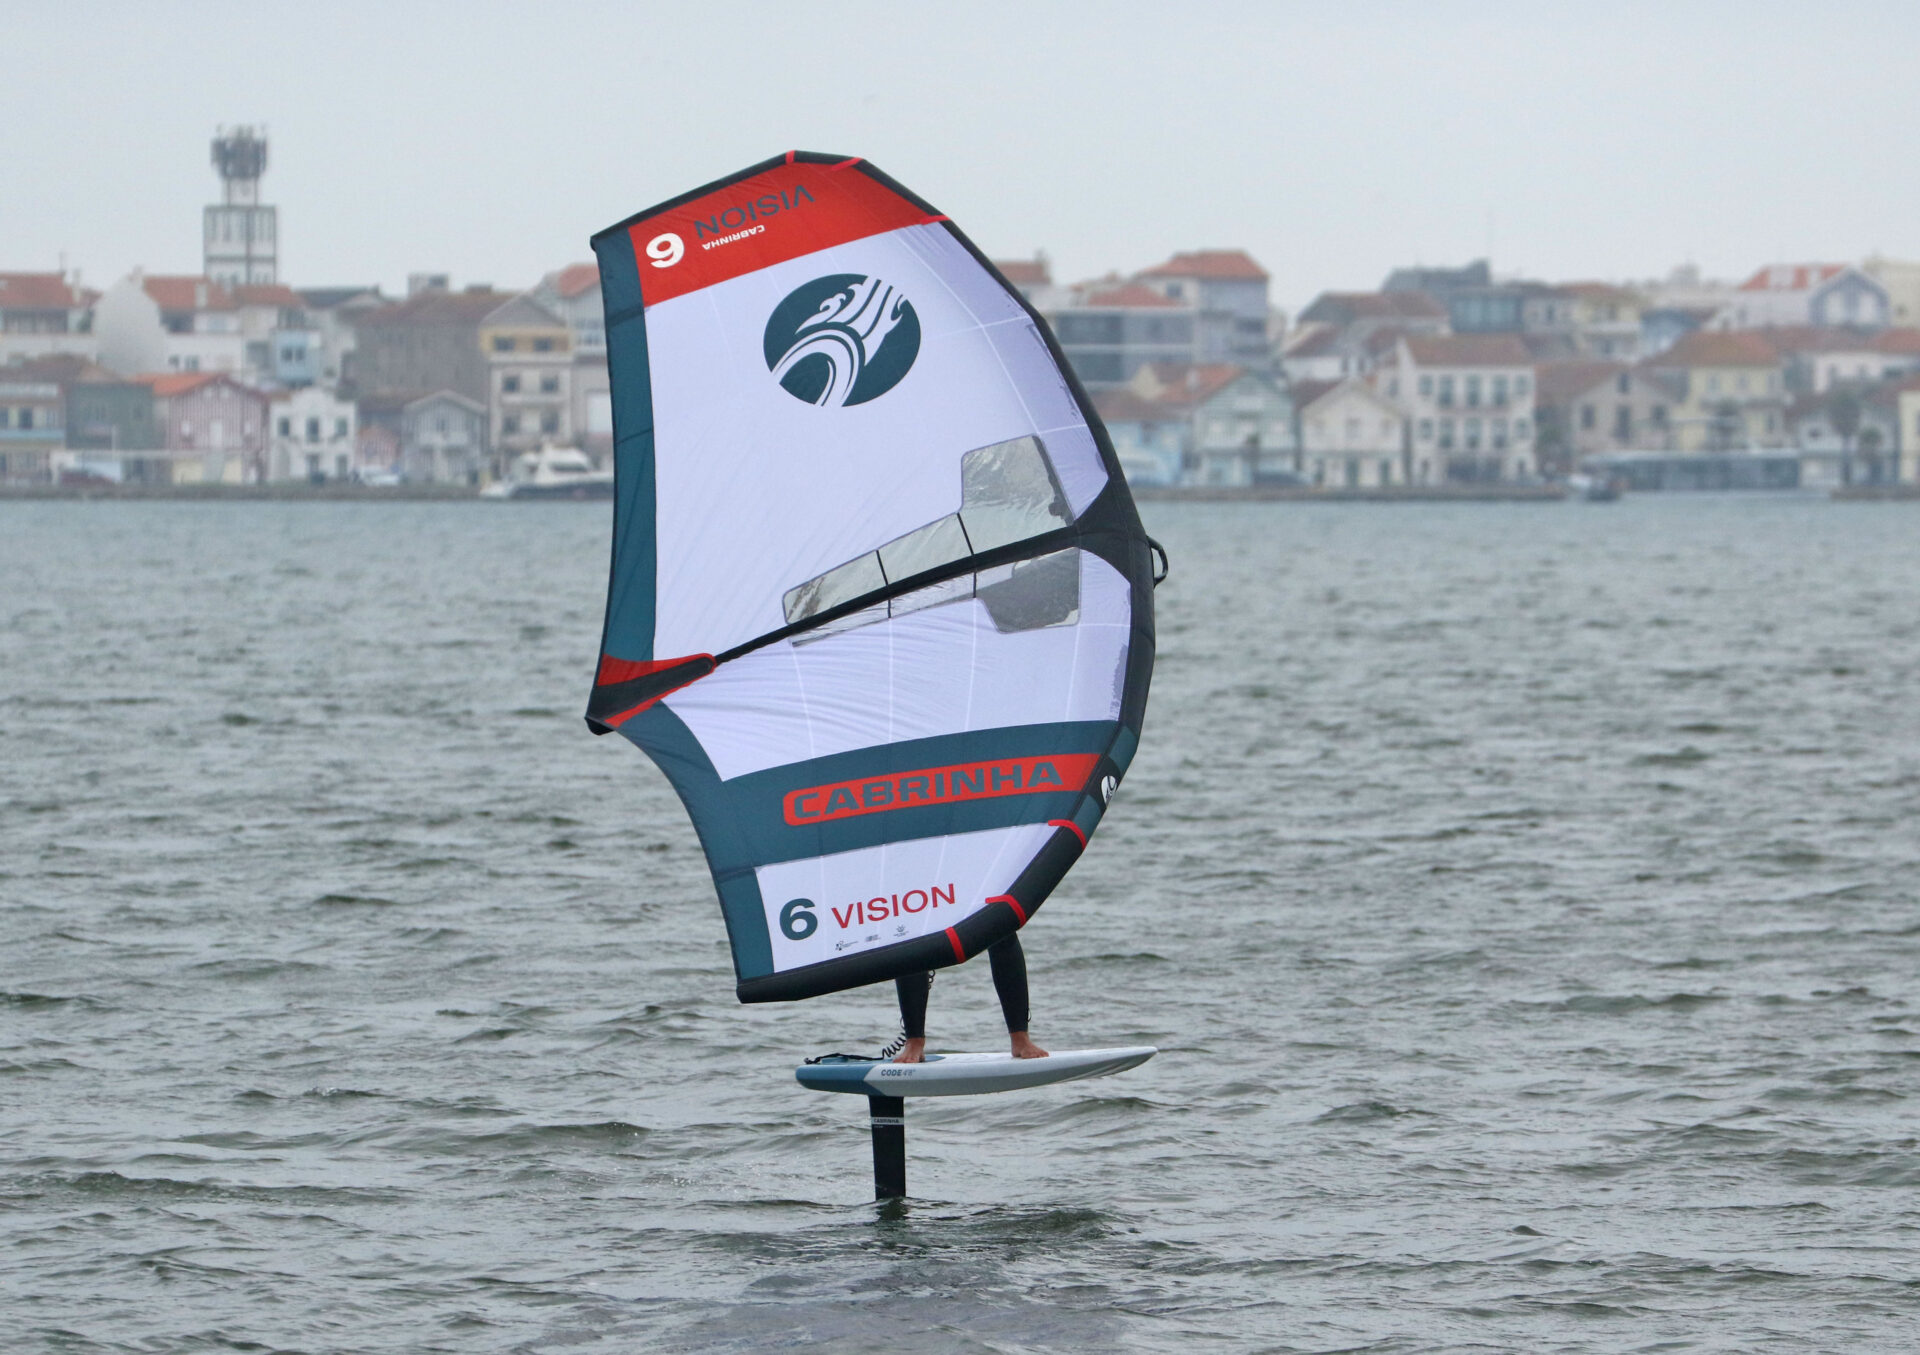
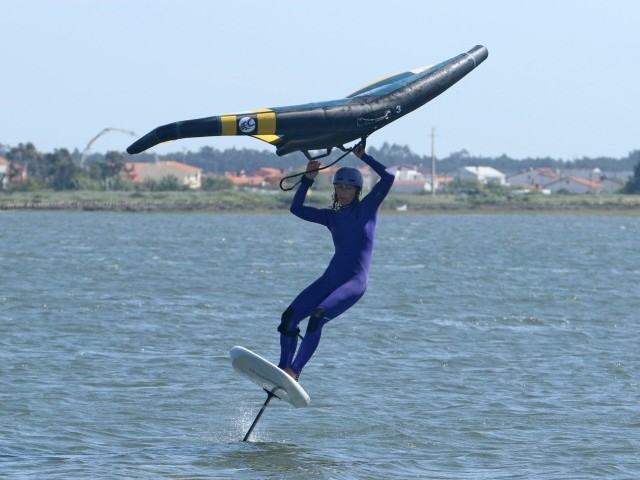
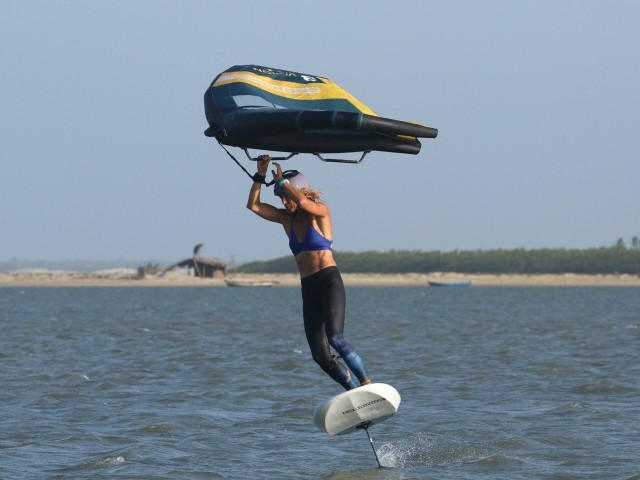
Wing Lift Pic F.
Should I stay or should I go now? Whilst learning the Race Gybe it’s better to go early rather than late. If you go too early your wing won’t be supported by the wind as you lift it, so the trailing edge will drop, and your wing will point up. Not a great look but hardly catastrophic. If you go too late and wait too long, you’ll get back winded and knocked off your board. We’re sure you’ll agree, the first option is preferable. The good news is that as you get more comfortable you can progressively go a tad later until you get the floatiest of lifts.
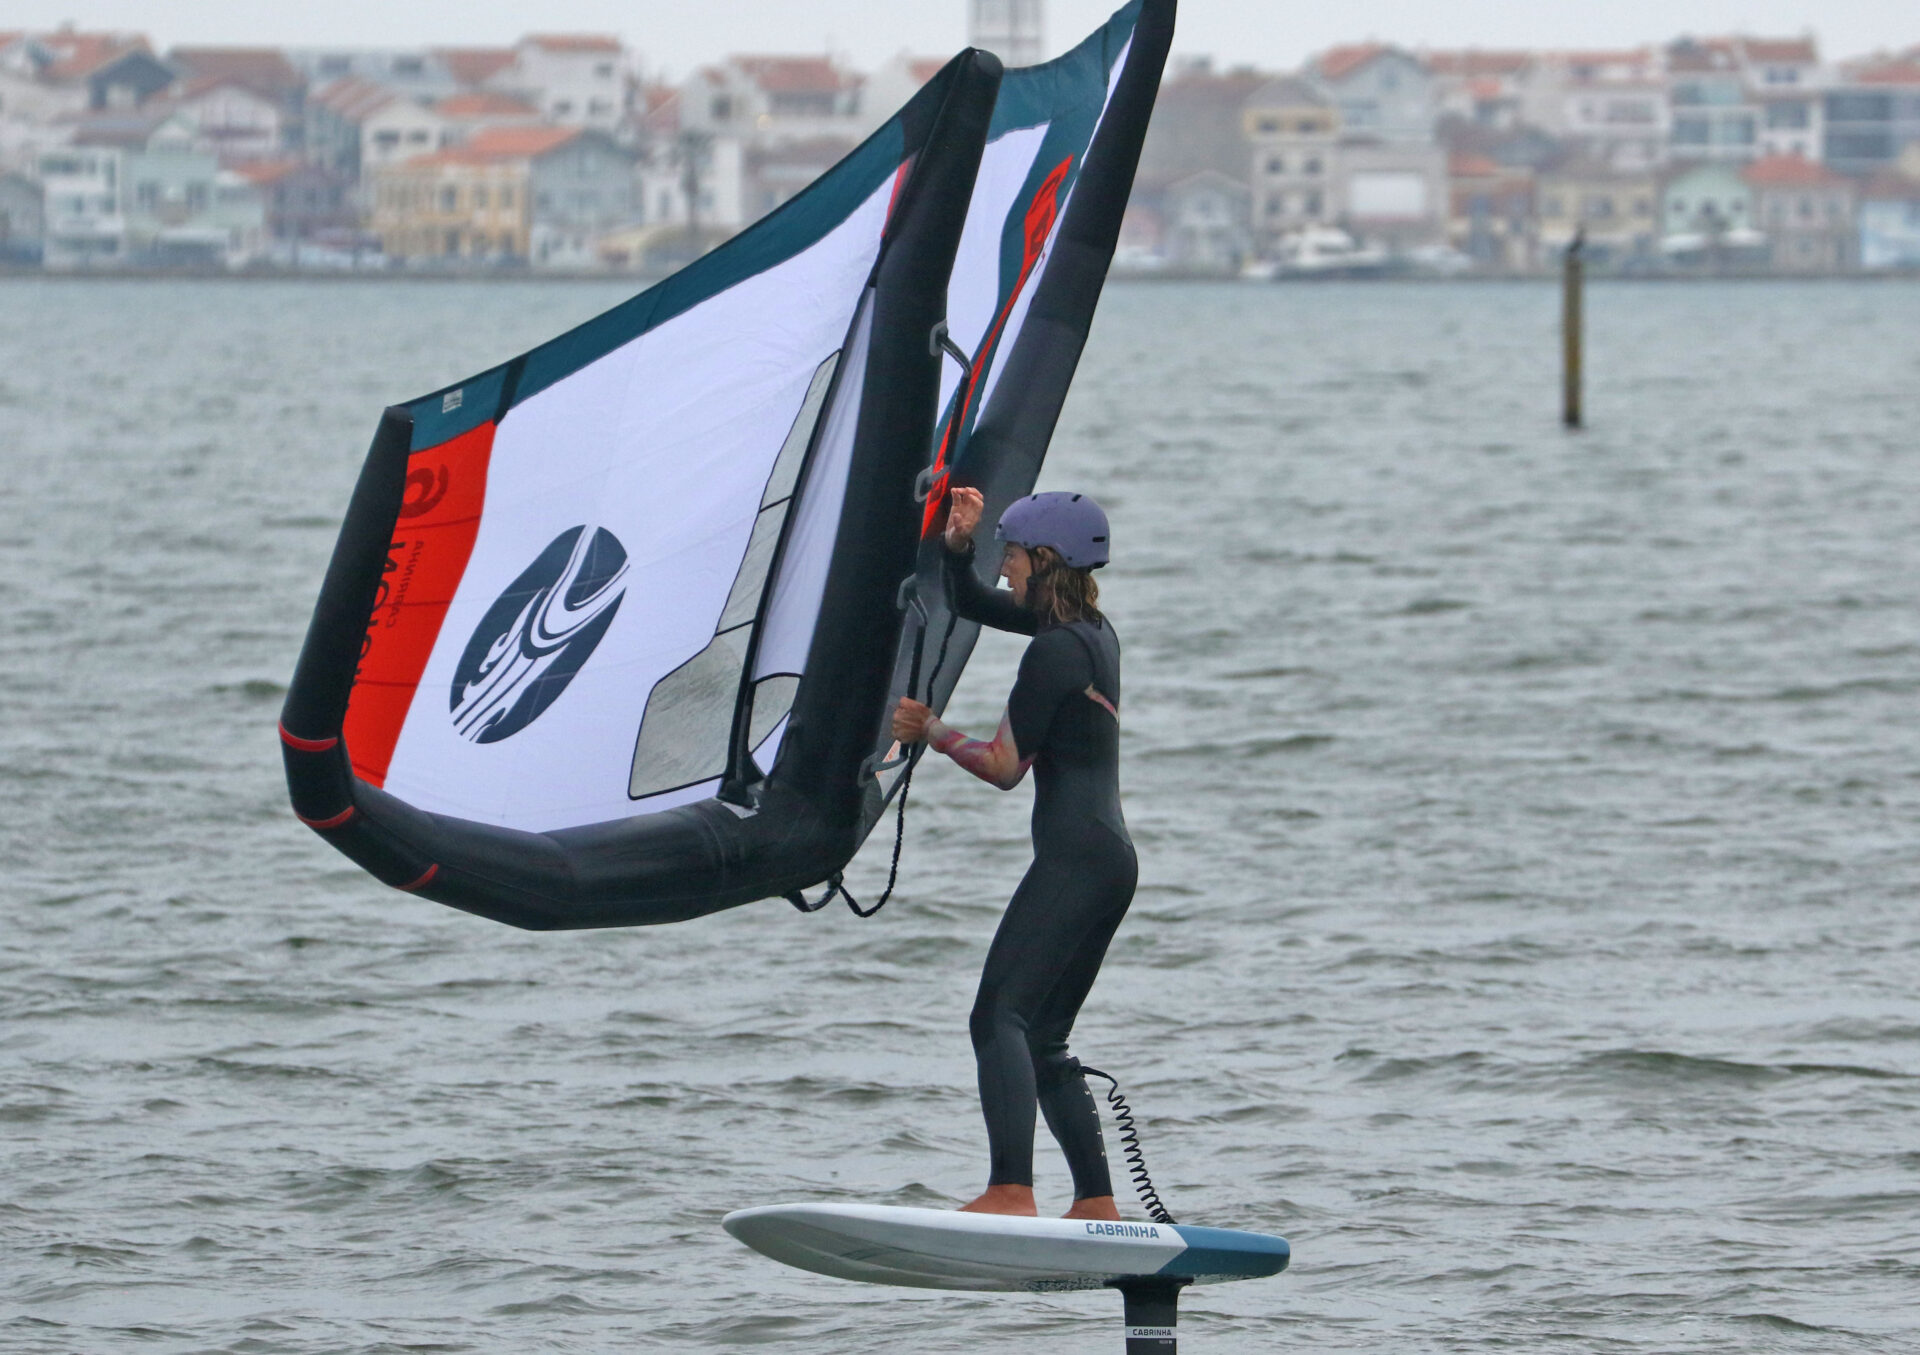
The action. Your aim is to lift the leading edge so that the wind gets under your wing. You can start to lift the wing whilst you still have two hands holding it. Lift your front hand, pushing the leading up. If it feels right for you, you can also pull the back handle over your head to help the wing on its way. Note, Karine is still carving!
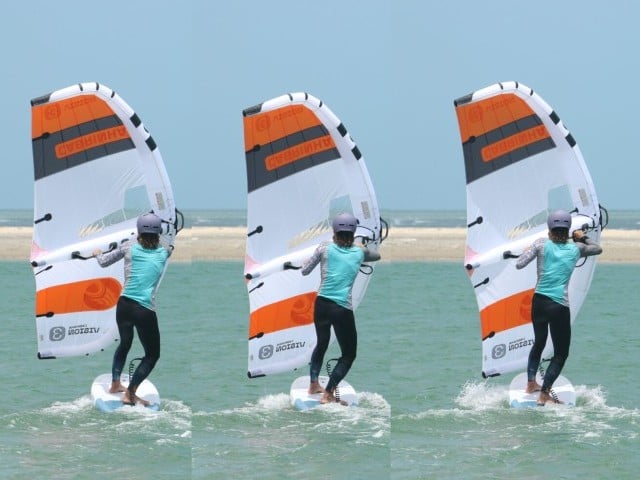
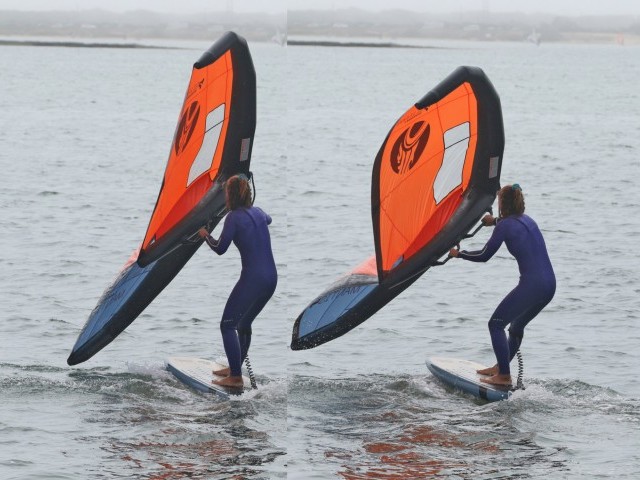
Hand Swap Pic G.
In the Race Gybe you release your back hand first! Duck Gybers take note. As you push the leading edge up with your front hand, release your rear hand and reach it forward to grab the front handle, or front of the boom. You can clearly see that Karine has released her back hand and has moved it forward, grabbing the front handle just behind her other hand. Karine continues to lift her wing although it’s not got wind underneath it yet. As soon as you have a good grip you can release what was your front hand.
Power On Pic H.
It’s not over yet, you still need to get your front hand up and rear hand on the rear handle, carve the board around to at least across the wind, point the wing forward and get the power back on. With the leading edge up, your wing will be supported, allowing you to carve around until the rear handle is within reach. Resist the temptation to look back and stretch for the rear handle as this can shift your weight back and stall your foil. You’ve done the hard work, so keep flying and claim it. Karine continues to carve and she’s pointing her wing forward. This allows her to grab the rear handle without reach back for it, so her board and foil stay trimmed, and she flies out.

Top Tips
We’ve touched upon the timing and how as you progress you can inch later and later. However, the timing will also depend on how much power you have in relation to your speed. Without wanting to open a tin of worms, it’s all about apparent wind. The faster you go, the more favourable your apparent wind will be for a delayed lift. If you’re powered but slow, as a result of not bearing away, you’re likely to get back winded much earlier. Bear this in mind.
For those of you who already duck gybe you’ll need to concentrate on keeping both hands on the handles as you push the wing down into position. No letting go. Then remember, you’ll release your rear hand, so that you have two hands on the front handle!
Finally, as you get to grips with this gybe you can lay into it, going faster, carving harder and spilling wind. Any ex-windsurfers amongst you will love a good lay down gybe:)
Have a look at the Sequence to see the full step by step guide. You can see how many frames Karine is holding the wing in the straight down position, patiently waiting for the moment to lift!
Keep your eyes for the upcoming video on the TONICMAG YouTube channel soon!!!
This technique article was in Issue 27 of Tonic Mag.
Related
By Christian and Karine
