

Riding Toe Side
Technique / Wing Foil

Riding Toe side is a key skill that will unlock a whole world of moves and possibilities. A good solid toe side will help you stay up on the foil, will improve your gybes, is essential for tacks and will come in handy for an absolute plethora of tricks. It’s a foundation, an essential part of your armoury.
Whether you can already change your feet or not, the first and most obvious toe side moment comes after a heel to toe gybe. You’ve nailed the gybe, you’re round, on your foil and ready to pop the champagne, only to realise that you’re precariously balancing on a knife edge, struggling for power and just can’t get the board to turn upwind. The cigar will have to wait.
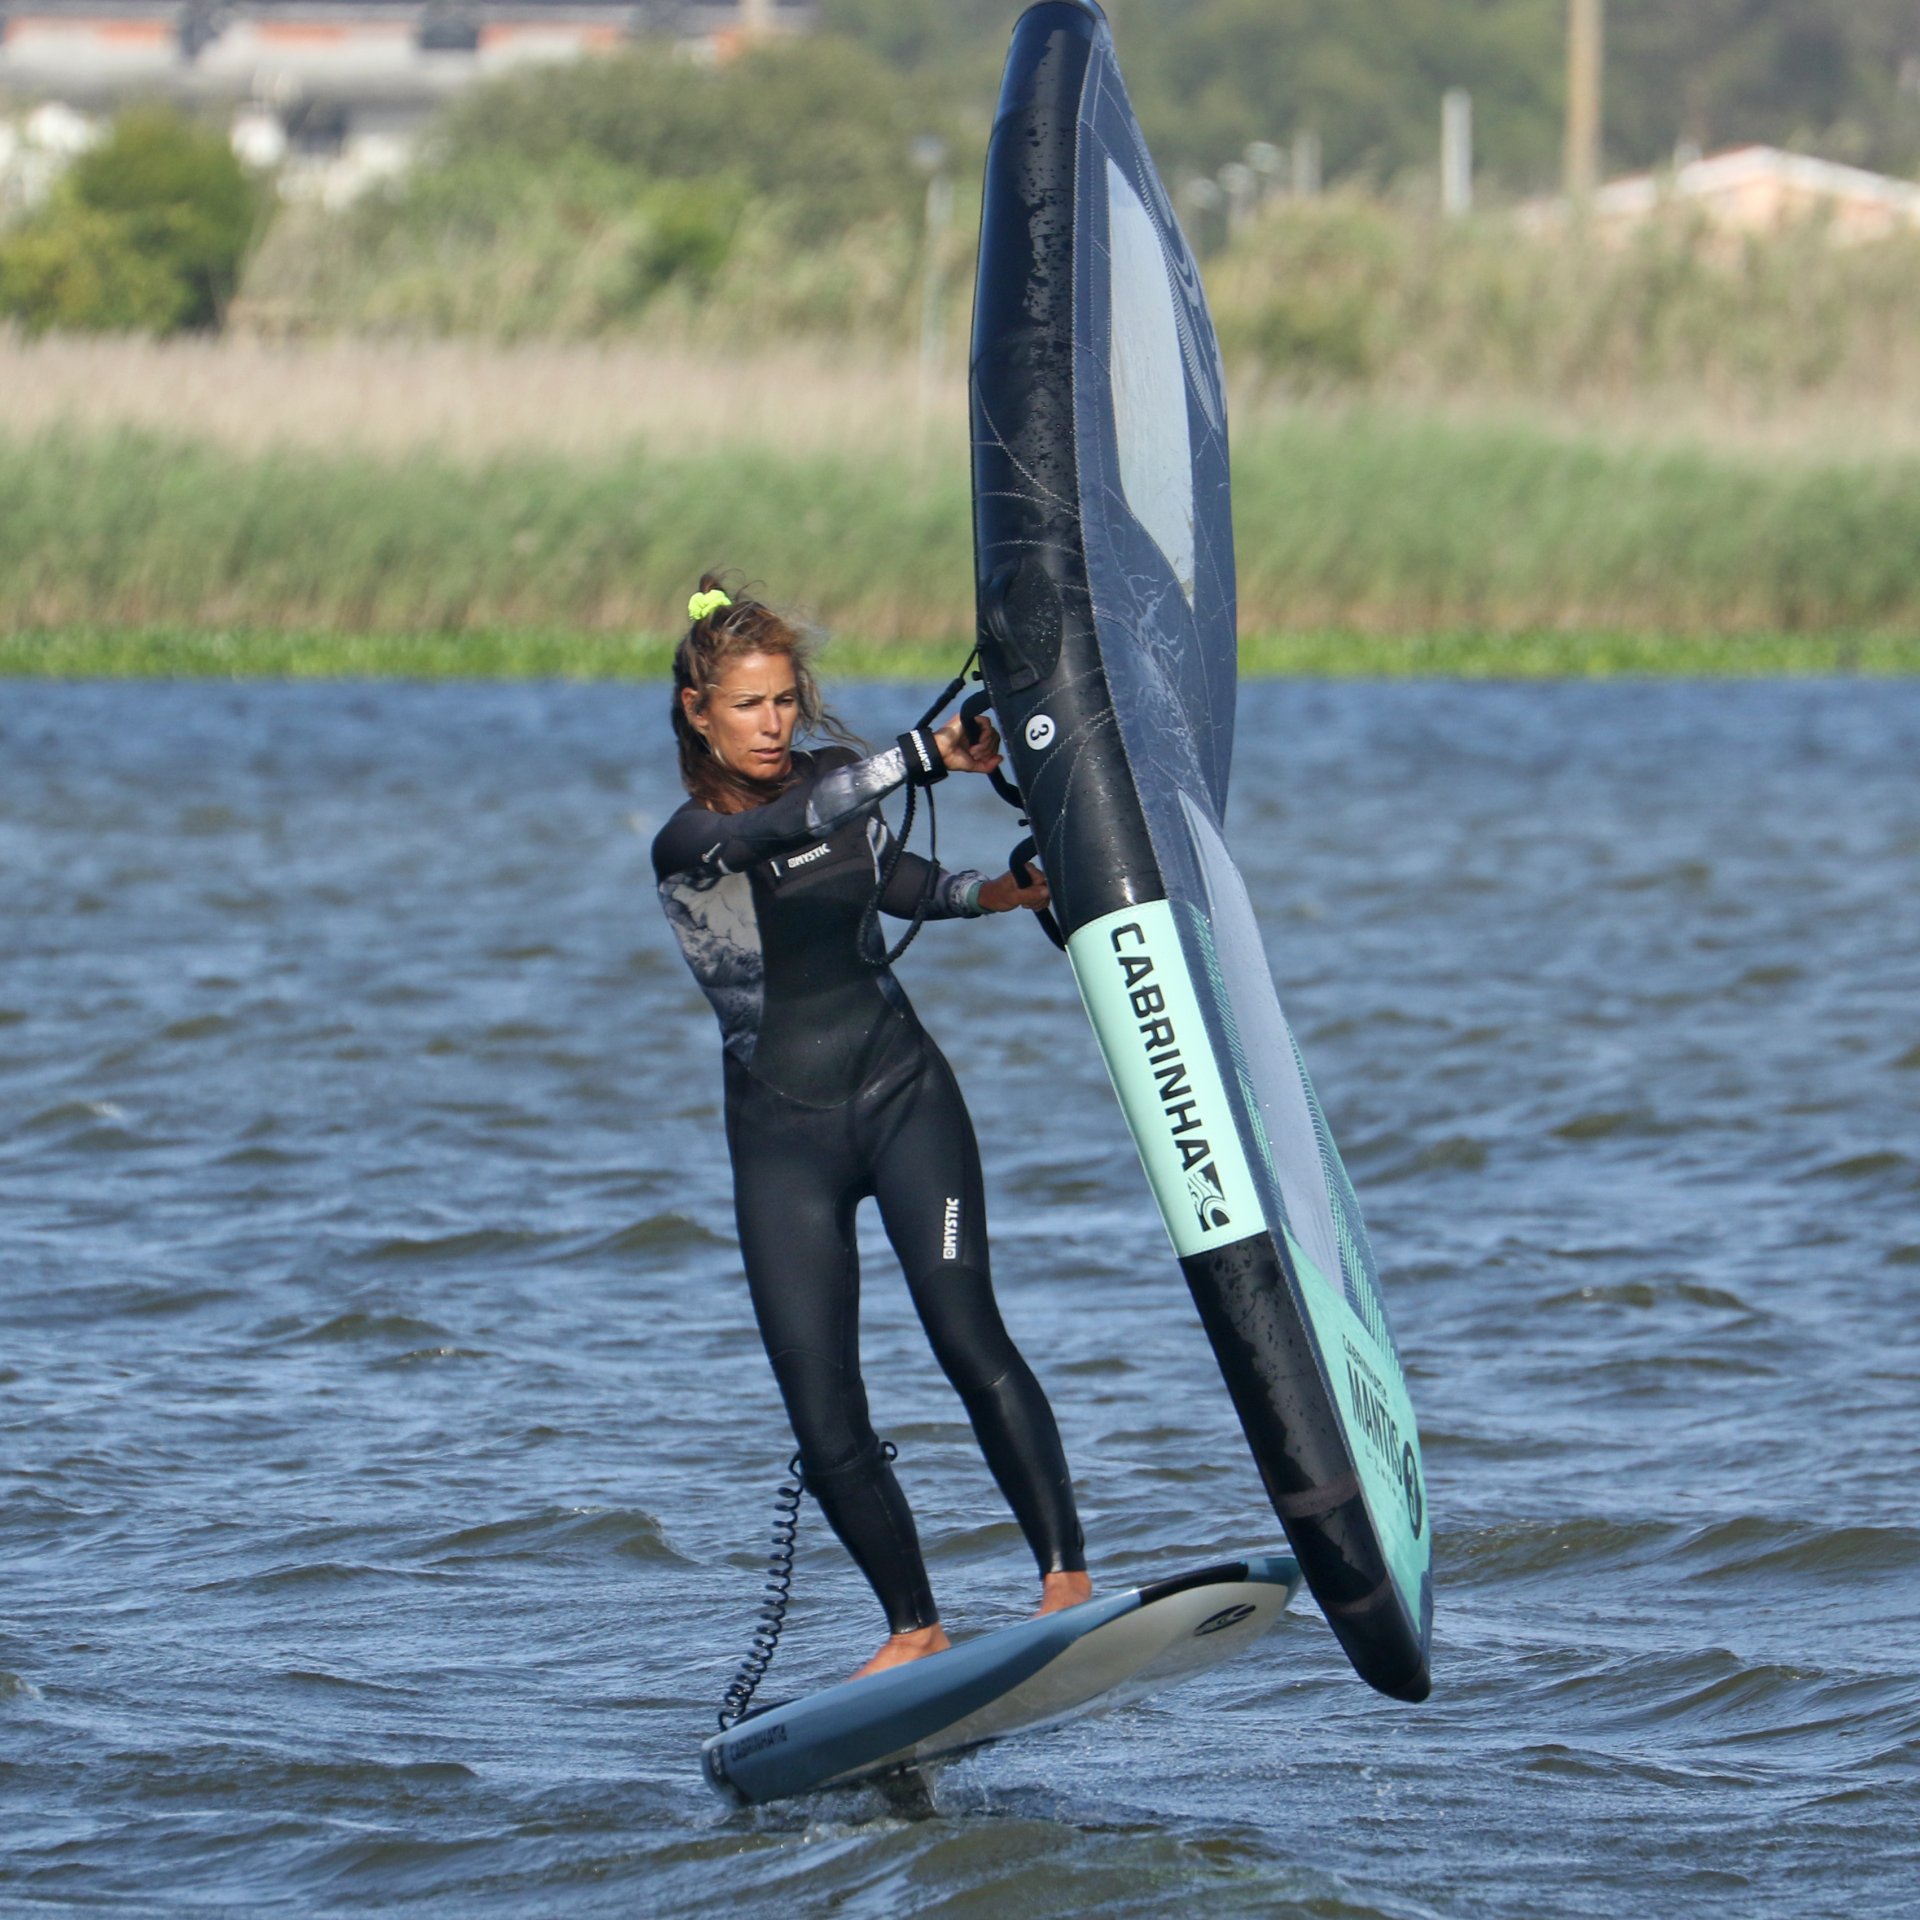
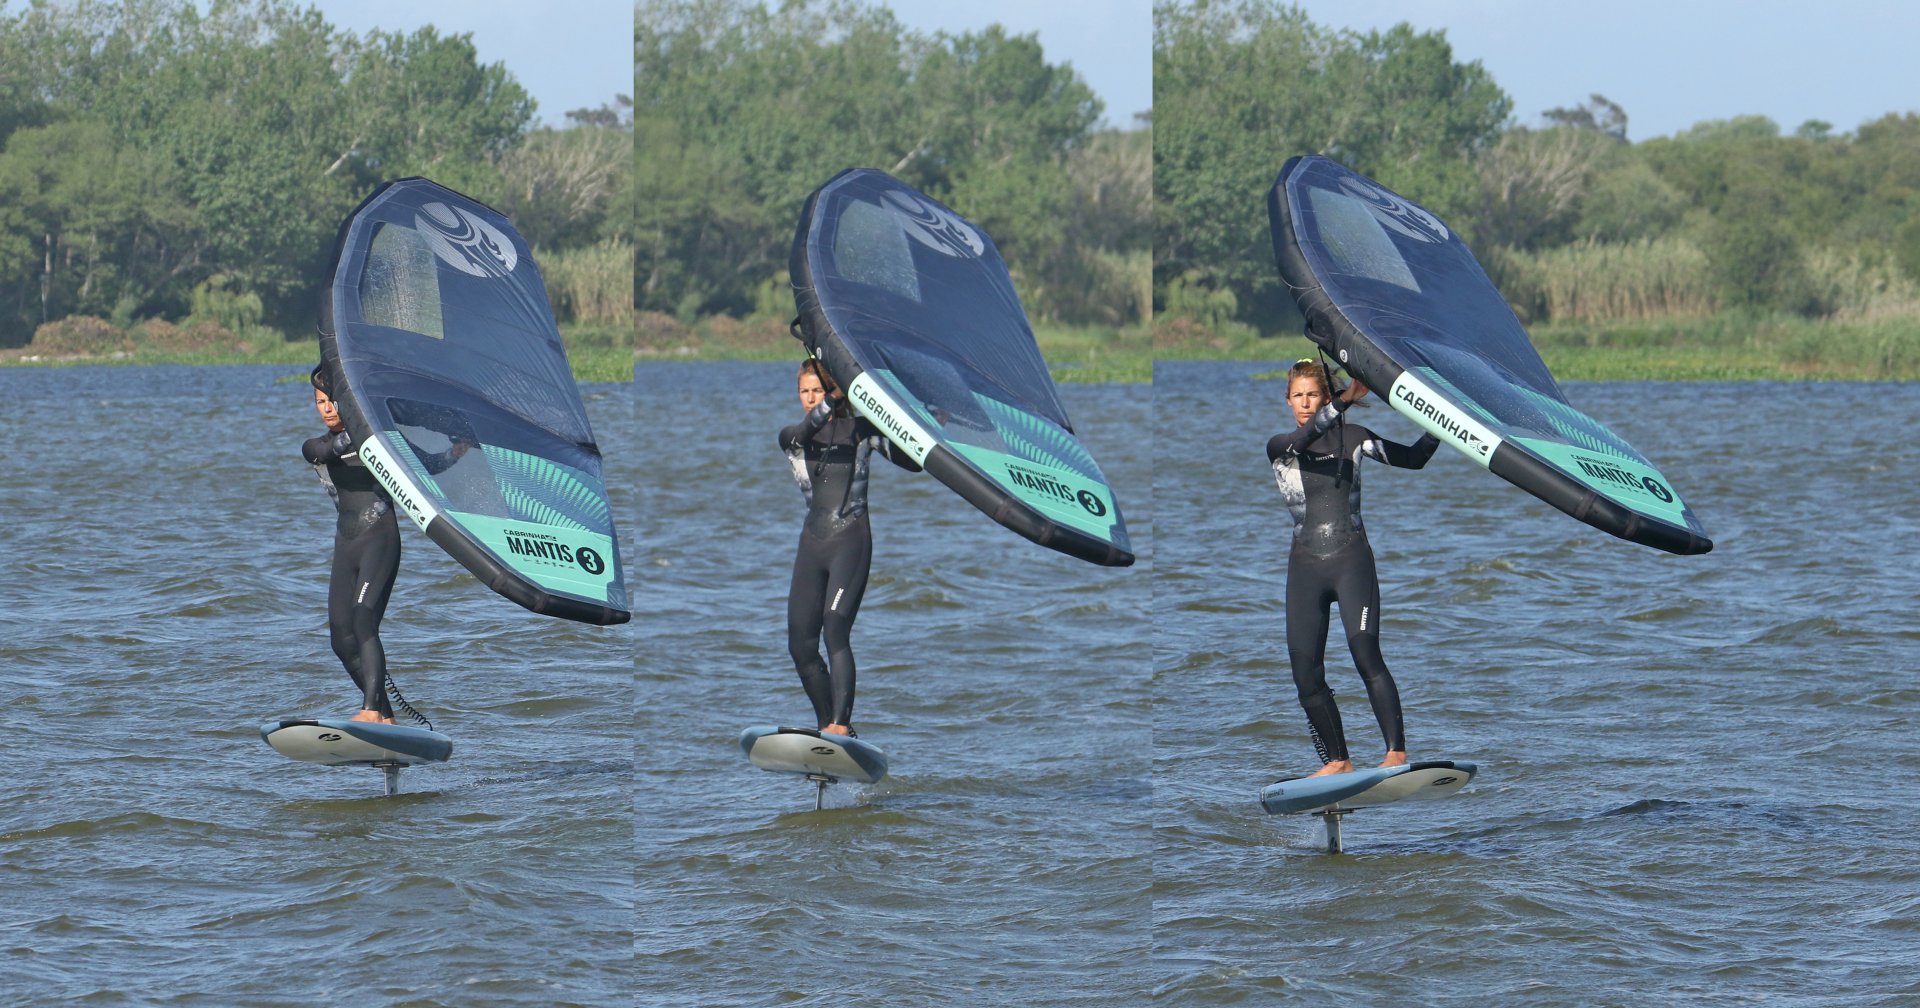
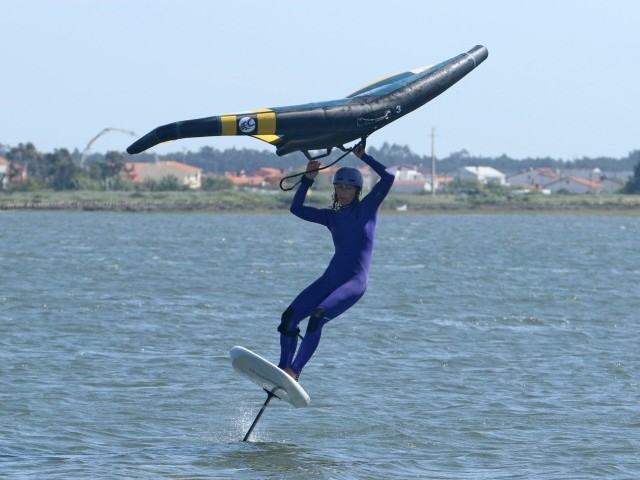
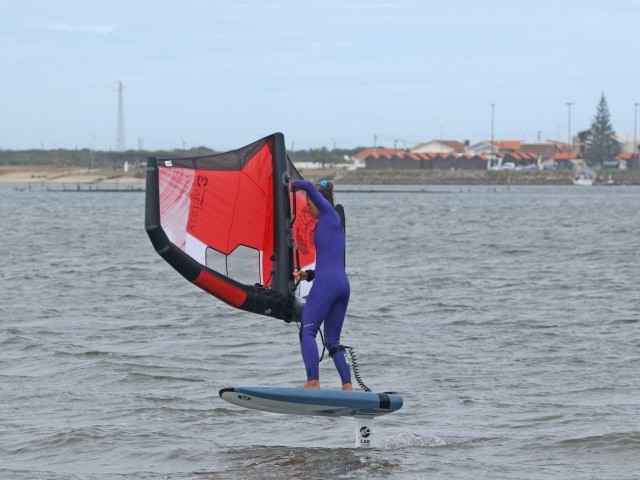
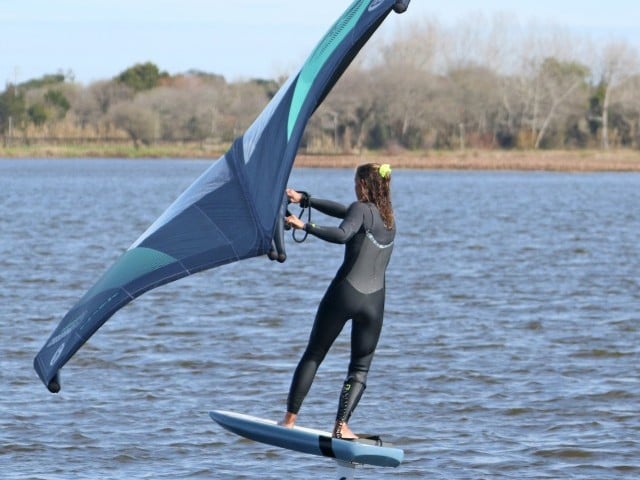
The good news, a few little tweaks to your stance and you’ll soon be hammering upwind. So, what’s the secret behind a good toe side? Pic 1.
The aim of a good toe side stance is to position the wing where it needs to be, whilst keeping your foil happy, yourself balanced and comfortable, with the power driving forward. Sounds simple enough!
Before moving on there are two things to consider.
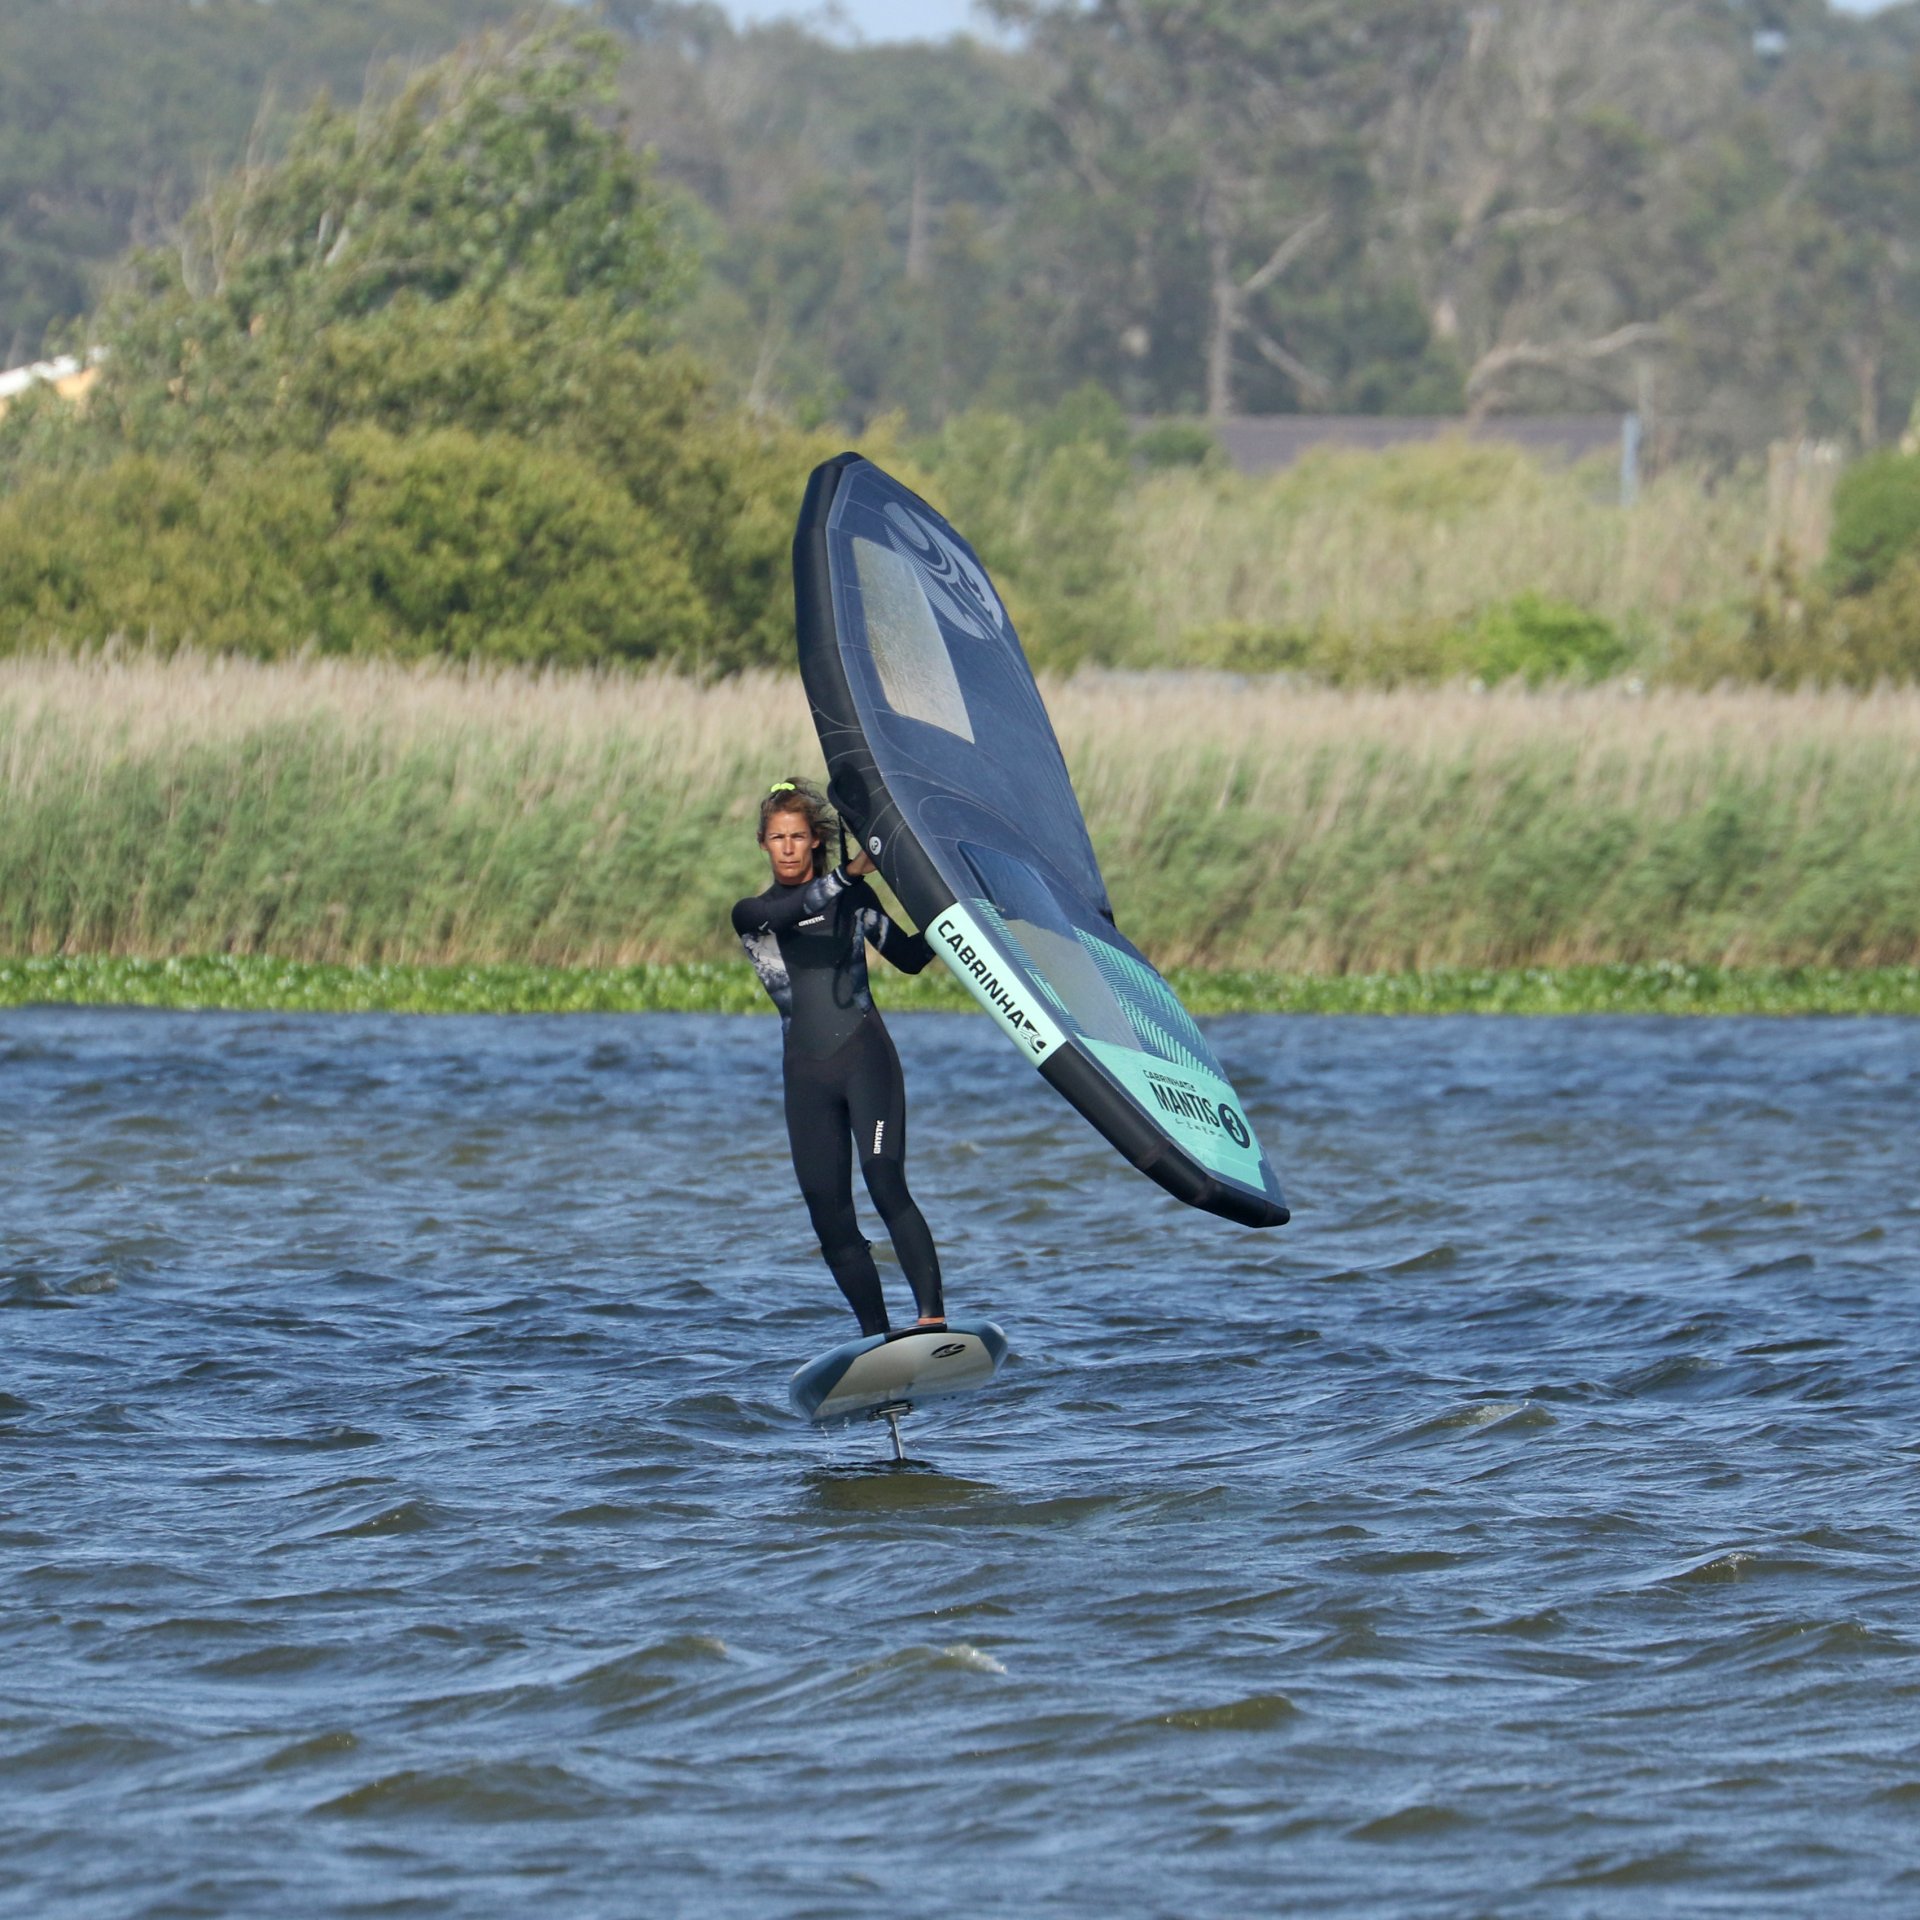
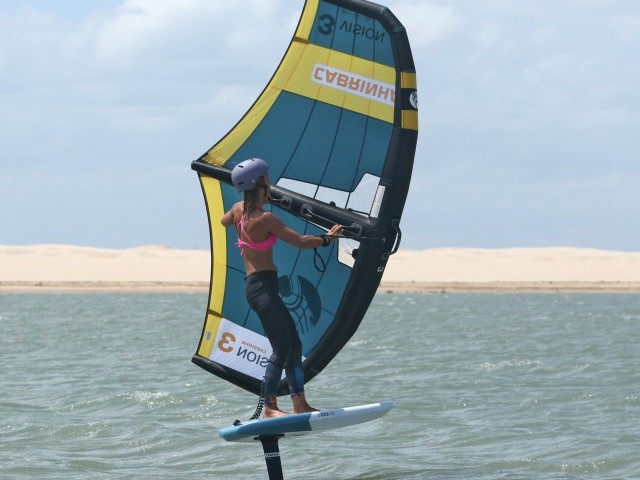
Firstly, the name. Toe side is slightly misleading. You’re not trying to ride with all your weight on your toes, lifting your heels as you attempt to balance on your pinkies. Toe side means that rather than weighting your heels, you are applying pressure through the balls of your feet. We can all agree it’s pretty obvious why they went with toes!! You do this by flexing your ankles and driving your knees forward. Pic 2.
Secondly, and we have touched on this before, we all have a preferred leading foot. Riding heel side is less of a drama, but for many of us, toe side will be considerably less difficult if we lead with our strong foot. Whether you prefer left foot forward (regular) or right foot forward (goofy), it’ll seem more achievable and balanced on your preferred side. This doesn’t mean that you can’t or shouldn’t learn on both sides, but it’s best to start with your strong side.
There are various ways to get onto toe side, whether gybing from your heels, changing feet or coming out of a heel to toe tack. Whichever move, your default toe side stance will be the same.
We are going to have a look at all the individual parts, from your feet to your head, hands to your wing, to see what’s going on. Everything is working in unison, and each separate part is both dependant on and vital to the others to make the right thing happen. They combine to form a good toe side. This really is the sum of all parts.
What’s going to help?
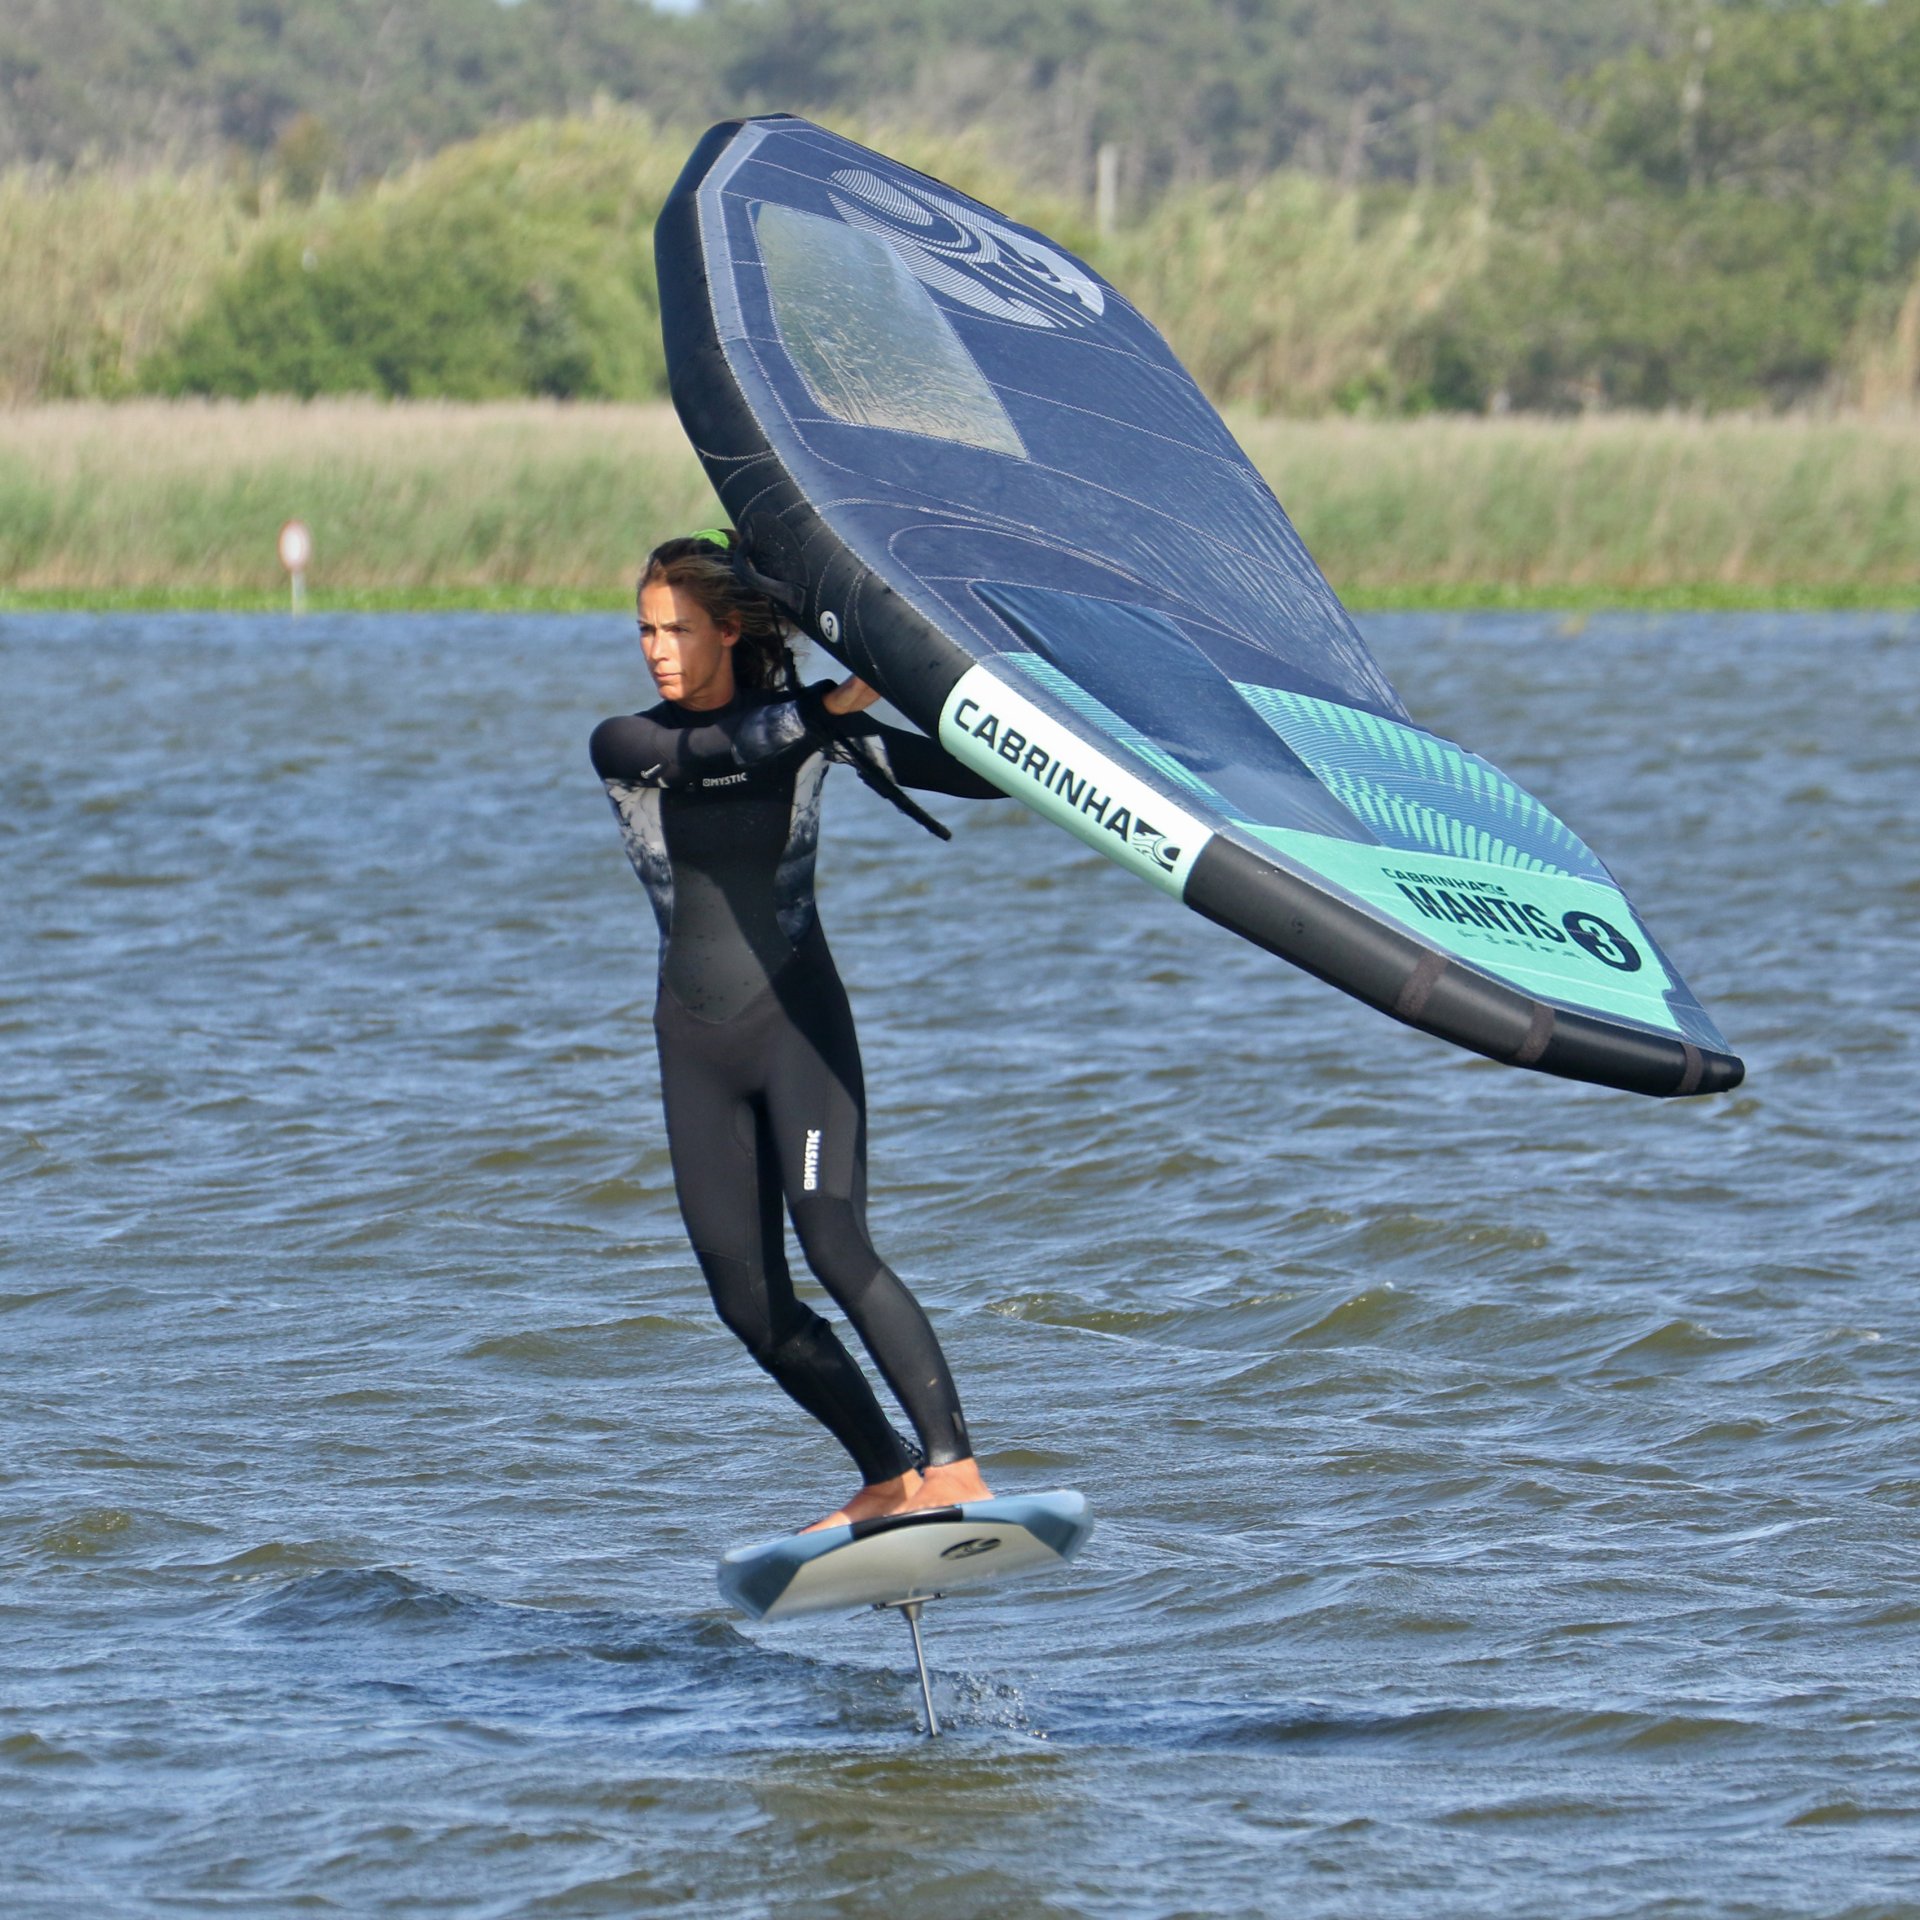
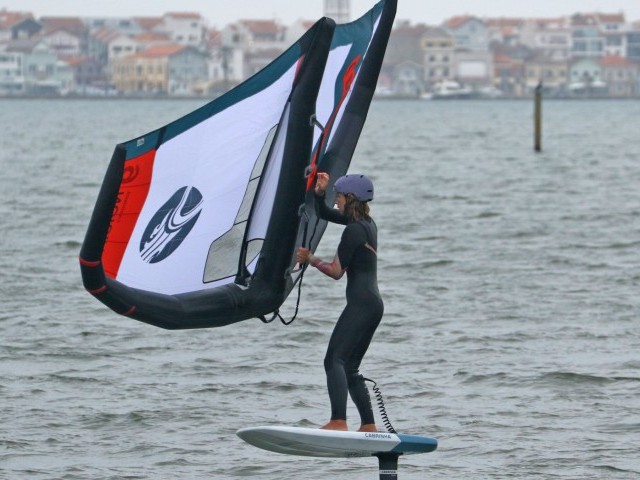
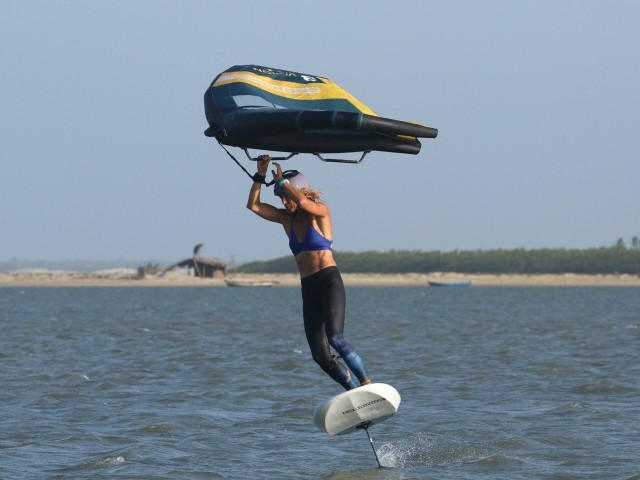
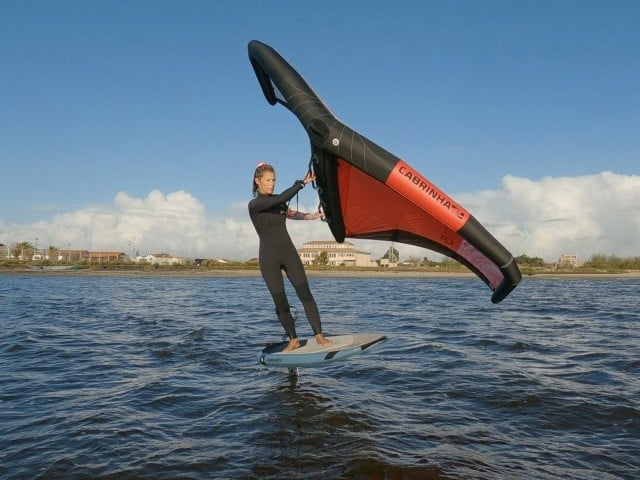
Wing Position, pointing forwards Pic 3. If you’ve been following our Wing Foil technique in these pages and the videos, you’ll be no stranger to getting the wing forward and away from you, whether it’s to bear away, accelerate, keep the nose down or coming out of a gybe. Positioning the wing correctly is crucial as it both drives you forwards and keeps your foil trimmed. The same remains true here. If you want to move forwards, you need your wing pointing forwards.
It’s a tad more awkward when toe side as you don’t have the reach and let’s be honest, you’re pretty much facing the wrong way! When heel side we talk about holding the back hand steady, whilst pushing the front hand down to point your wing forwards and letting the front hand pull away to sheet in. The difference in toe side is that this doesn’t quite have the same effect. You can still push the front hand down but to get the power and be able to let the front hand pull away you need to physically pull your back hand in towards you to actually sheet the wing in.
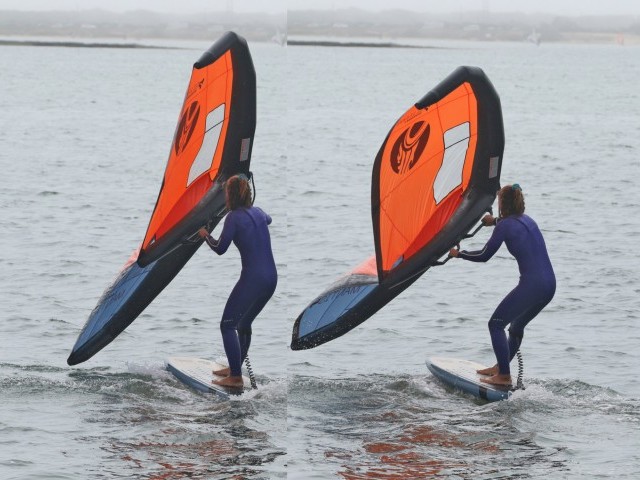
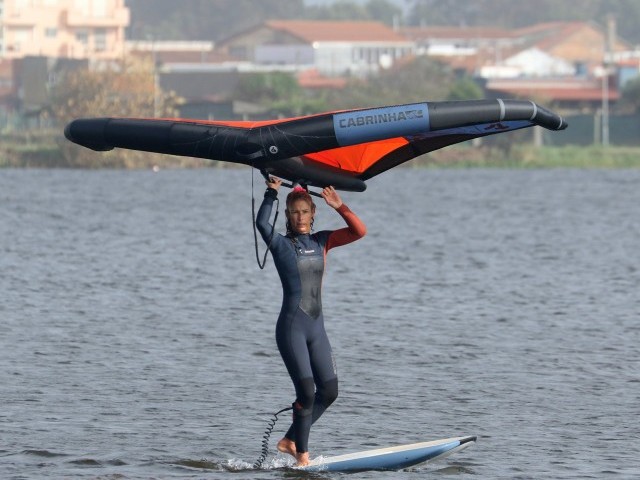
Order of Play. This is perfect in theory, but the common end result is that as you hurry to get the power on you can all too easily pull the back hand in and down with the wing still pointing up Pic 4. The result, the wing pulls downwind, which in turn pulls you towards it and at very best pulls you downwind, or at worst puts all your weight back and stalls the foil! The solution is not to rush, use your back hand to anchor your wing so that you can push it down to point forwards and then sheet in – order of play.
Just like heel side, you can and will sheet out and let the wing rise during a gust or to slow down, as long as it still points forwards. Pic 5.
Hand Position. You may find it tricky to get the wing as far forward toward the nose as you’d like and are used to when riding heel side. The great news is that you still can! The most effective method to extend your reach is to hold the wing further back. Whether it be sliding your hands back a touch on the handles, moving back within a handle loop or using the next handle down, you can genuinely extend your reach and position the wing just where you want it.
Combining the order of play when sheeting in and holding the wing further away from the leading edge will give you the ability to direct your power forwards, pull your weight forwards and thus keep your foil trimmed and stay up on the foil.

Your Stance
The idea is that you can use the position of the wing to help position yourself. However, this is a circle of help, so you’ll also use your position to help the wing! There are two body movements that will help you lock into a solid toe side stance, and once you are, we’ll move on to see how you can turn further upwind and bear away.
Body Twist
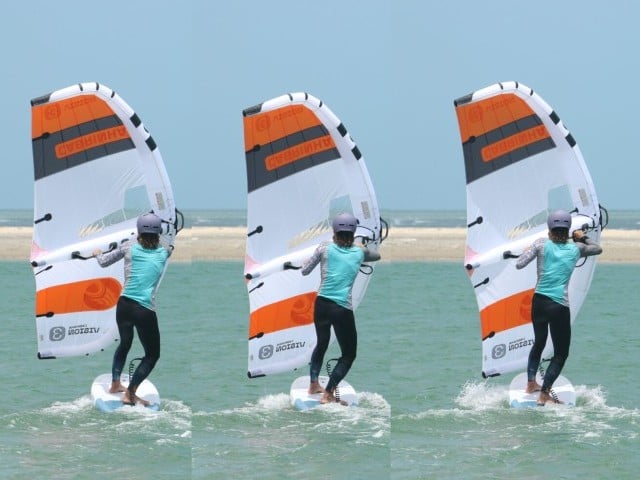
If you’ve ridden any form of board before, or descended down a snowy slope, an open stance won’t be anything new, but when applied to riding toe side on a wing it takes on a whole new meaning – the full body twist. Once you’ve got your wing sheeted in this should seem more natural than awkward, it’s a matter of letting your body go with the flow and helping out a tad too. Essentially your hands and shoulders will be facing more downwind while your feet and knees face more upwind. By allowing your upper body to twist you will find it much easier to hold the wing forwards, keep the power on and it’ll help keep your weight on both feet. Pic 6.
The simplest way to get into this position starts down low. Make sure your feet are offset, with your back foot further across the centre line than your front and point it across the board or ever so slightly forwards. Pic 7.
This position puts you in a more open stance. If gybing, do this before you gybe. Offset feet is the answer to your prayers if you feel like you’ve been balancing on a tightrope when toe side. With both feet pointing in a similar direction, it’ll feel more comfortable to twist and turn your shoulders, et voila, go-go gadget arms.
Back Foot
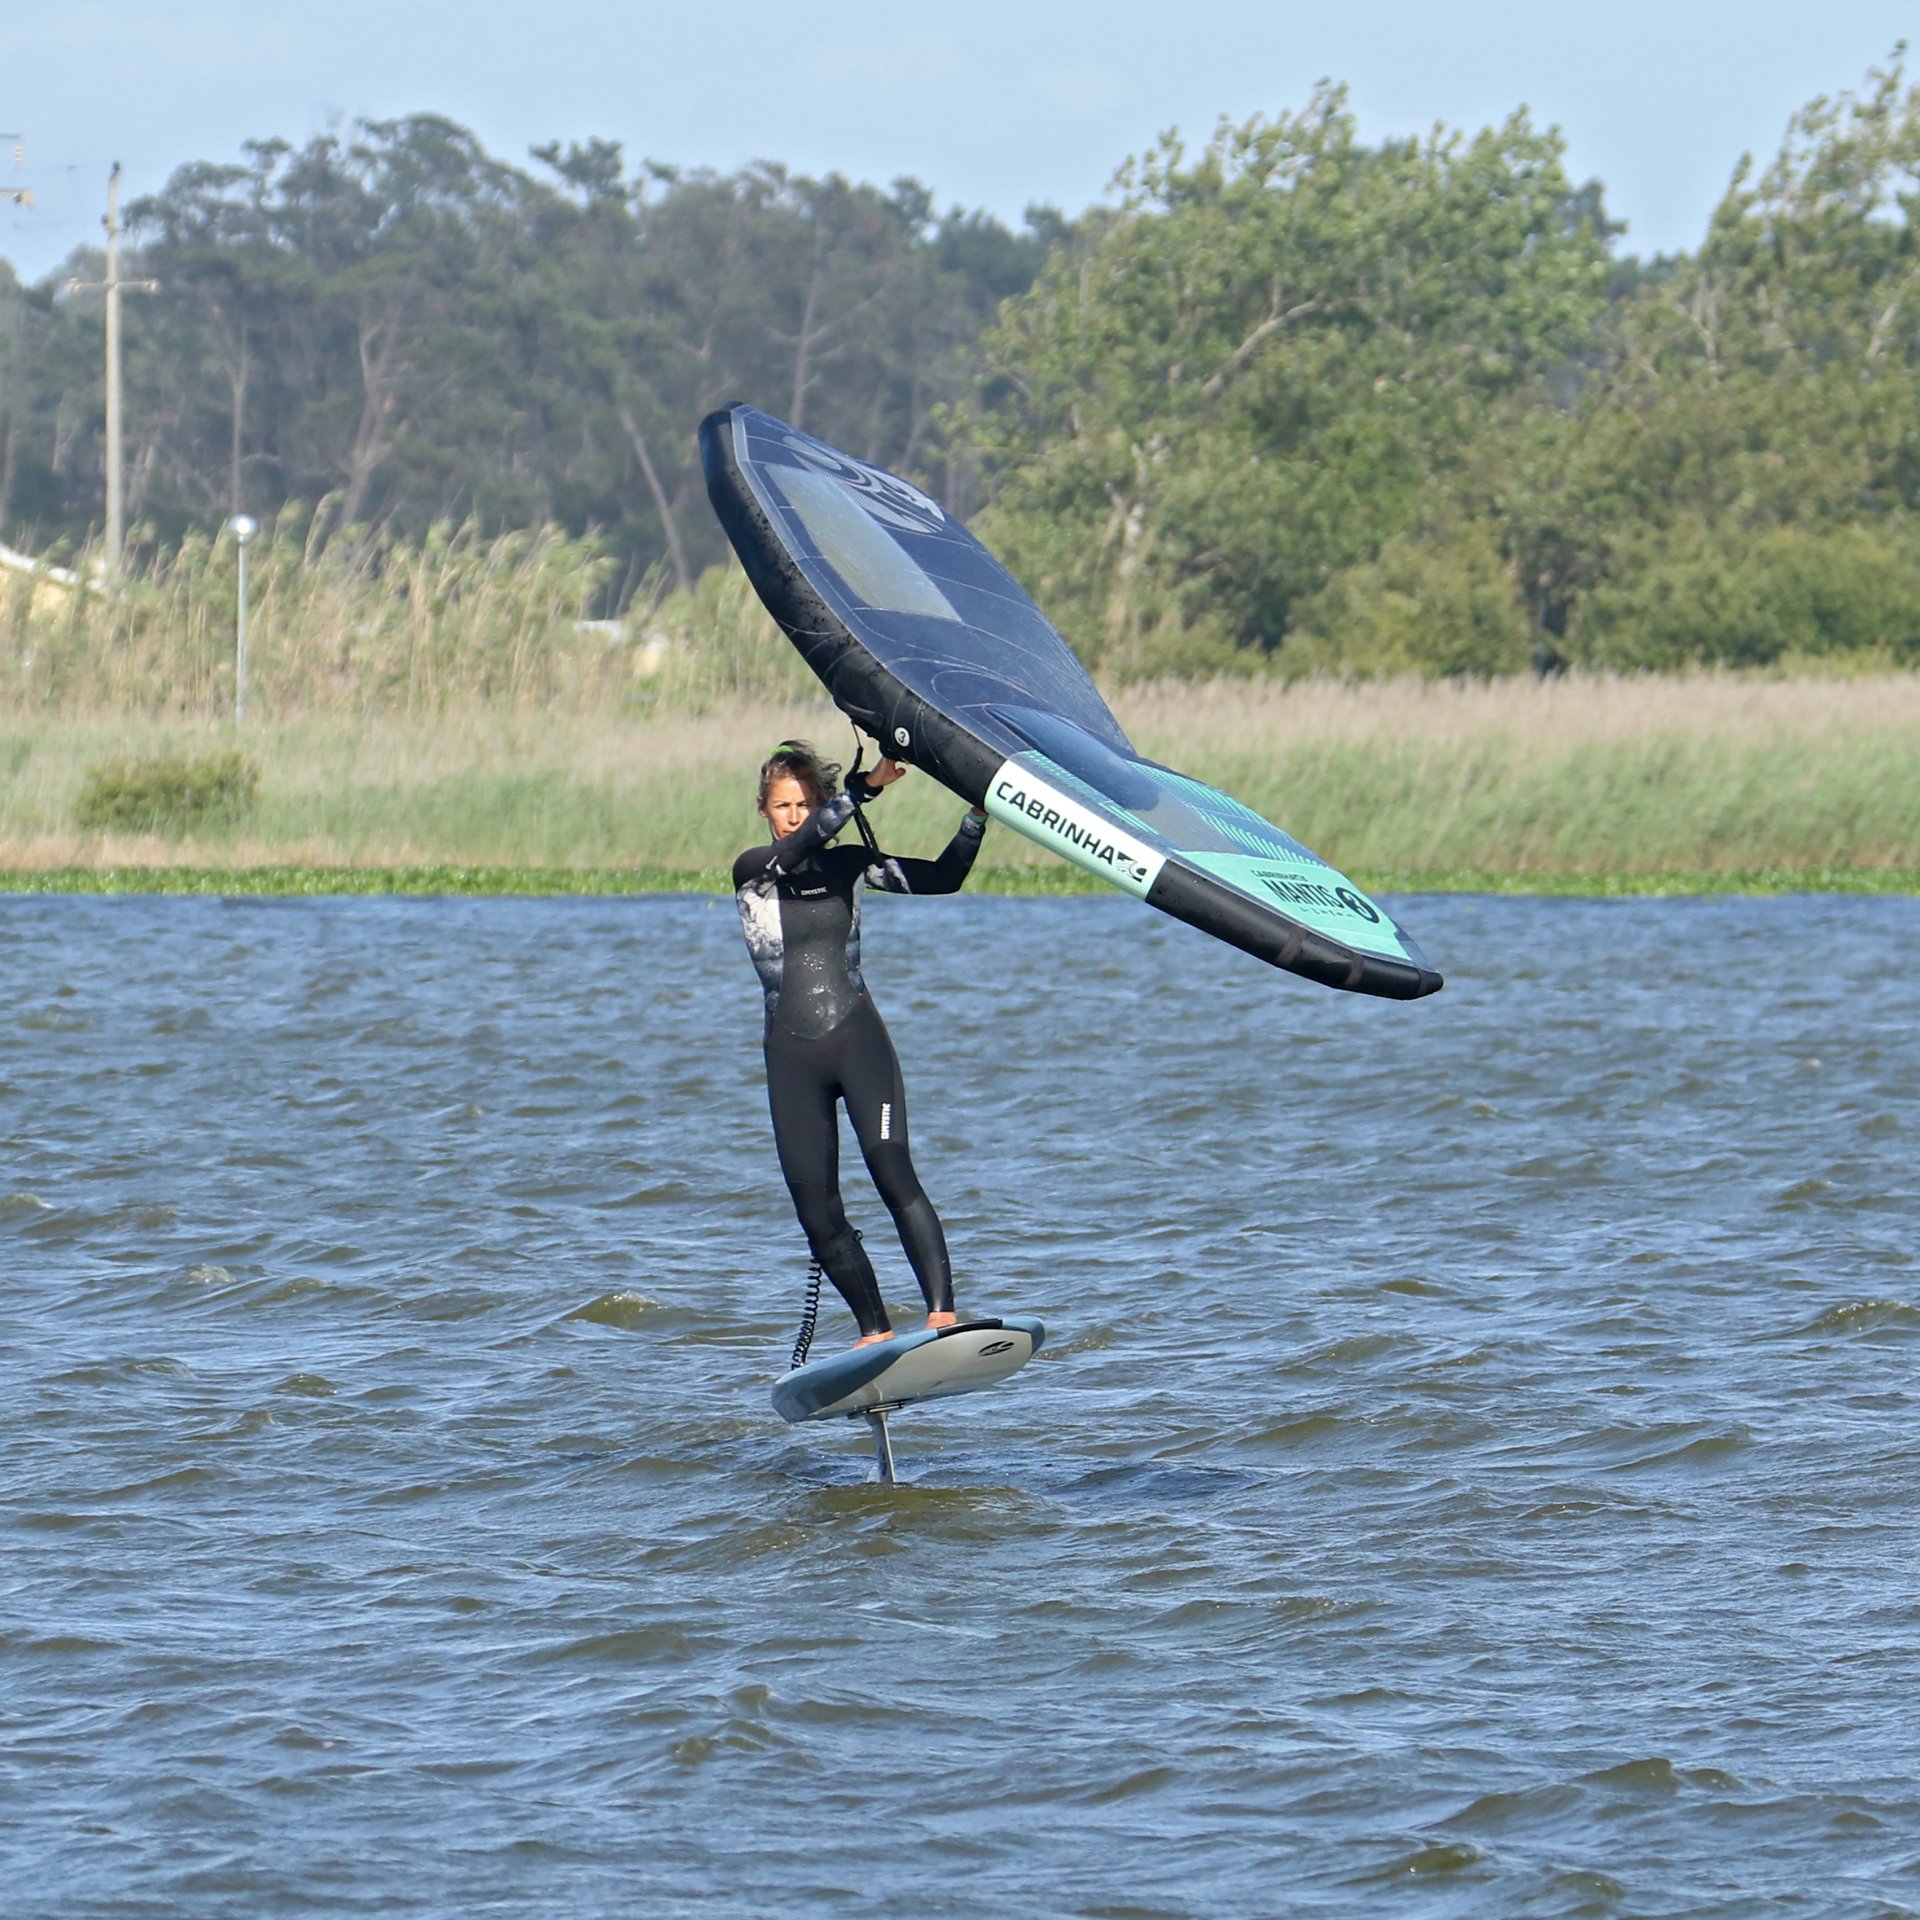
It’s hopefully becoming more obvious that one of the tricky things about toe side is keeping the wing far enough forward. This doesn’t just affect your ability to get forward drive, but also to keep your weight forward and thus the board and foil trimmed from nose to tail. When riding toe side, it’s all too easy to stall your foil, especially in lighter winds. The wonderful news is that your back foot is the perfect tool to help you keep the foil trimmed. If you feel the power going and need to get more weight forward you can slide your back foot slightly up and further in front of the mast, narrowing your stance. Pic 8.
This has a massive effect and is a great skill to learn which you’ll use more often than you’ll believe, as your back foot will become more and more mobile depending on what you’re up to!
Once in this position, toe side will feel far more natural, but it can still feel like a struggle to transfer the power into an upwind position.
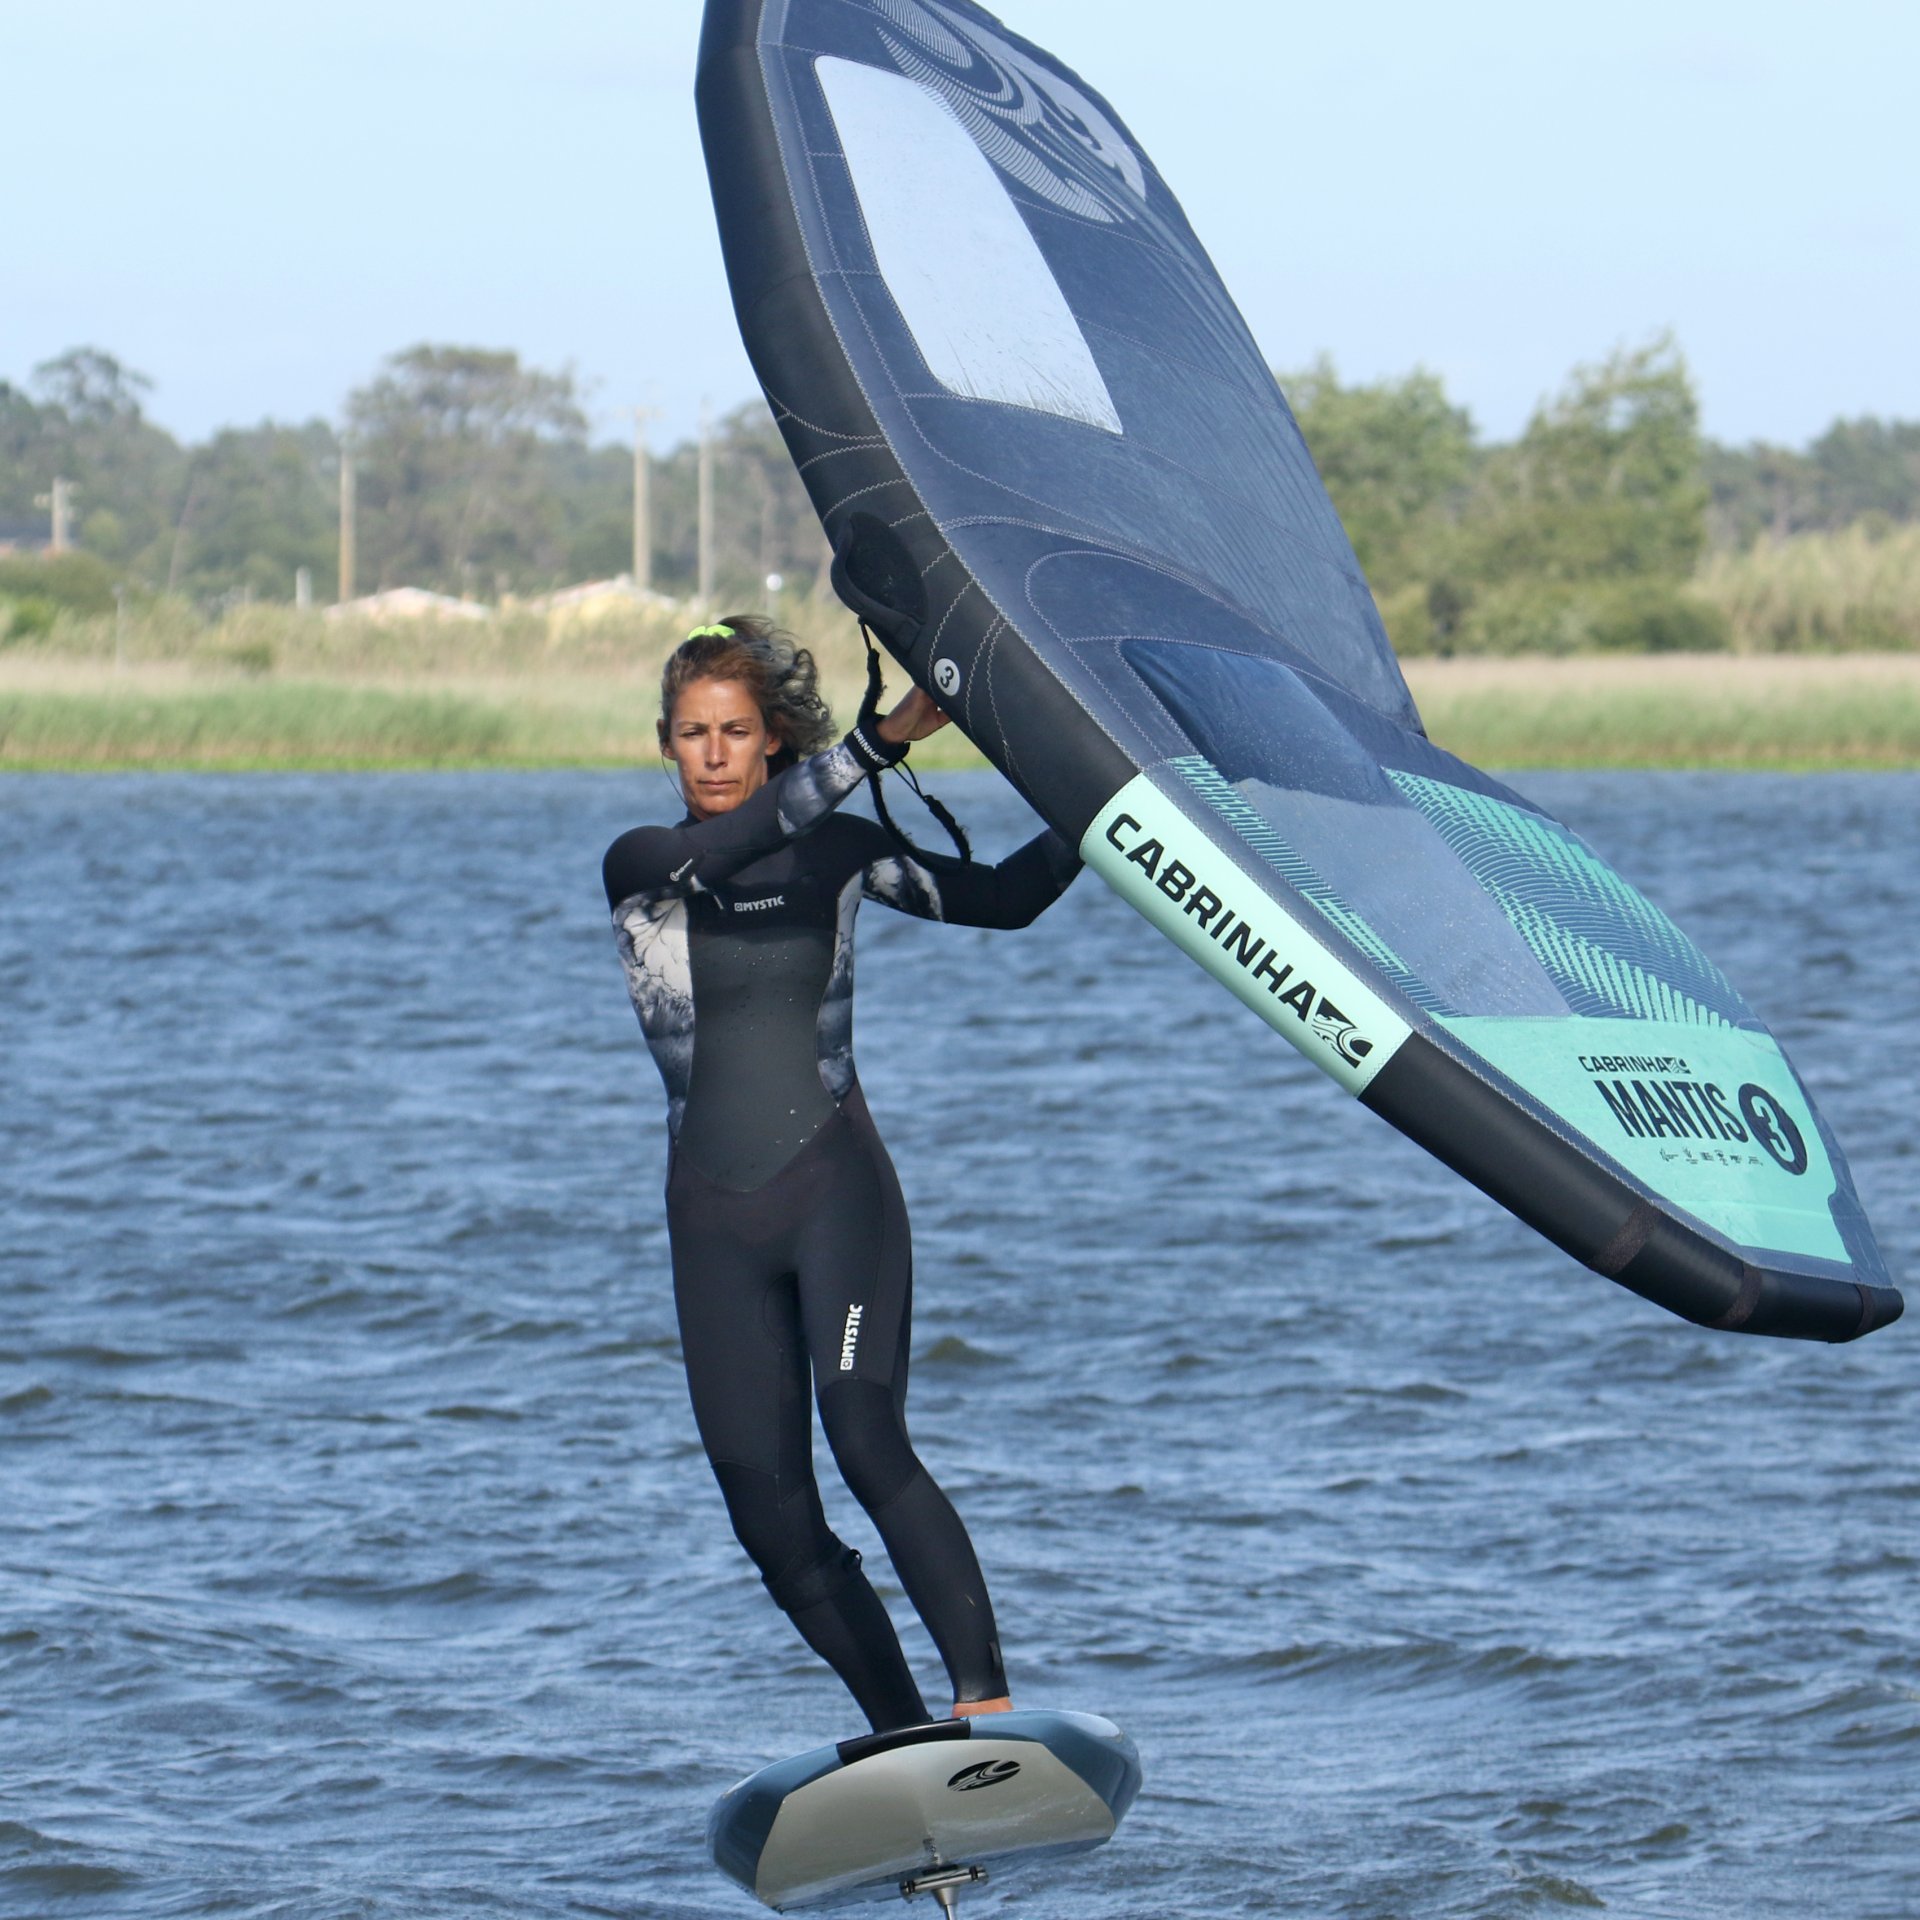
Stand Tall & Look
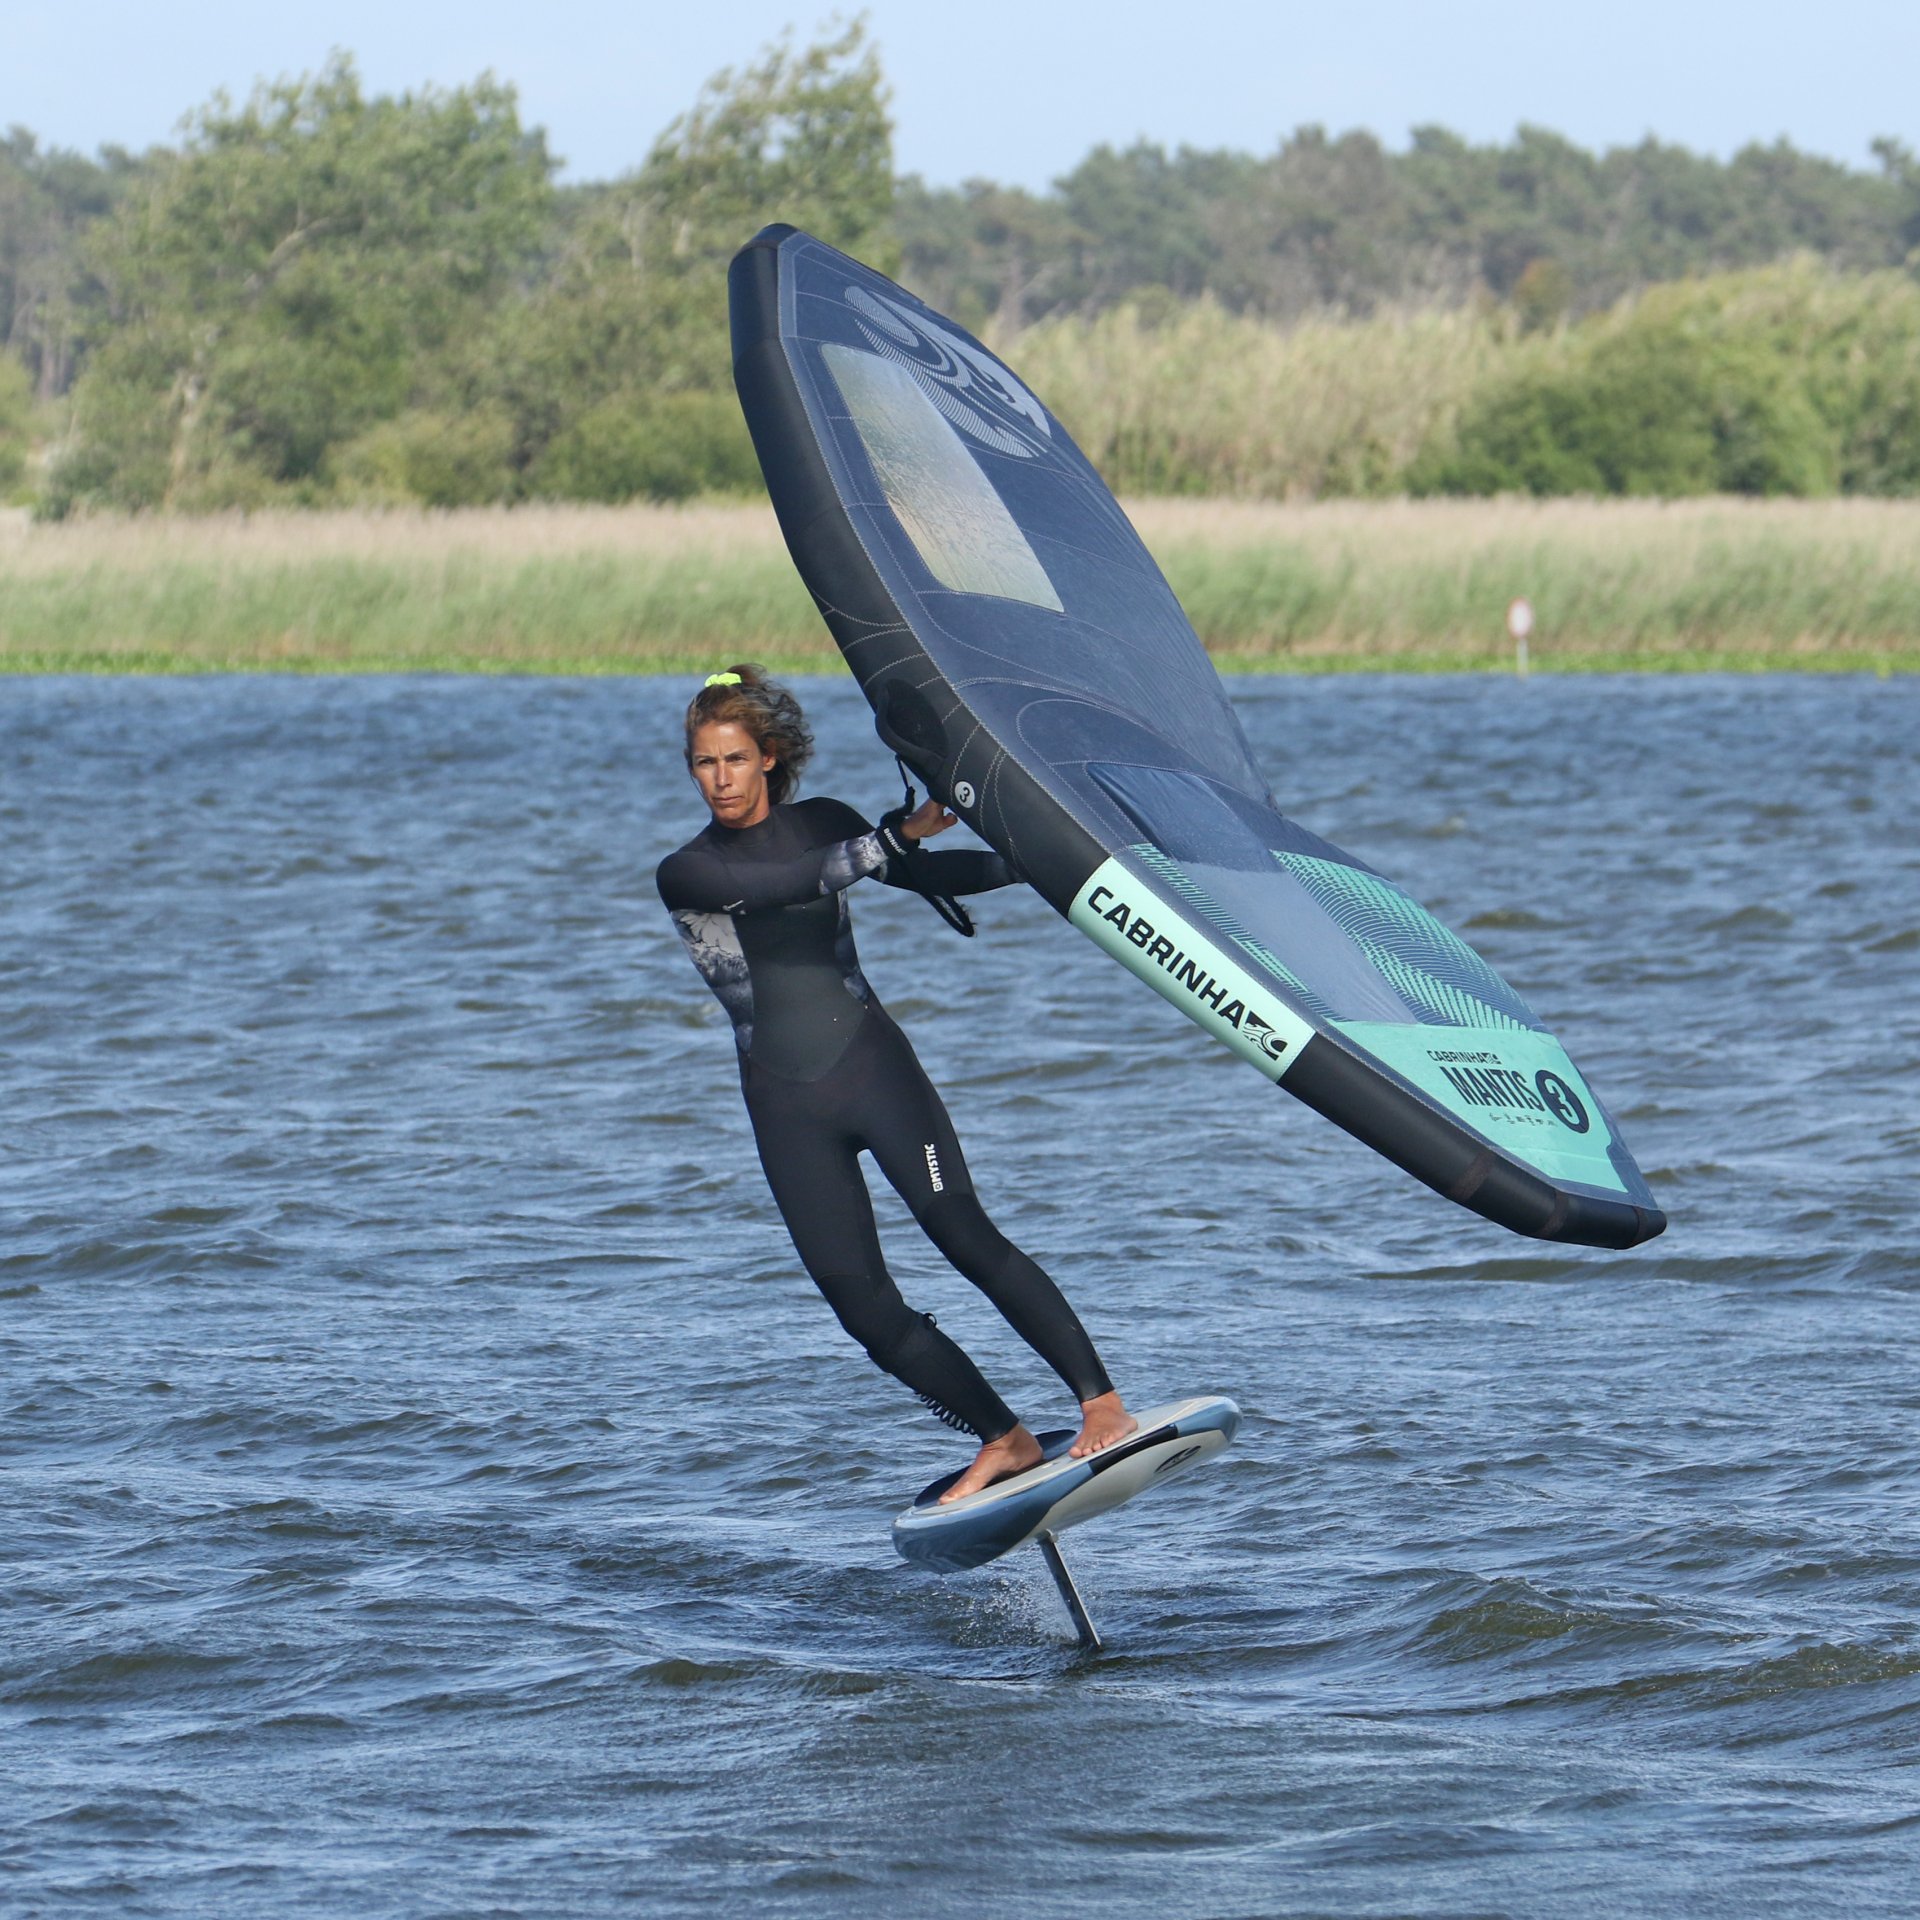
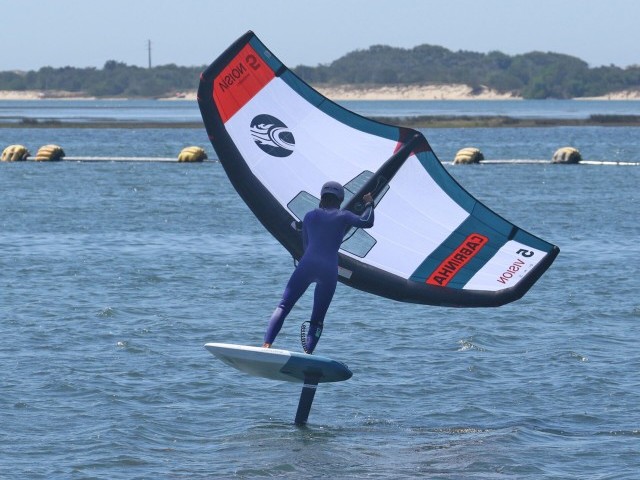
The only way to transfer power and stay balanced. Whenever a rider wants to put more lean into a toe side, whether to resist power, accelerate, push harder upwind, the natural and innate movement is to bend at the waist in an effort to lean the shoulders upwind. Unfortunately, this has the opposite effect to the intended. As you bend upwind you push your bum back and your weight transfers onto your heels, which ultimately leads to a loss of balance and power. Pic 9.
To add ballast and cant the board and foil over it’s all in the hips. Your feet stay put, and your head and shoulders stay up. This makes it much simpler to use your head and look where you want to go! The lean comes from bending your torso and “stretching” your hips out. Pic 10.
It’s not the most natural of positions, but bet you by golly wow does it work. In effect you’re holding the same position but letting your back knee and core bend away from the wing, banana-ing out...
Power
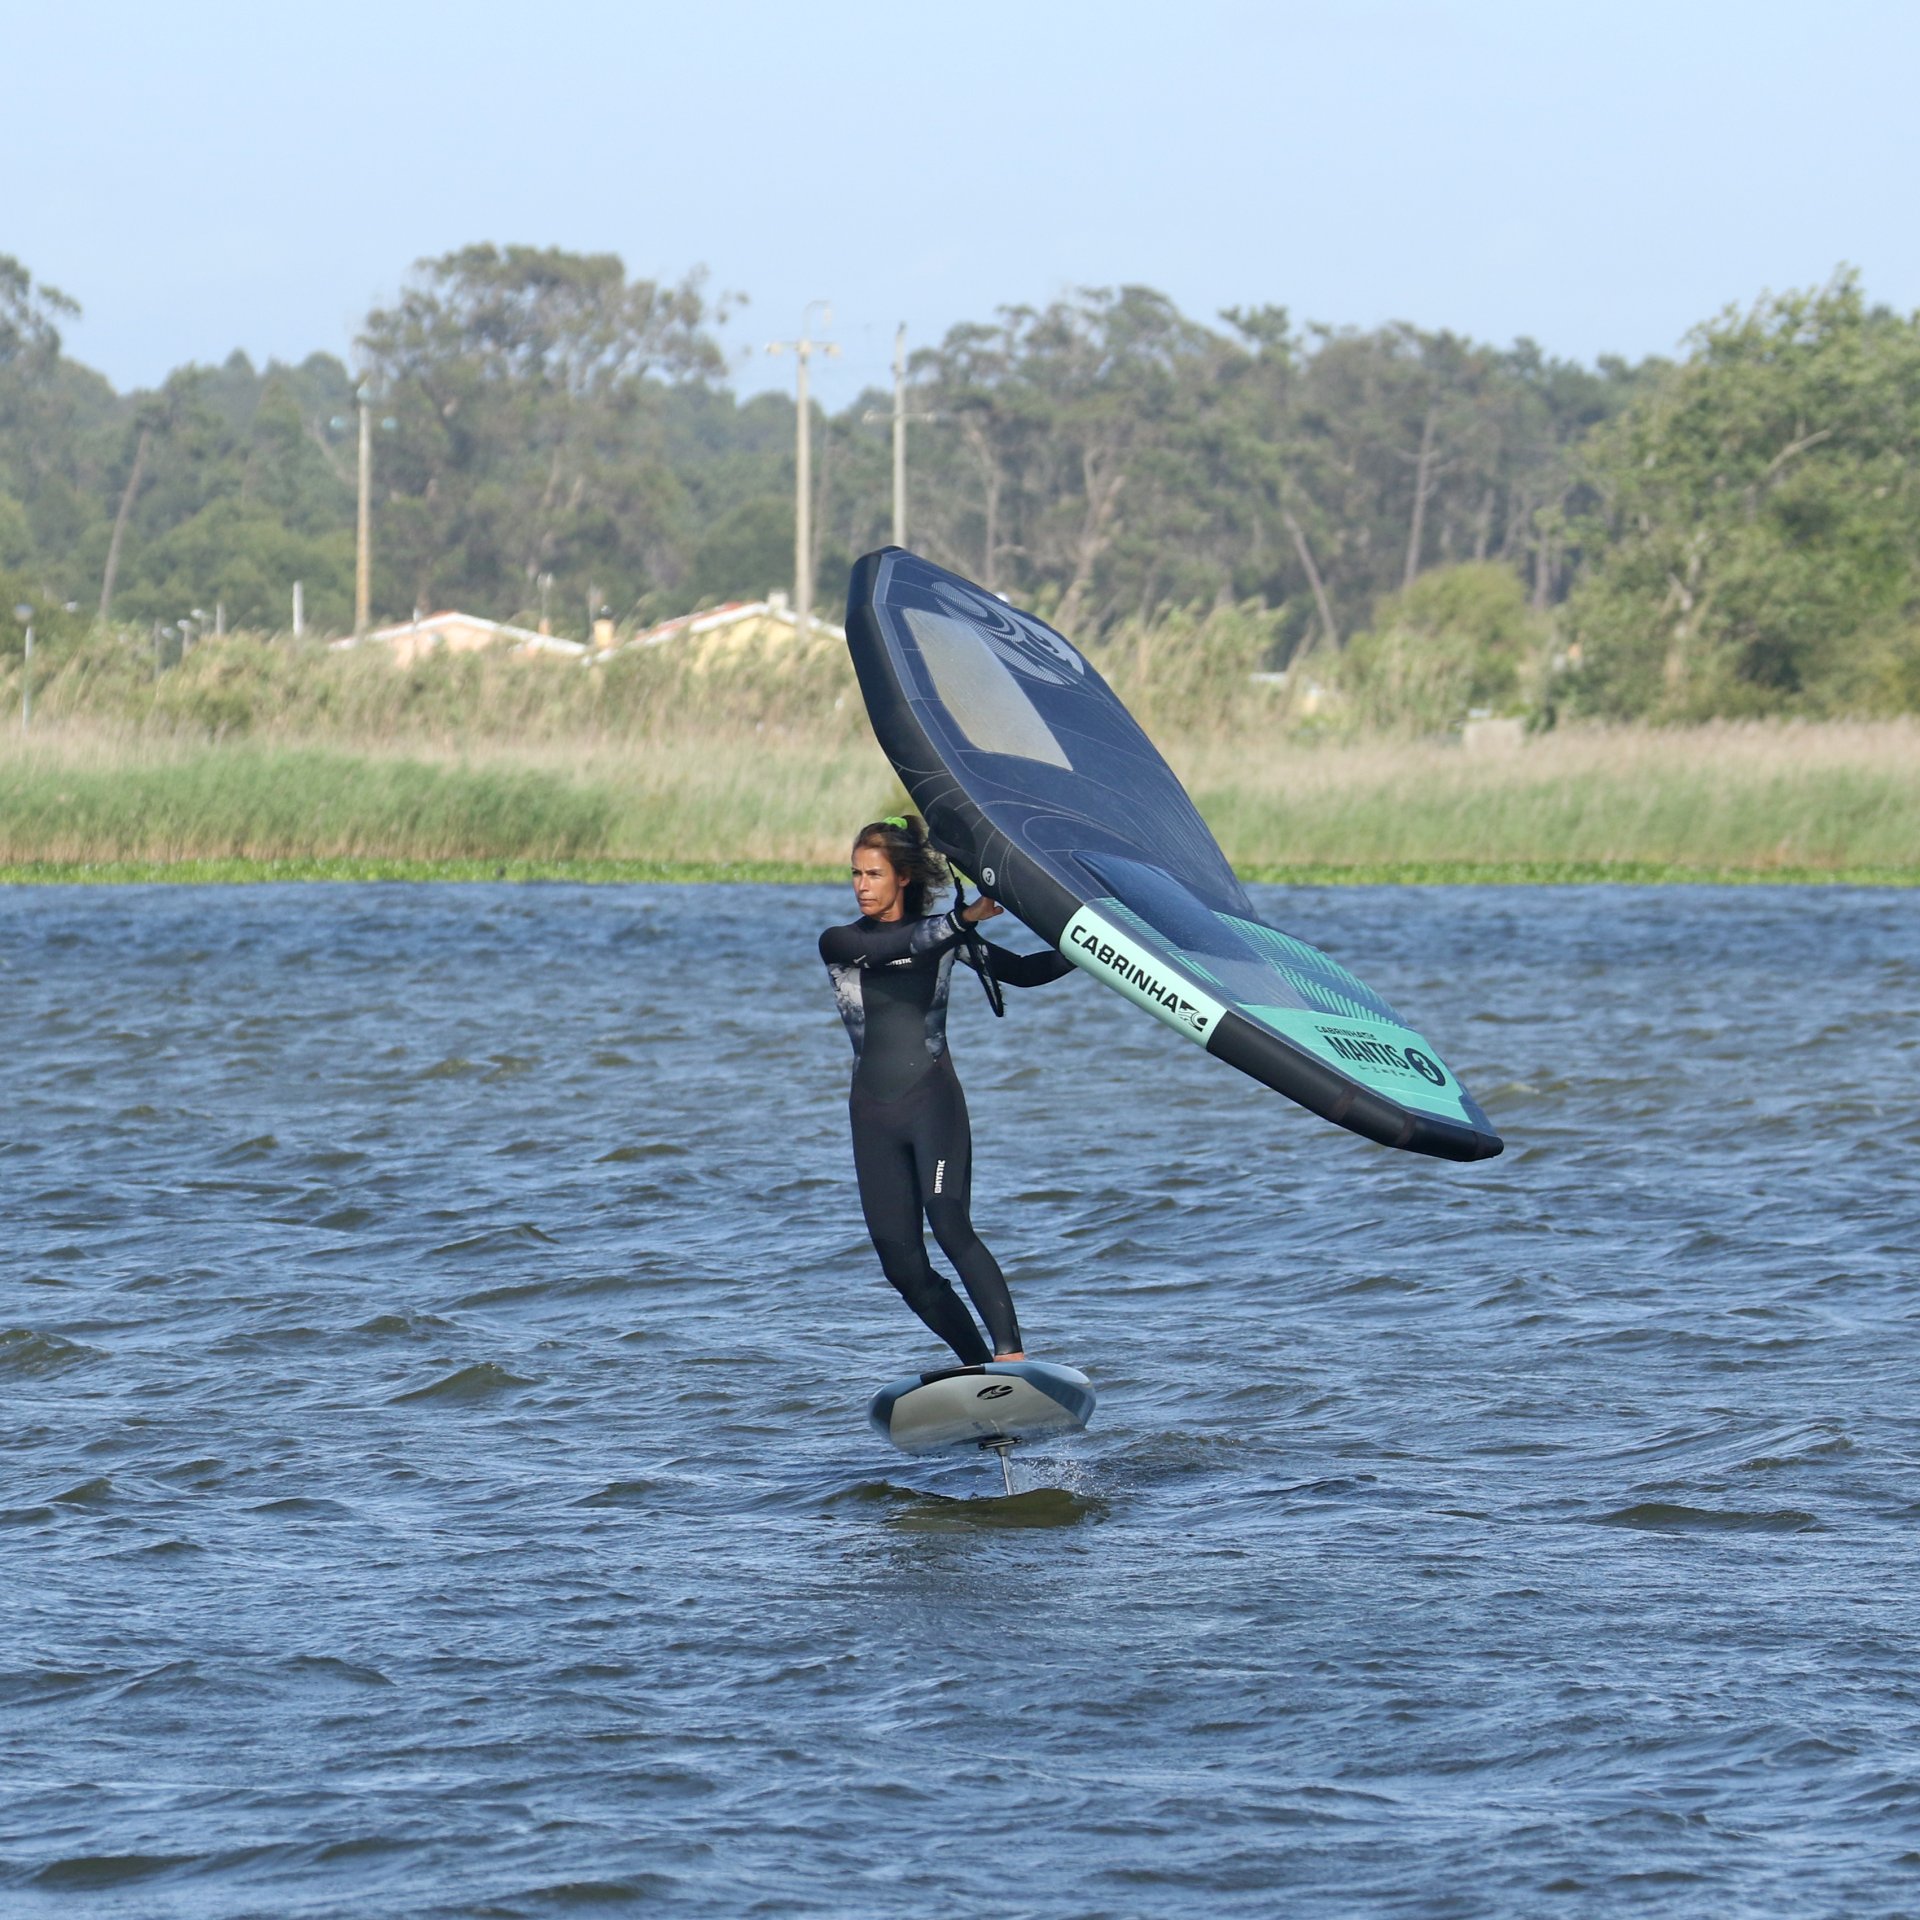
Many riders find that they need a little bit more oomph from the wing to ride upwind toe side. The reason for this is that it gives you something to resist, and therefore to push against, which makes forcing the board upwind a little easier. A bit more power also allows you to lean out into your banana, which in turn cants the board over and helps you push upwind. Pic 11.
Combine a bit more power with your upright banana hip and you’re pretty much there.
Body Torque (The Anti-Twist)
And last but most definitely not least is the matter of locking your lower half into a solid, fixed unit. This is really reserved for getting more upwind and adding more torque into your toe side. There are numerous ways to explain or visualise this, but for the moment we’ll go with the following. Get yourself into a solid toe side position, hands pointing downwind, feet pointing up. Once in it, lock everything so that it’s solid. Then turn your hips towards upwind slightly without unlocking your lower half, effectively twisting them against the pull from the wing. Pic 12.
This action pushes your back foot laterally across the board, pushing the tail away and therefore the nose up. This is turning your board using yaw, as we discussed previously in heel side. Foot position will have an impact on how effective this is. A wider stance will give you more leverage around the mast, but the action will still help you upwind with a narrower stance.
Steering
Bearing all this in mind once you get yourself riding upwind and comfortable toe side, you’ll be able pick your path depending on wind, obstacles and your desire. We’ve pretty much covered turning upwind, and with practice combing all of the above will become slicker and quicker, so that you can turn more acutely. Some of you may be wondering why we haven’t gone into moving the position of the wing to turn further upwind? The reason is that your body talk is more important. Moving the wing too far back is more likely to stall your foil than help you turn.
As far as turning off the wind the same principles apply as per heel side. You can push the wing further forward to help you bear away, you can lift the wing to lift help you back over the board and then shift your weight onto your heels to gently carve the board off the wind. By relaxing your toe side you’ll go less up wind, it’s a question of effort and reward.
It’s a great idea to practice the zig zag drill as we did in steering on the foil. You’ll find that as you get too close to the wind (a reason to celebrate nonetheless – you got there) you’ll lose power in the wing and lift from your foil. Therefore, you’ll need to bear away by moving your wing further forward, sheeting in and perhaps even moving your back foot up slightly.
Once you get this nailed, you’re truly free to roam and can make bigger, more dynamic weight shifts to add carve into your directional changes.
Final Thoughts
Consider this a guide to help you explore and improve. There are so many variables at play, whether it be wind strength, wing and foil combos, feet position, mast placement, body mechanics. You name it, there’s a lot that can influence your time on the water. We really recommend experimenting and working through this without foot straps so that you have freedom of movement and will feel just how much difference a small movement of your feet can make. No foot-straps also means that mast position is far less critical. As long as you’re able to stay up on the foil, you can play around and find your perfect stance.
This technique article was in Issue 16 of Tonic Mag.
Related
By Christian and Karine
