
Wing Foil Gybe Part 4 – Toe to Heel off the Foil
Technique / Wing Foil

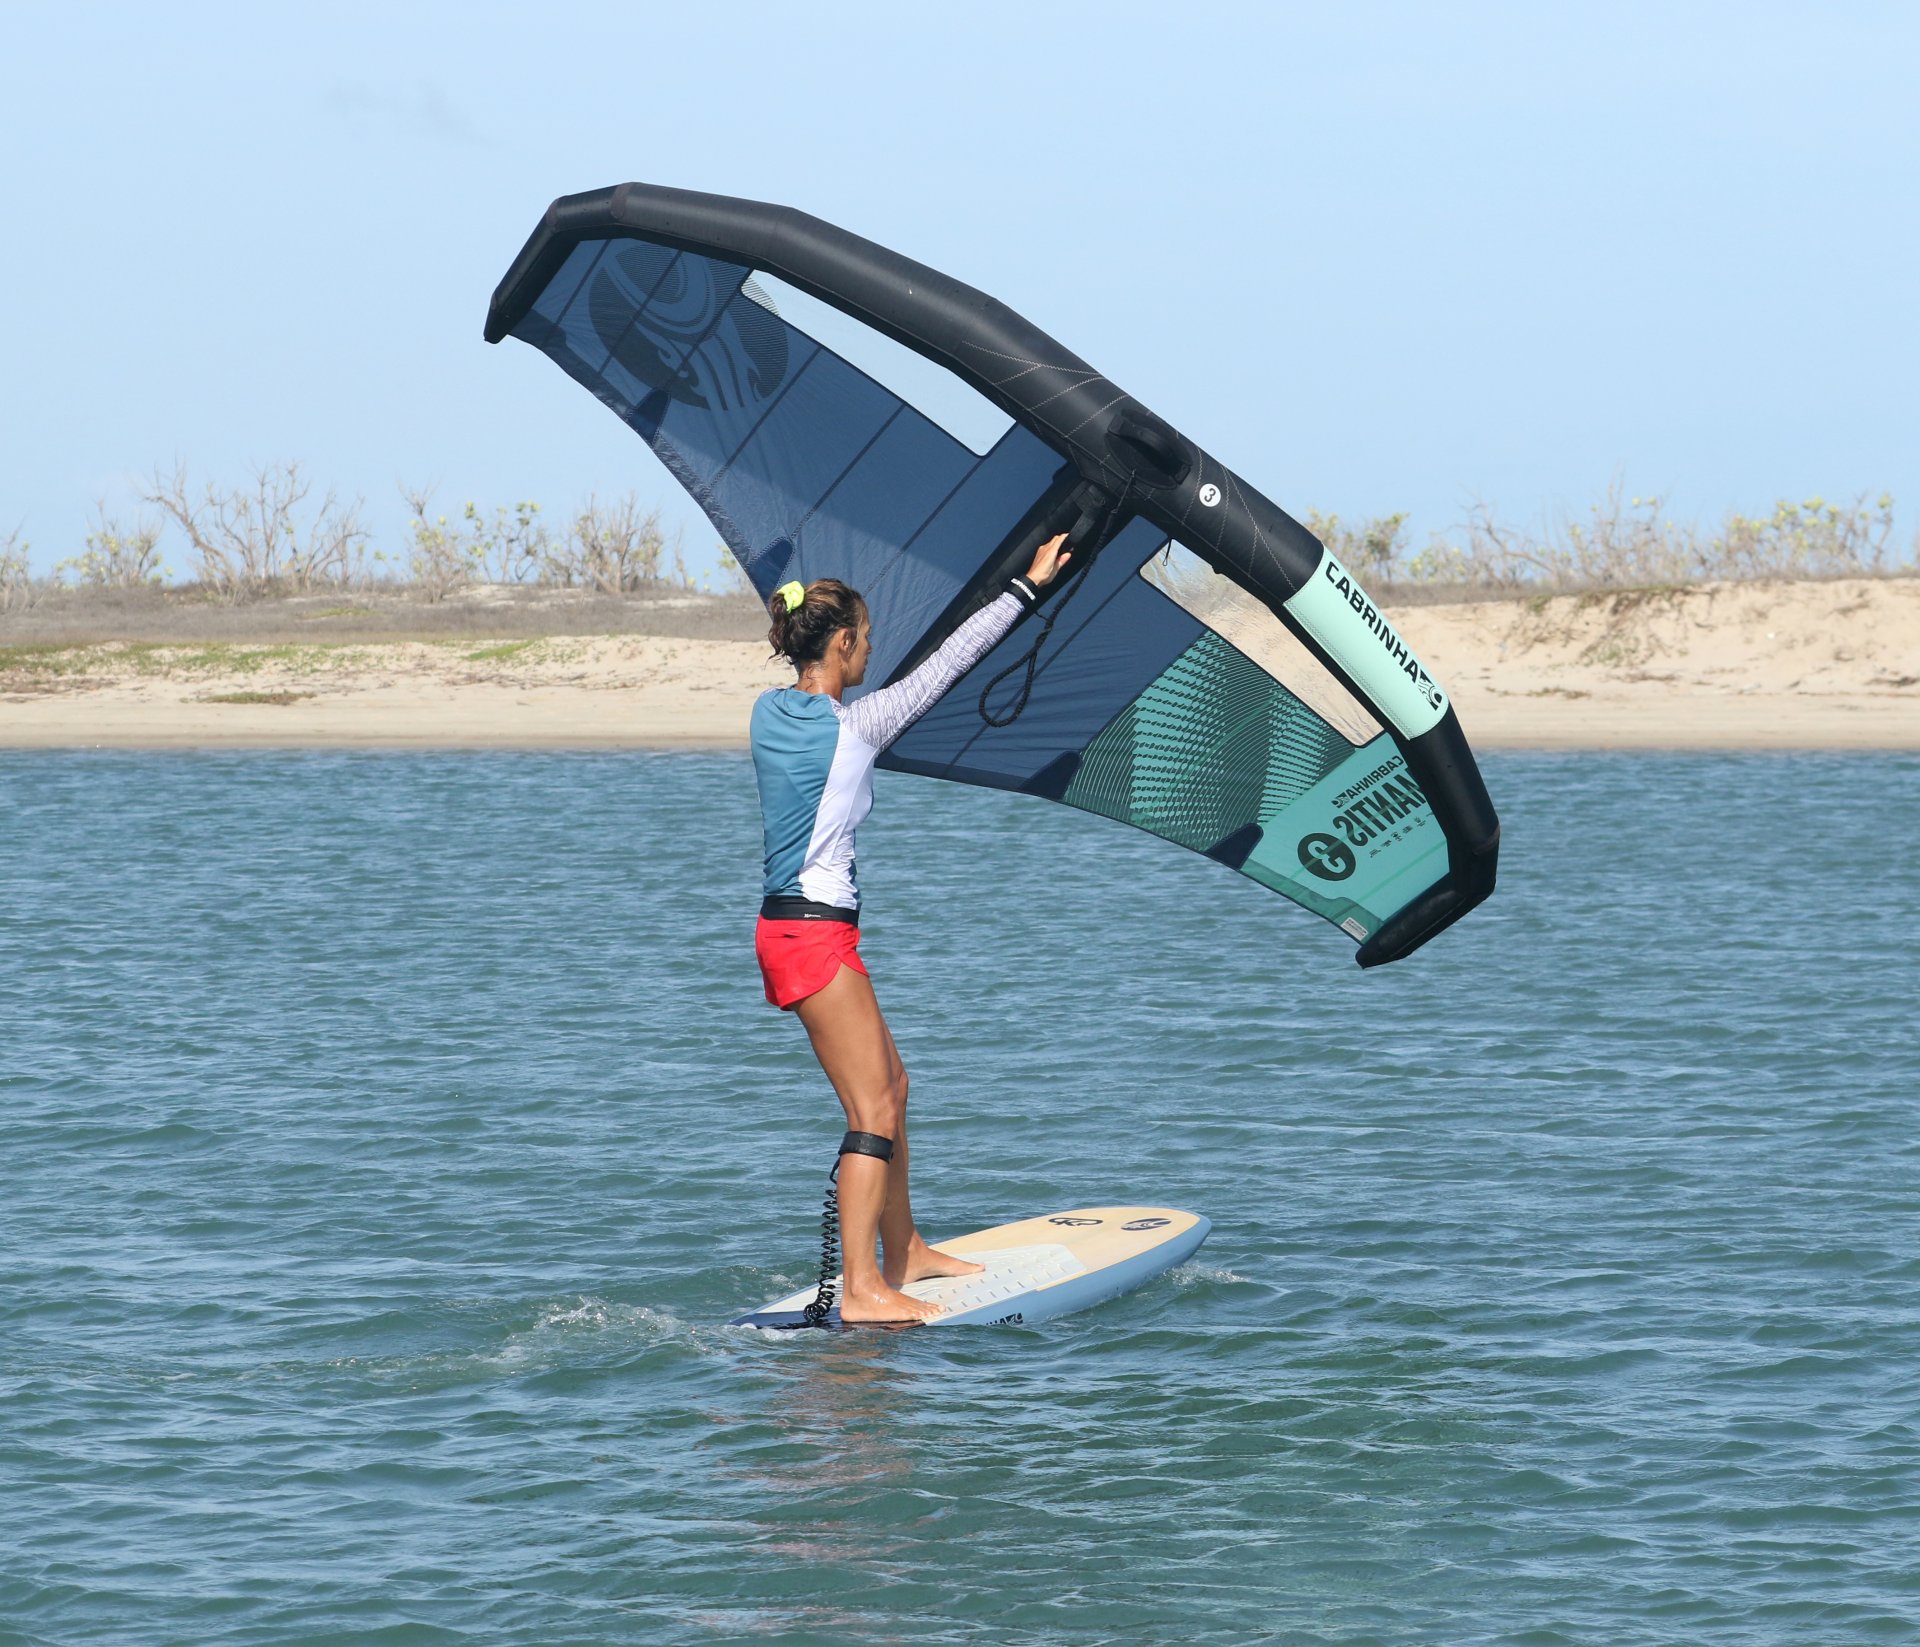
Introduction
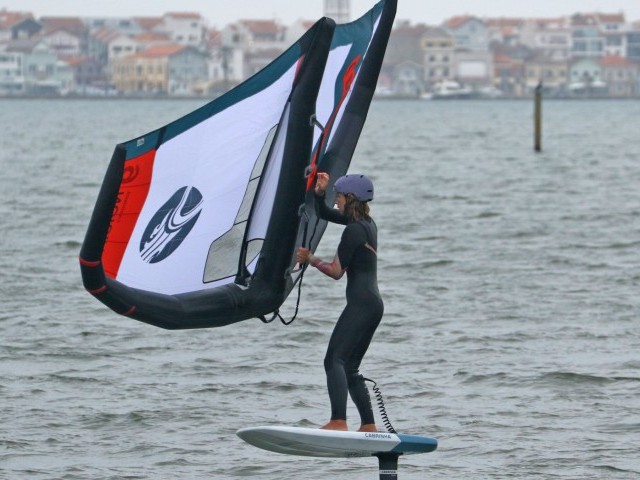
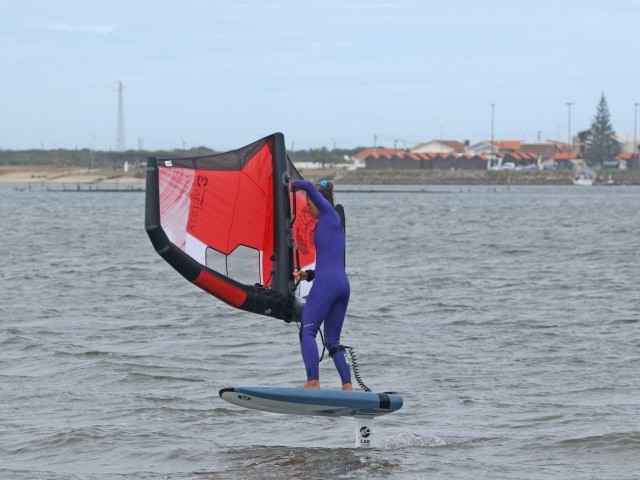
It is time to tackle the other gybe! Even if you haven’t mastered the foiling heel to toe gybe, getting yourself acquainted with the toe to heel winging off the foil gybe will give you a skill that you’ll call on more often than you’ll care to imagine. We all have a better side. You may be happy riding left or right, but carving and then coming out toeside can, and often will be tricky on your least comfortable side. There’s a reason people skate, surf or skid on ice with a favoured foot forward. This isn’t to say that you can’t learn to do it both ways, but at the very least there’s a get out of jail card should you need it. The toe to heel gybe is at its most helpful when woffing. When off the foil, underpowered in a lull, using your stronger side will be a considerably less wobbly affair than leading with your weaker side. Another undeniable advantage is that you can gybe sharply this way, losing minimum ground. It’s not as groundbreaking as a tack, but it can help in a fight to get back upwind.
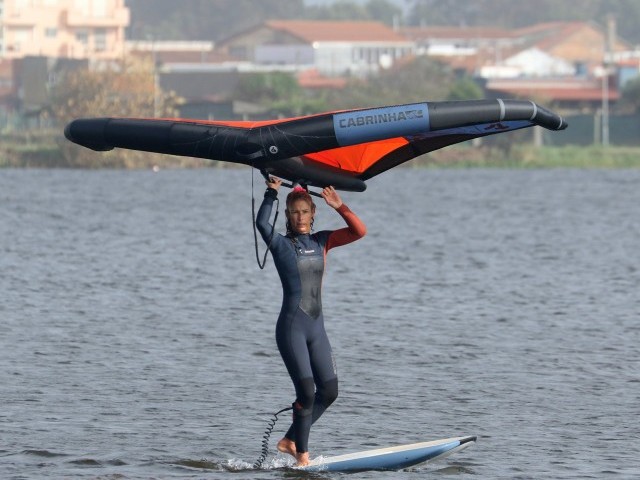
Without ignoring the elephant in the room, you do need to be toeside. Aside from when you are deliberately woffing, there will be times when you come off the foil and need to turn around, whether self-inflicted or due to the conditions. As such before cracking on with the gybe, we’ll start with a little Brucey bonus. A quick look at how to change your feet from heel side to toeside whilst woffing. As with the previous gybe’s foot change, this won’t be the exact technique that you use when foiling. However, it will get you comfortable moving your feet and finding their new positions, which will give you confidence and broaden your skill set in preparation for what lies ahead.


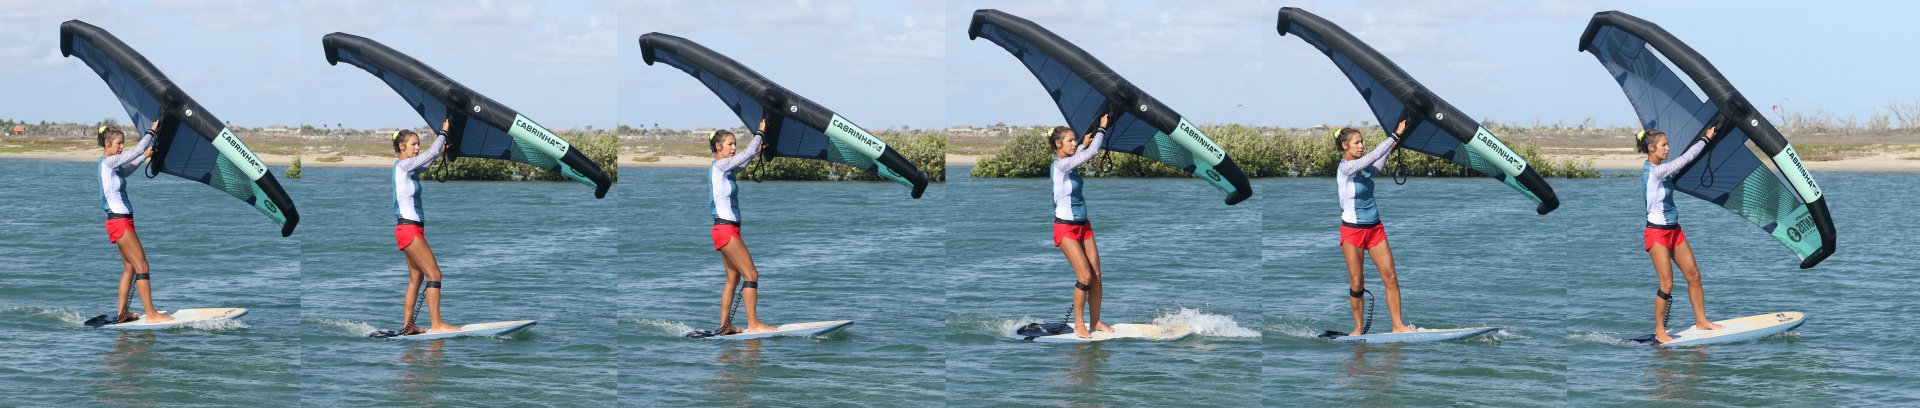
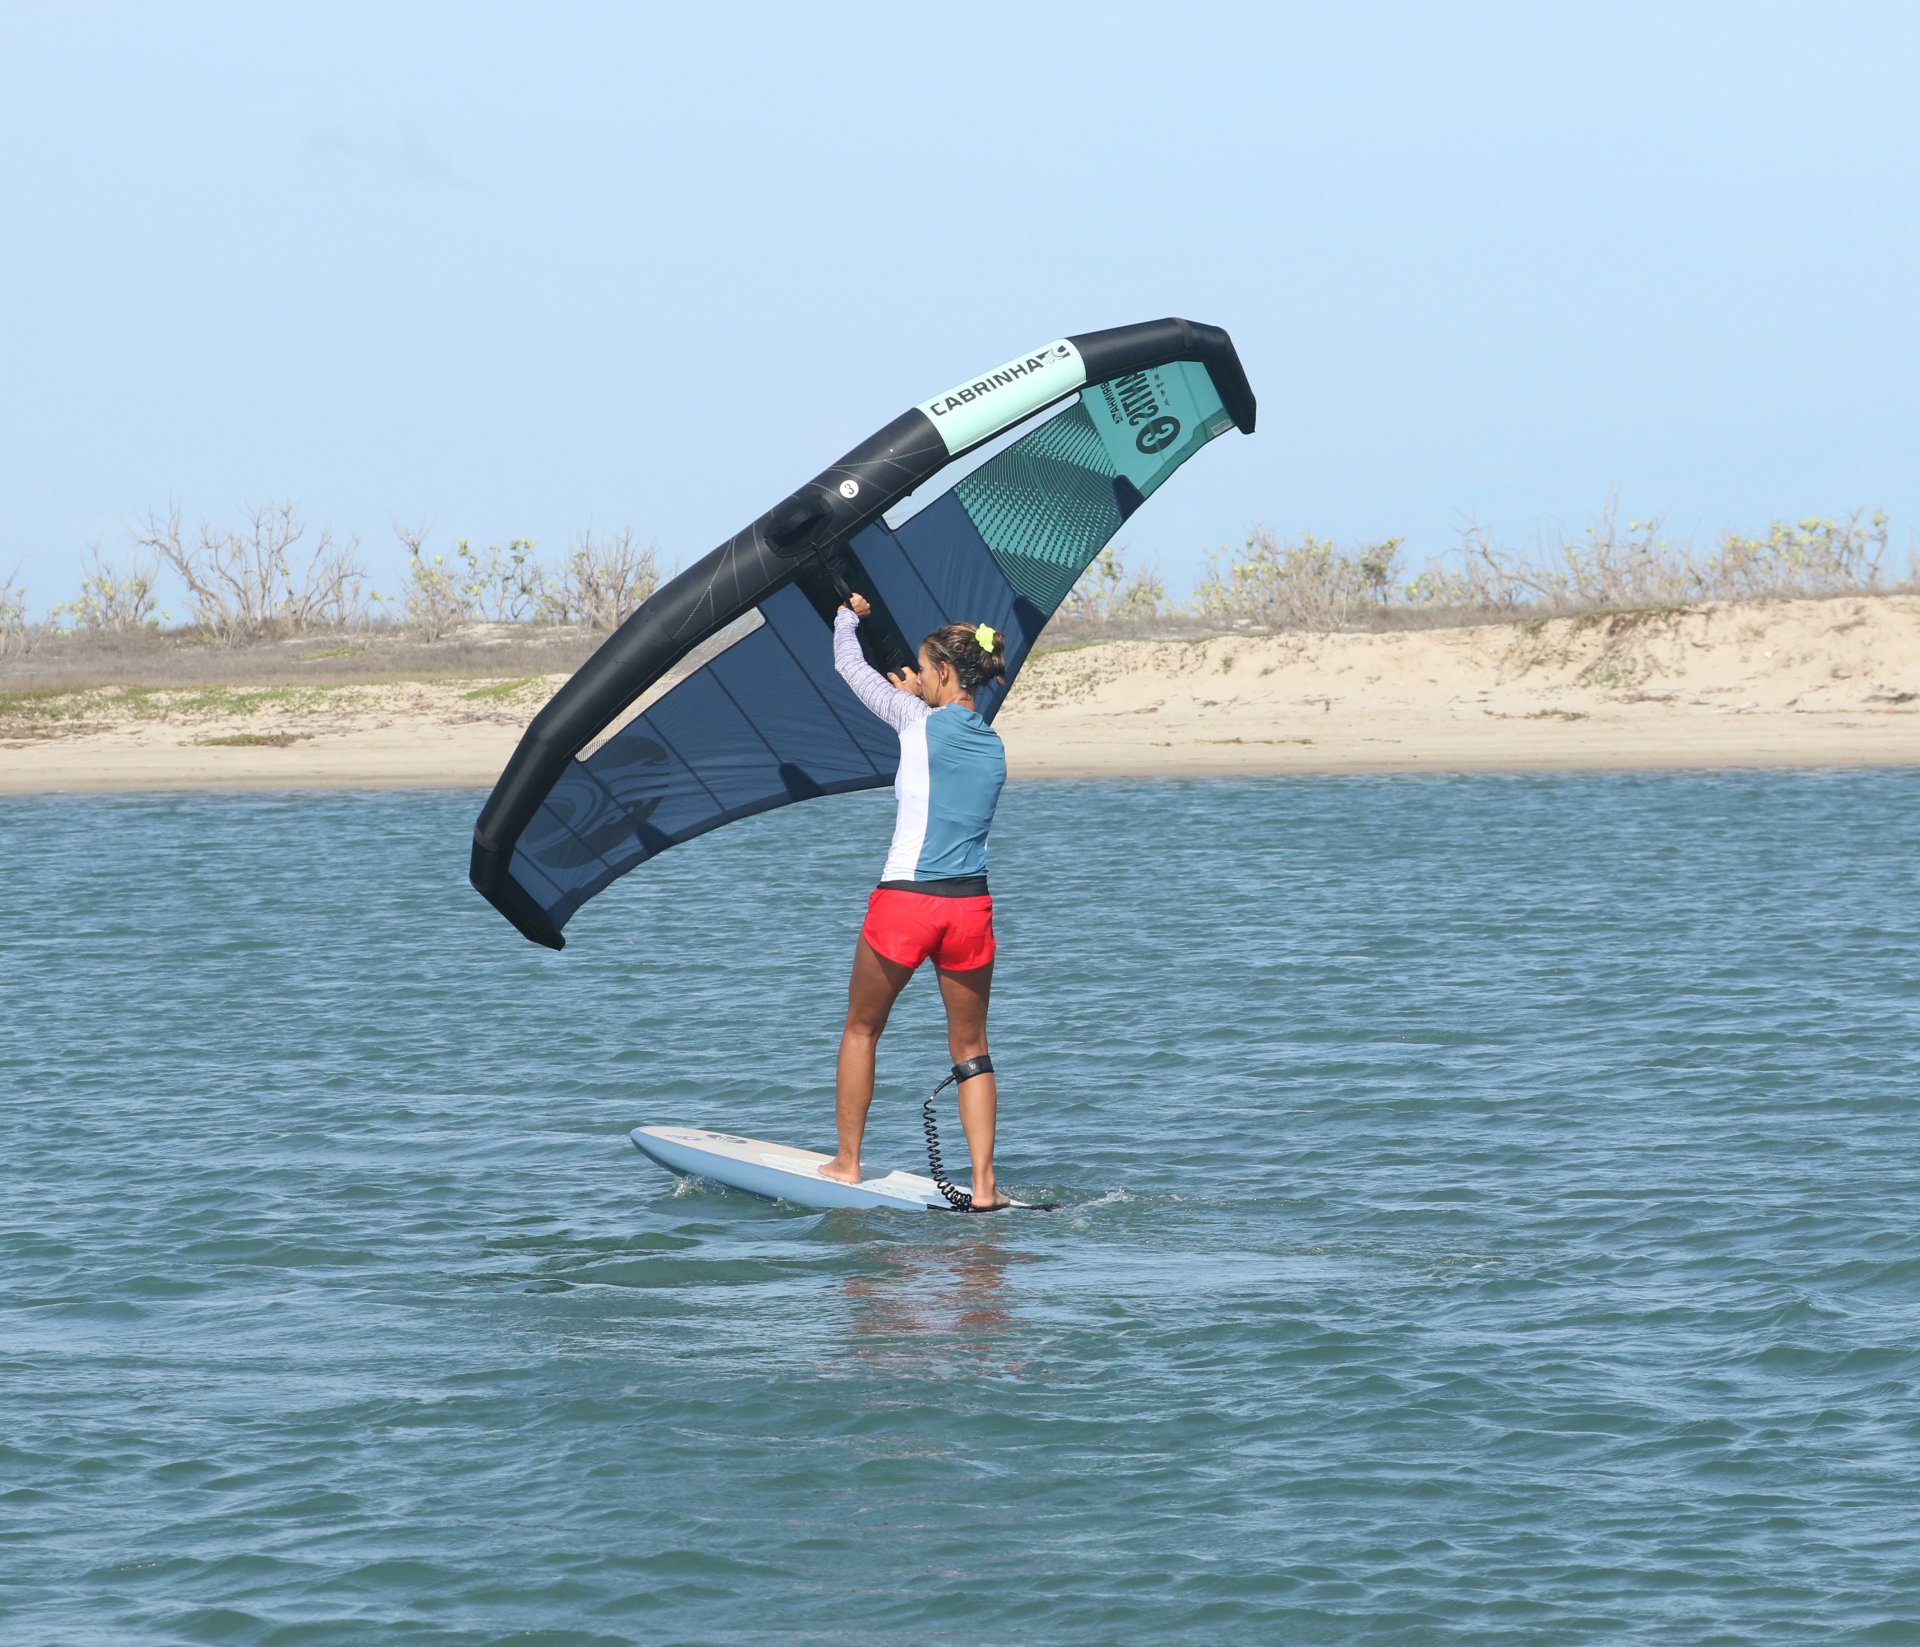
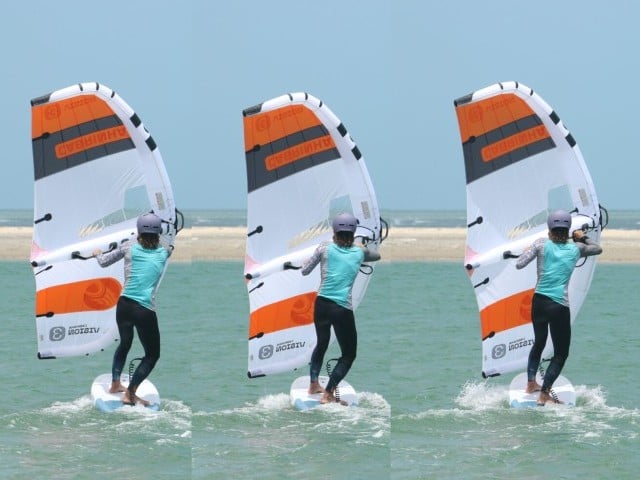
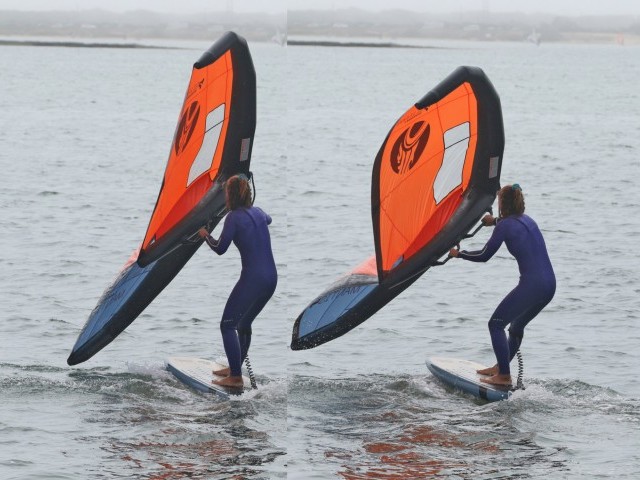
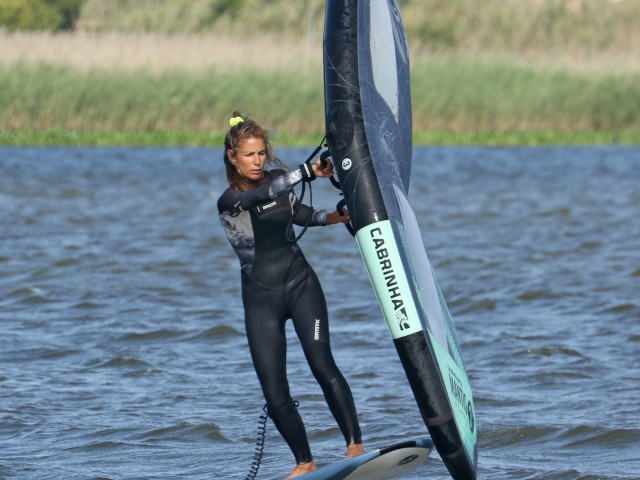
Heel to Toe Foot Change. Sequence 1
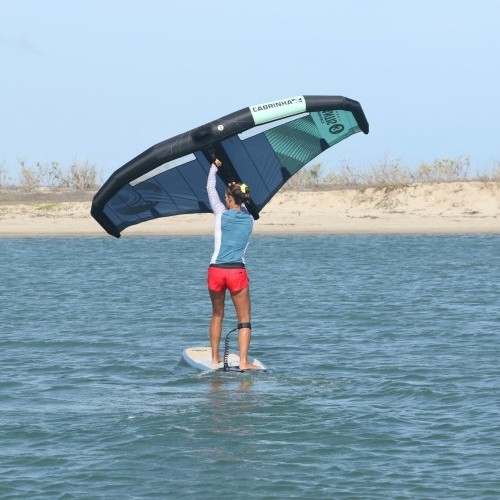
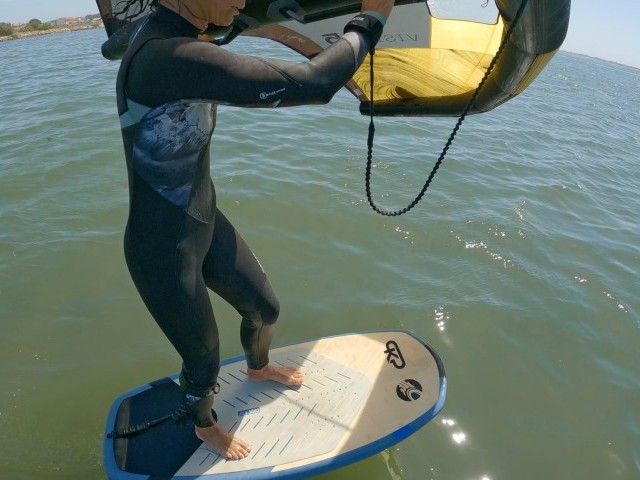
- Starting position. Your best bet is to always start in the same place, so that your setup is consistent. In relation to the wind, you want to be riding upwind, balanced over the board. Once here your one job is to bring your feet closer so as to narrow your stance. Slide your back foot up slightly and move your front foot slightly back, keeping it pointed slightly forward. The aim is to find a sweet spot where you can keep the board trimmed from nose to tail and rail to rail whilst standing with your feet closer together.
- Open and up. To make sure you’re standing on the board fly your wing up slightly. To make the foot change less unstable you should already open your shoulders, twisting at the waist so that your chest faces forwards.
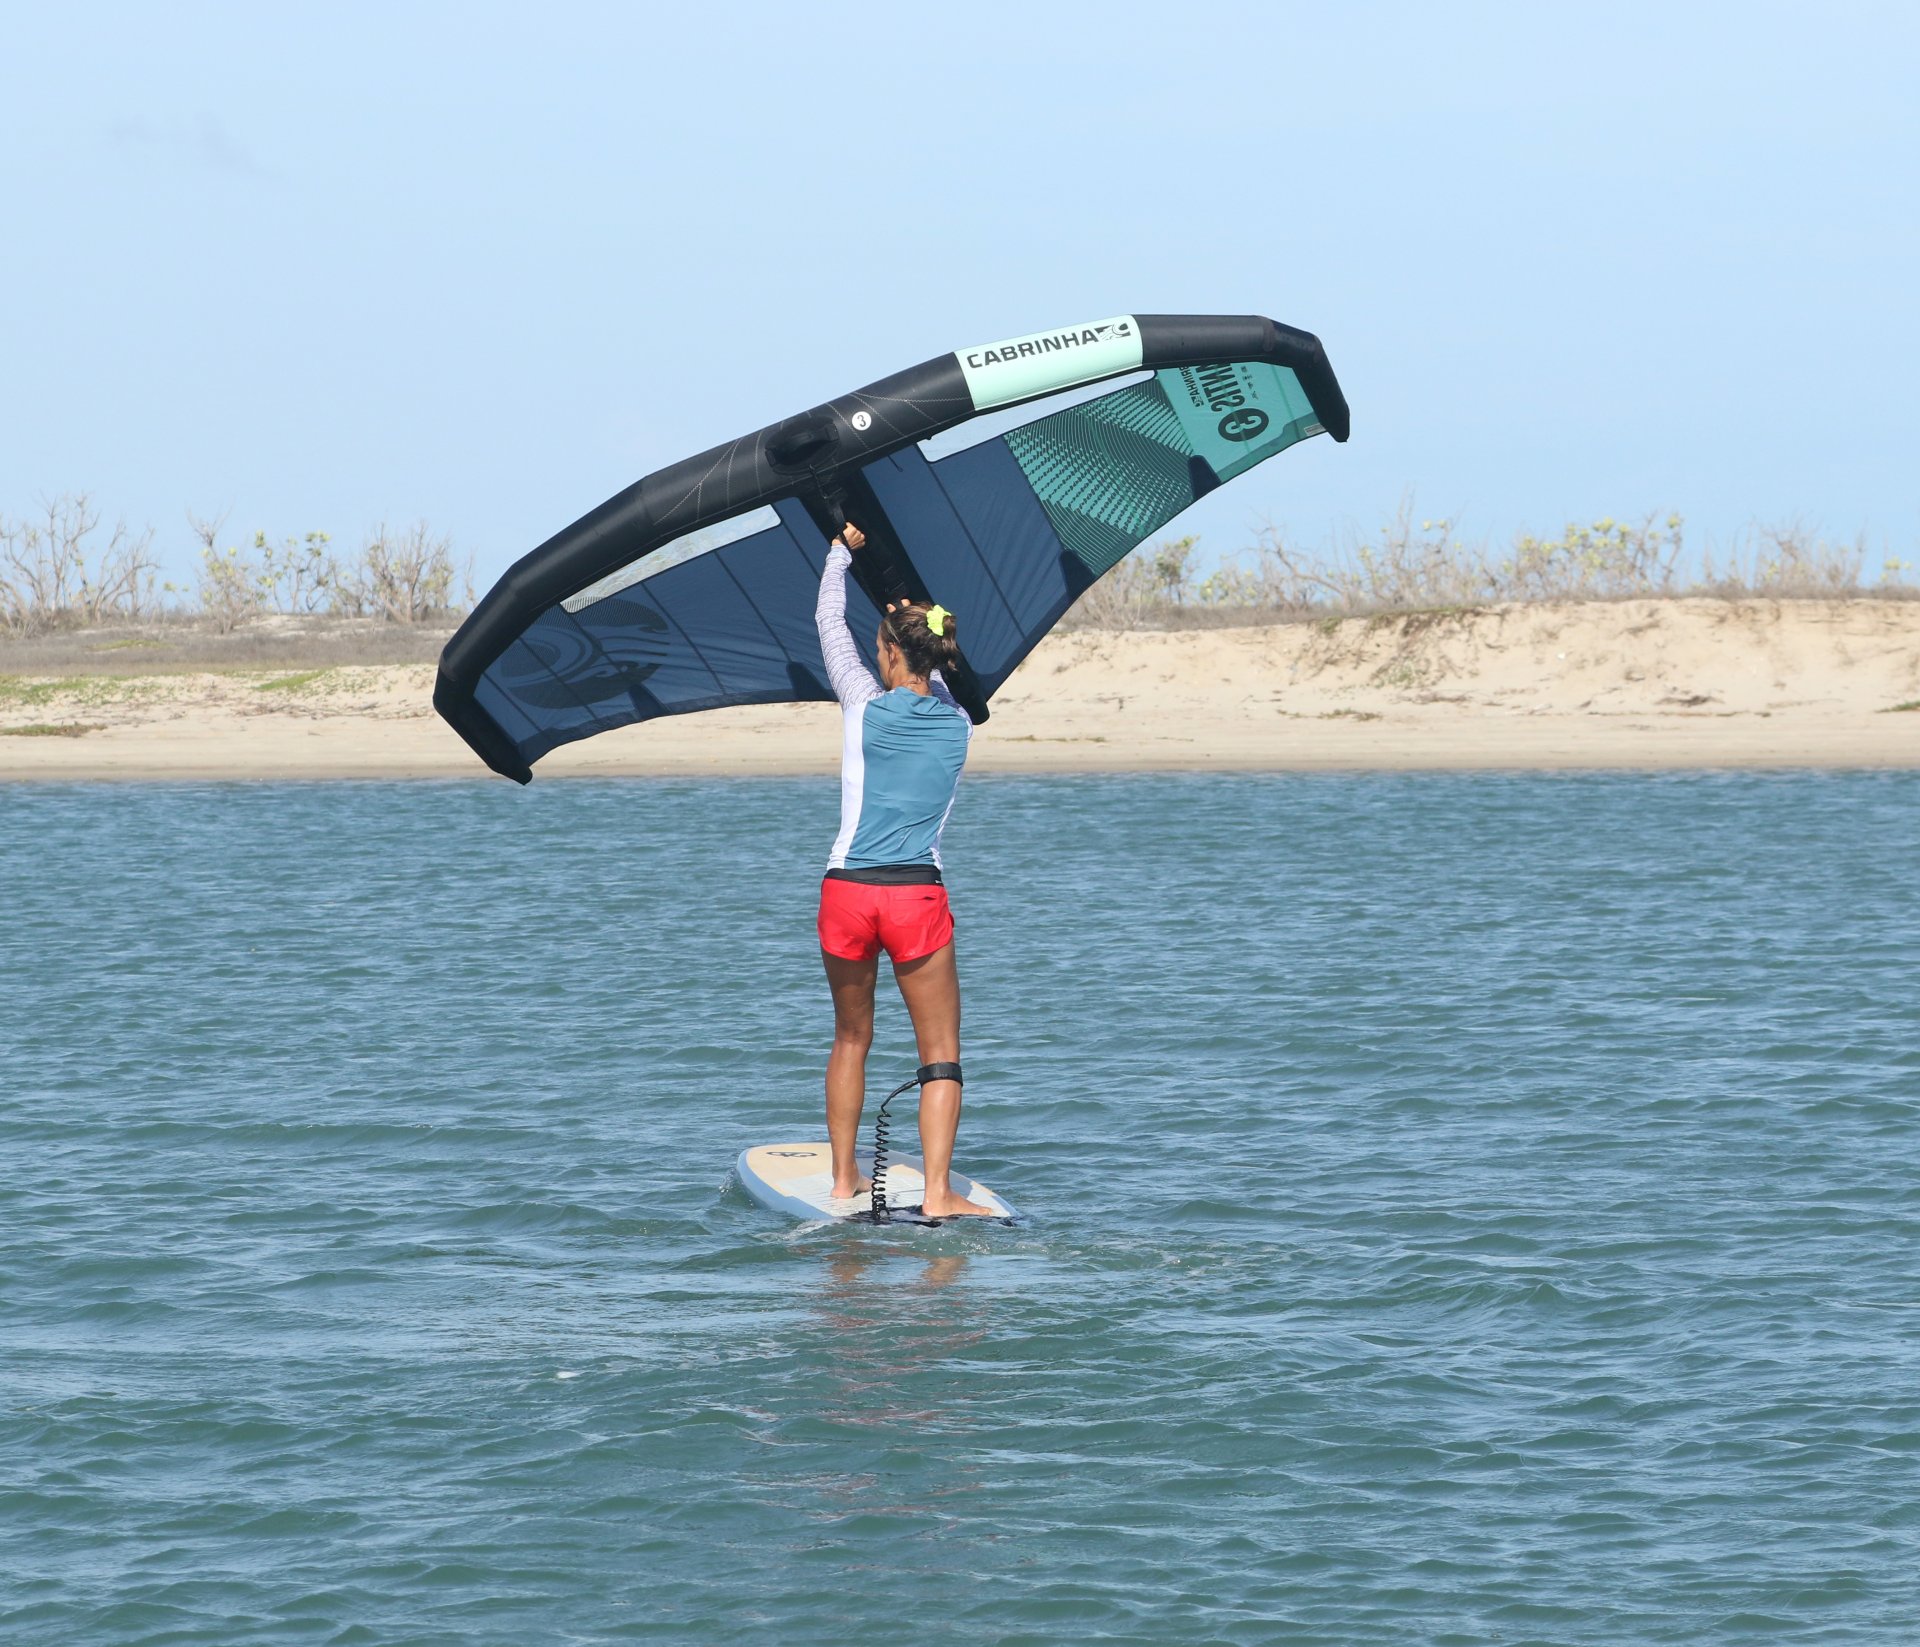
- Free your feet. You’ll be moving your back foot first, and if you want to be able to lift your back foot, you can’t have all your weight on it. Move your weight forward until it’s centred on both feet.
- Time to boogie. Step your back foot up. Aim to place it as close as possible to your front foot, pointing forwards so that it’s close to the centre line of the board.
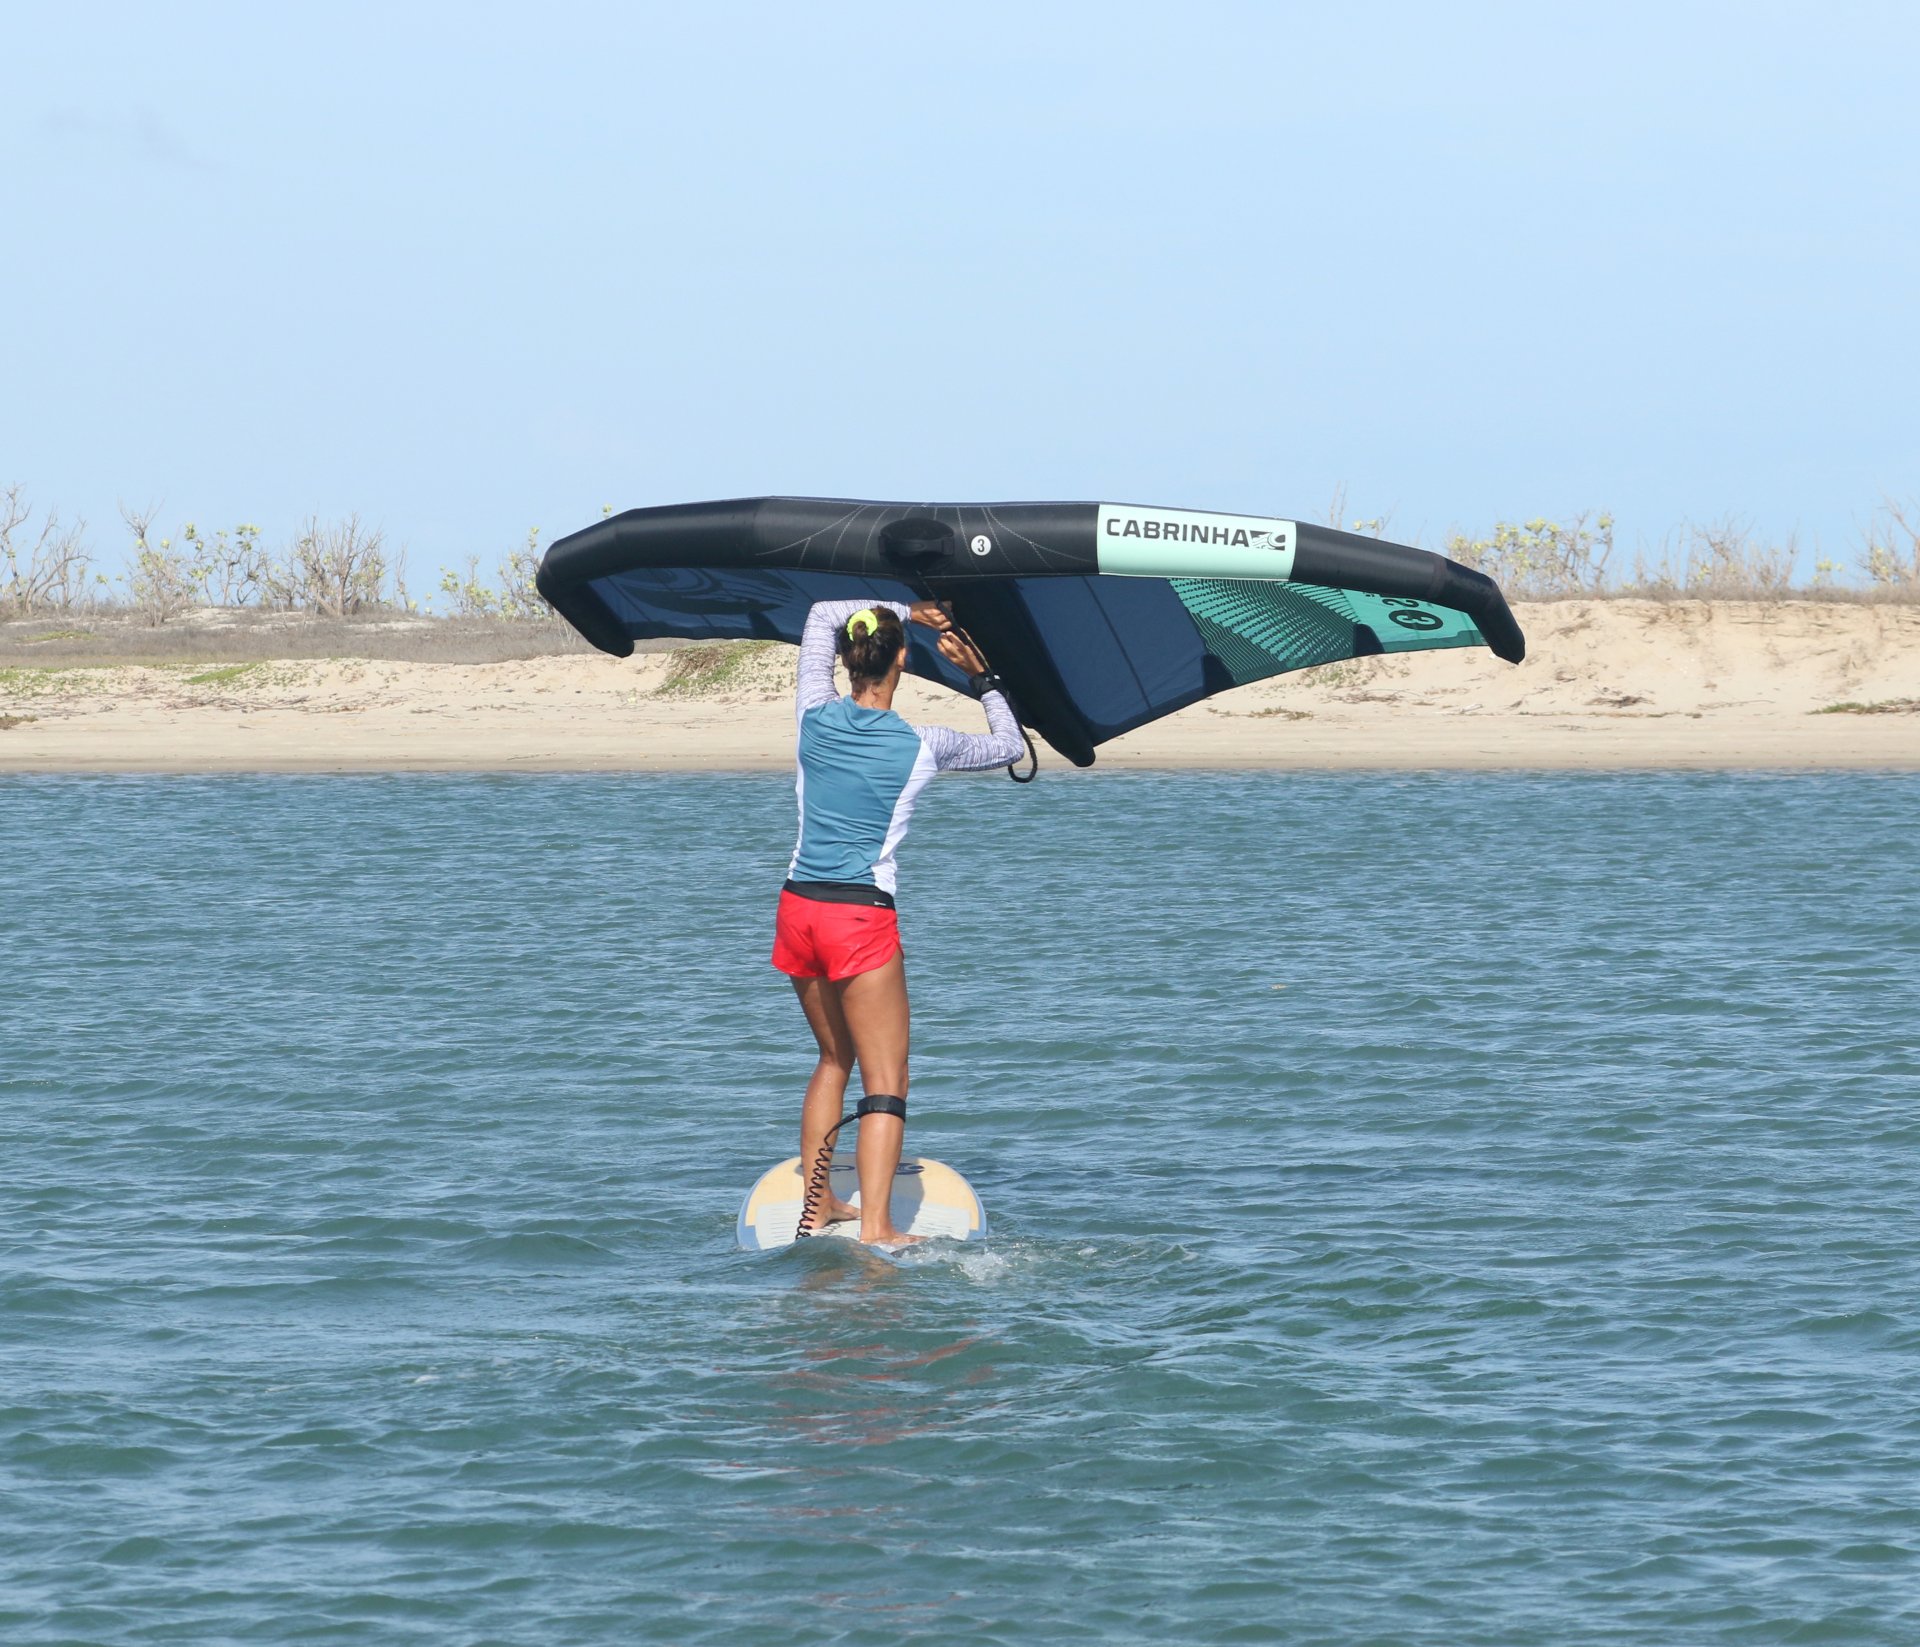
- With your weight on your new front foot, step back with your other foot.
- Chances are that your feet will not be in the perfect position. However, in an attempt to be balanced in your toe side position, you can wiggle them until you’re comfortable. It’s worth noting that Karine has her new back foot sufficiently across the centre line of the board to compensate for her front foot position. The reason, you need to be able to finish your gybe heelside, and as such, you shouldn’t move your front foot too far across. Sheet in and get some forward drive for stability by pushing your front arm forward and down.
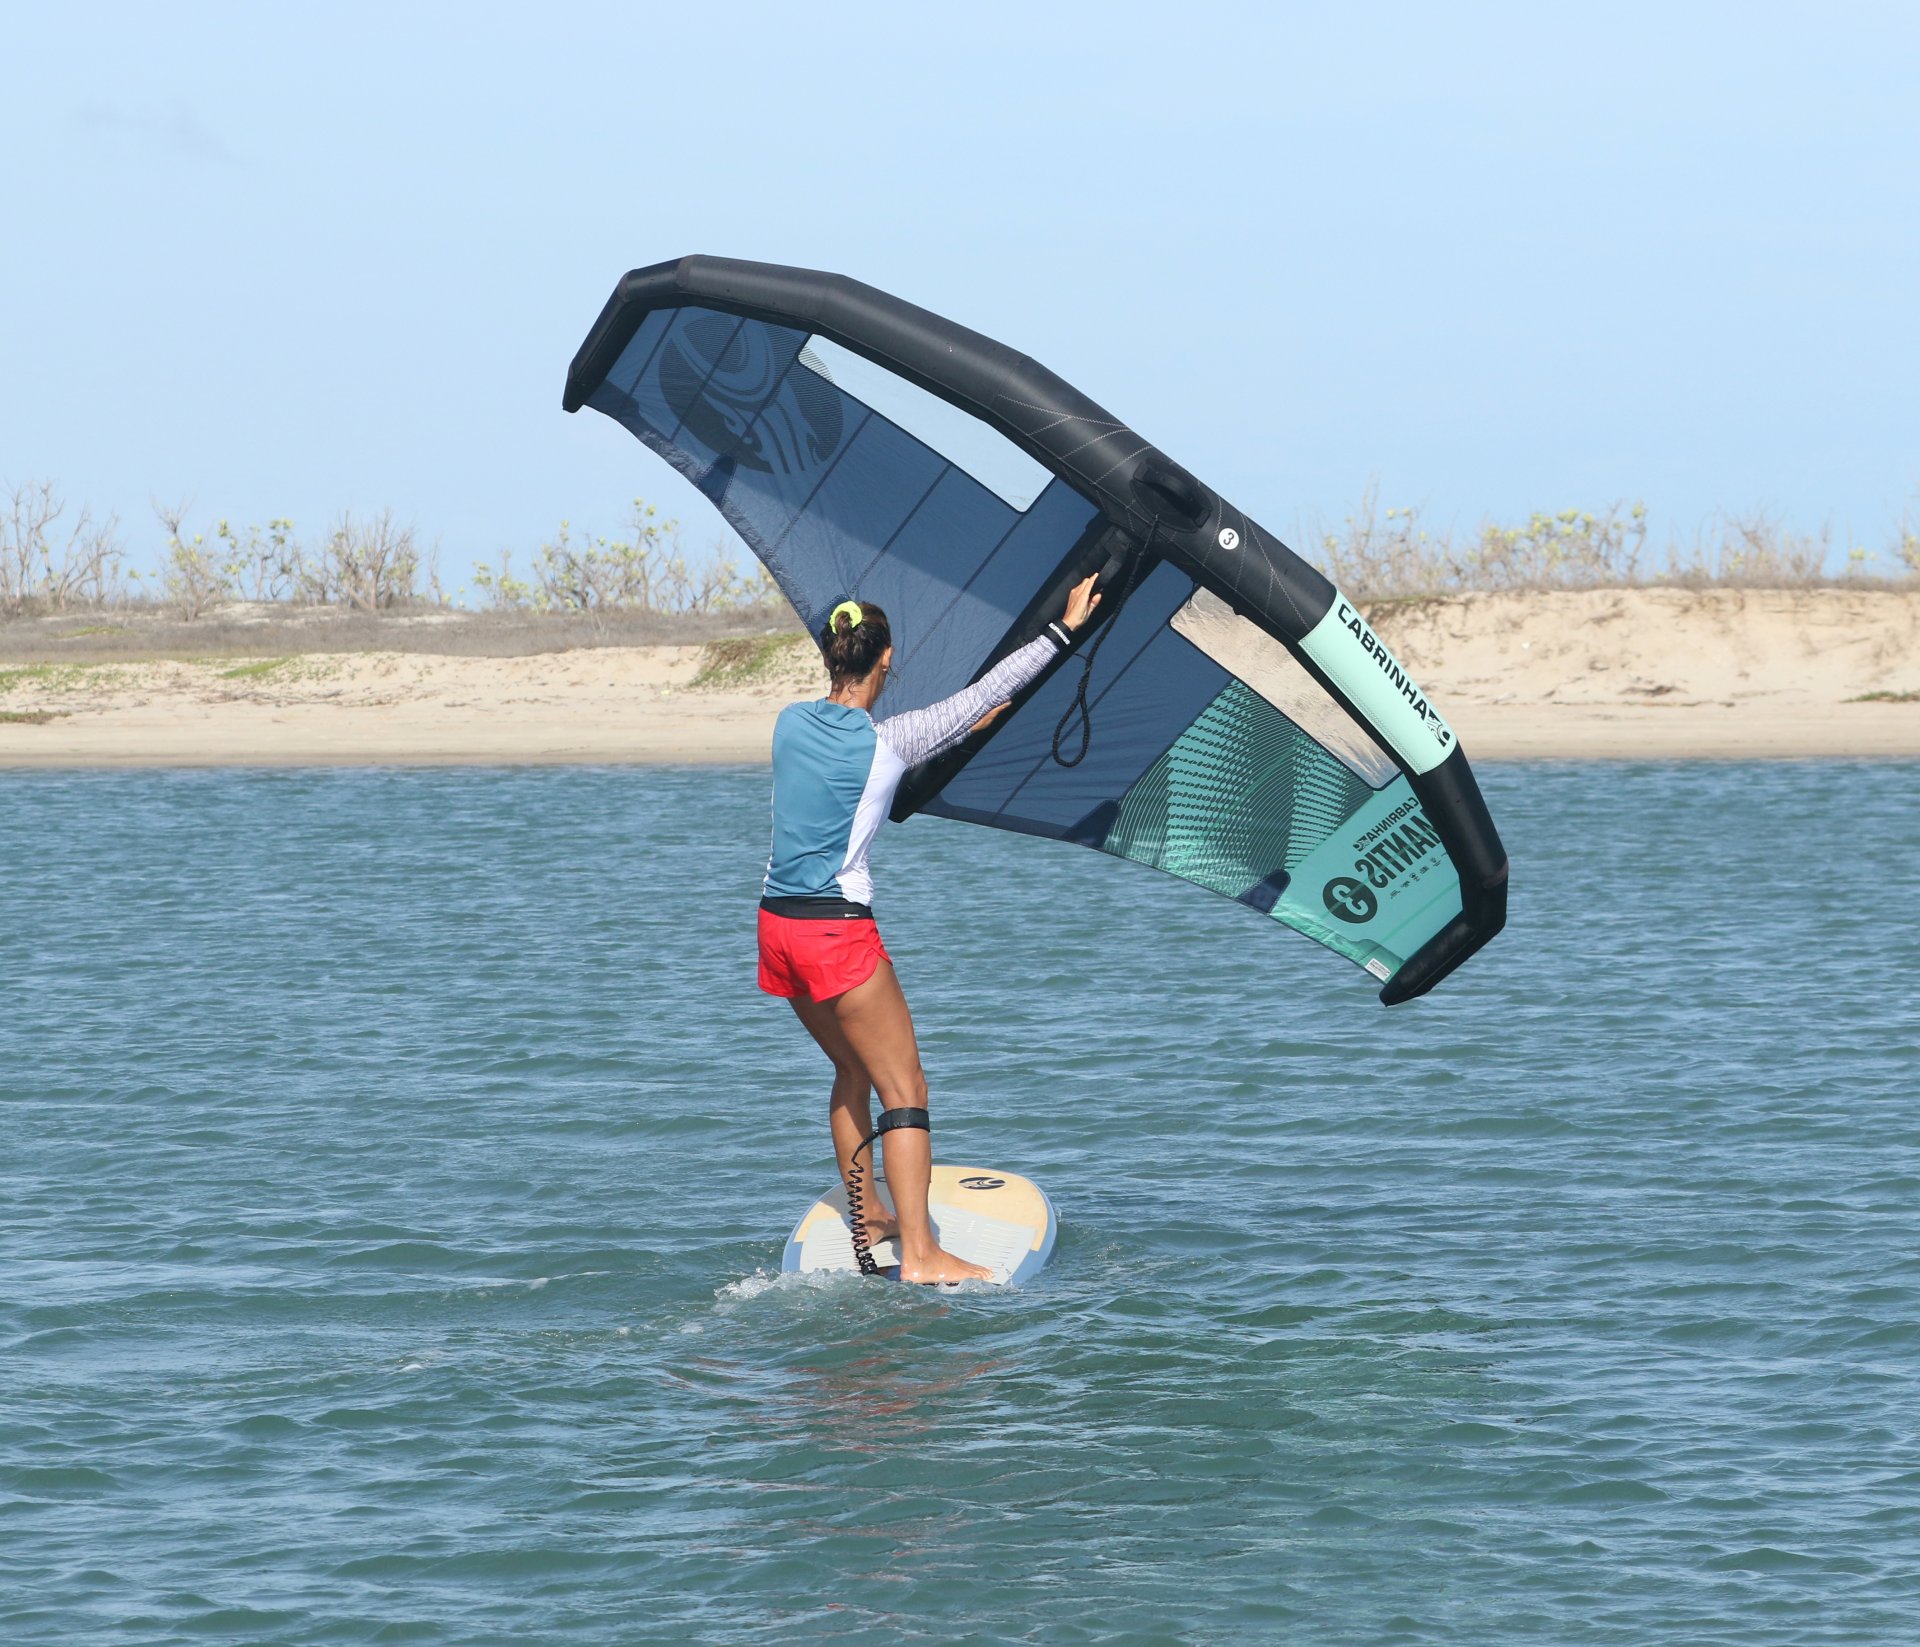
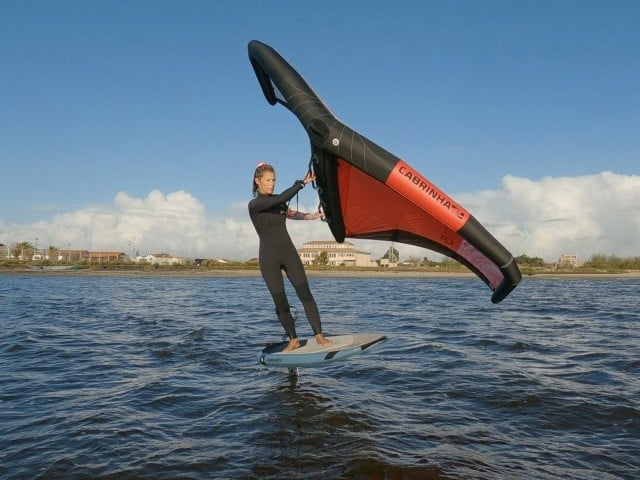
Brilliant, now that you’re riding toeside/switch we can move onto the gybe. Being a gybe, the principles are the same as the heel to toe gybe that we covered a few issues back. Your aim is to bear away, steering the board downwind, flipping your rig, before steering the board back across the wind in the new direction. Once again, don’t forget your dynamic position. Throughout this move you are not fixed and frozen, you can make small necessary adjustments to maintain trim, power, and balance.
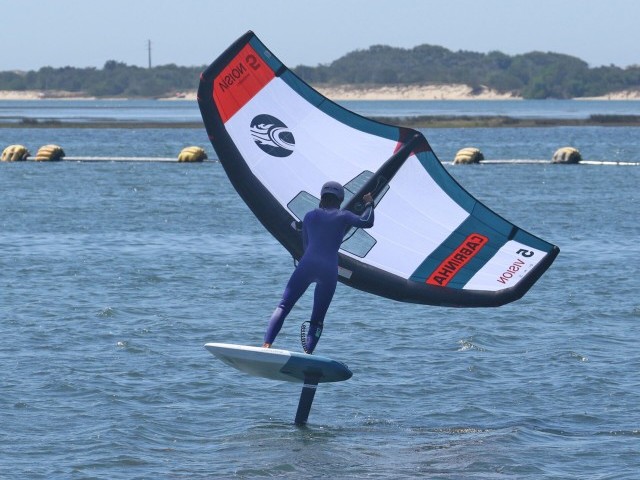
Initiating the gybe Pic A.
Once you’re balanced and have checked that the coast is clear you can set your gybe in motion by bearing away. Your aim is to turn the board as far as possible, all the way until it’s pointing downwind. Extend your front arm to sheet in and push the wing forwards to turn the nose of the board away from the wind. The bigger the wing movement, the quicker the board will turn. If the wind is very light, you’ll need some patience. If the wind is stronger, you’ll have to be dynamic and resist by dropping your weight and controlling the power with your backhand.
Keep Turning Pic B.
As the board bears away it’s a matter of exaggerating all your movements so that you can encourage the board all the way downwind. You and your board will bear away, but keep the wing where it is, pushed towards the outside of your turn and sheeted into the wind. Counter the pressure from the wing with your body and push the tail of the board towards the wing with your back leg. The more weight you have back, the quicker the board will turn.
Wing Flip A Pic C.
You’ll reach a point where you can’t turn the board any further. This will be around downwind. With effort, you can steer a tiny bit further, but once the nose of your board is pointing with the wind, it’s time to flip your wing. Release your back hand, reach up and grab the front handle. With the wing high you should be able to grab in an overhand grip. Up until now, you’ve had the wing pulling and something to counter your weight. As soon as you release your back hand everything will be considerably more unstable. So, make sure you’re balanced before letting go.
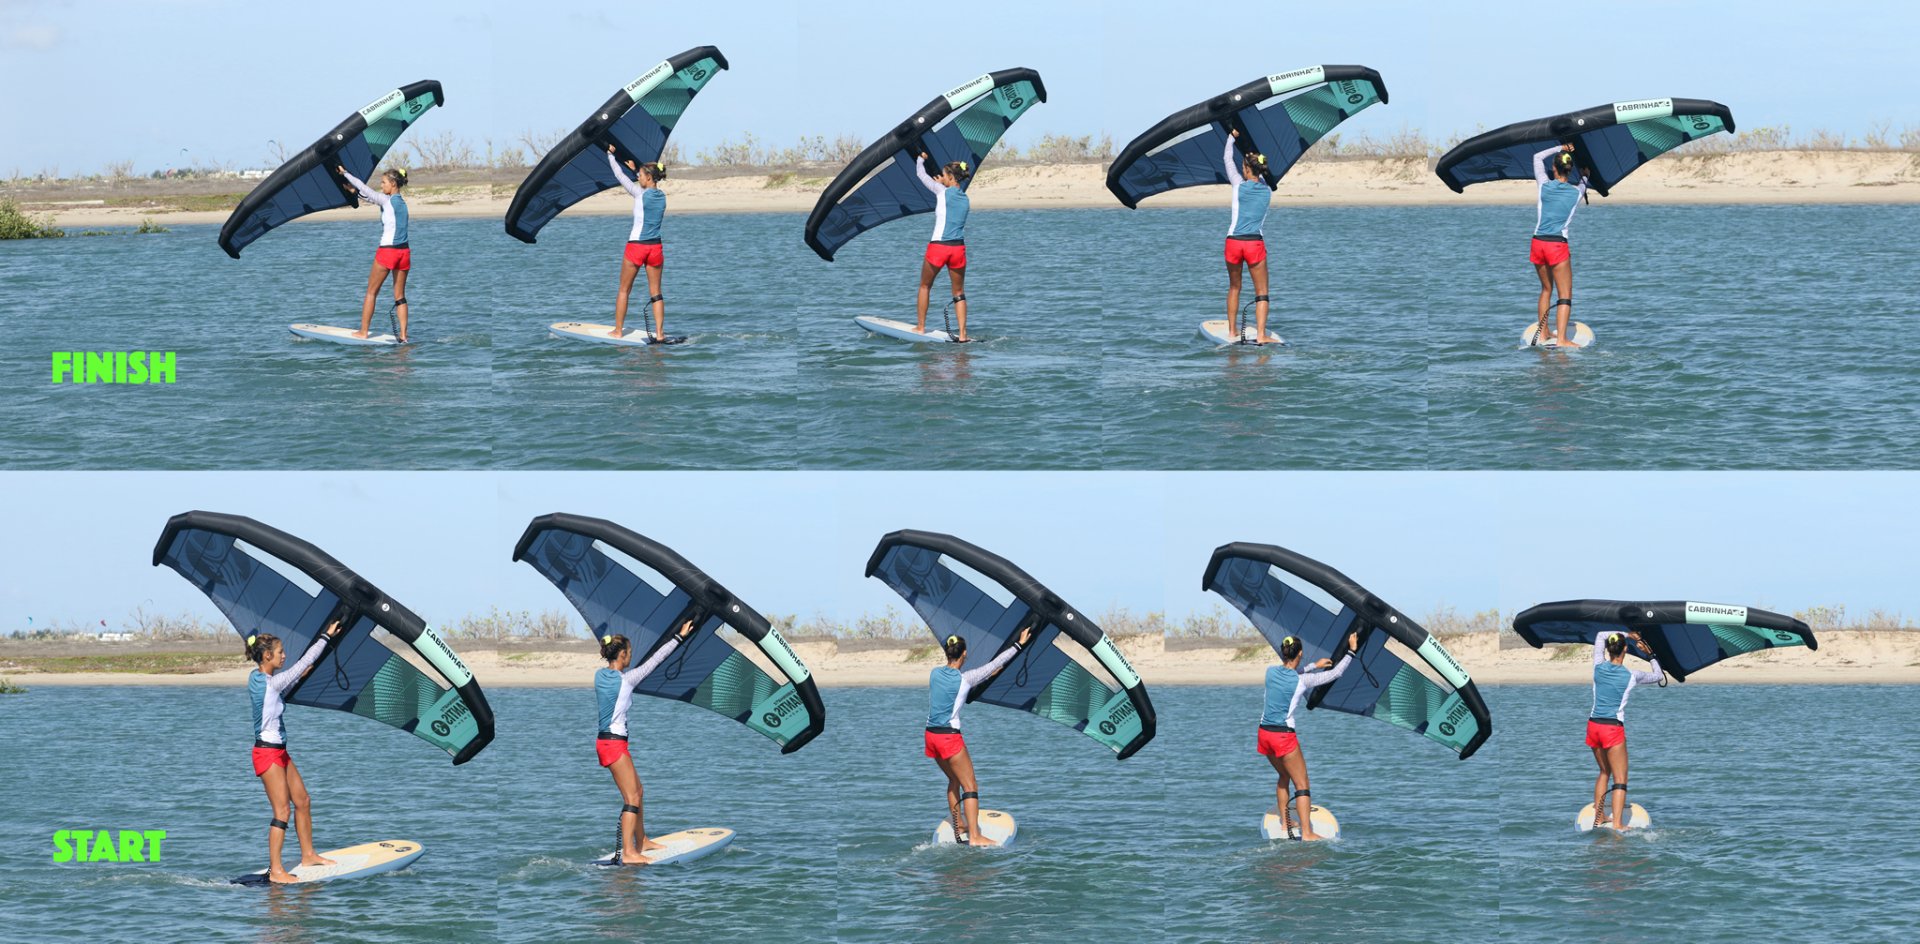
Wing Flip B Pic D.
Once you’ve got your new hand on the front handle, keep the wing as close as possible on a bent arm. Release your other hand and reach for a back handle. If you let the wing fly away from you, your back handle will be out of reach. The good news is that even though this stage is a tad wobbly, with the board pointing downwind, the wing flagging downwind and you reaching downwind for the back handle, everything is lined up over the board. Plant your weight onto your front foot for balance to use every ounce of volume and stability.

Power On Pic E.
With both hands holding your wing you’ll feel more balanced and ready to get steering again. Two jobs. Firstly, move your weight back over your rear foot. With your weight back the board will turn up more readily. This will also put you into a more dynamic position should there be power in your wing. Secondly, sheet in gently whilst keeping the wing high. As the power comes on, however gently or aggressively, look where you’d like to go and keep your weight back. With the tail down, nose slightly up and some pressure from the wing your board will pivot and start to steer around the rest of your gybe.
Drive Out Pic F.
As the board turns it’s time to get some forward momentum and drive. Keep your wing sheeted in, and bring your front hand down, pointing the wing in the new direction of travel. This will pull your forwards. All that’s left is to get your weight back onto both feet, so that you can trim the board and steer yourself back upwind.
We should add that this will be considerably easier to learn in flat water and a gentle wind. However, once you’ve got this nailed and you\'re gybing consistently, you’ll be able to rely on it in many different conditions.
Brilliant, have a look at the sequence and video to give yourself a step by step visual and a real-time experience. Enjoy, cheerio C&K

This technique article was in Issue 14 of Tonic Mag.
Related
By Christian and Karine
