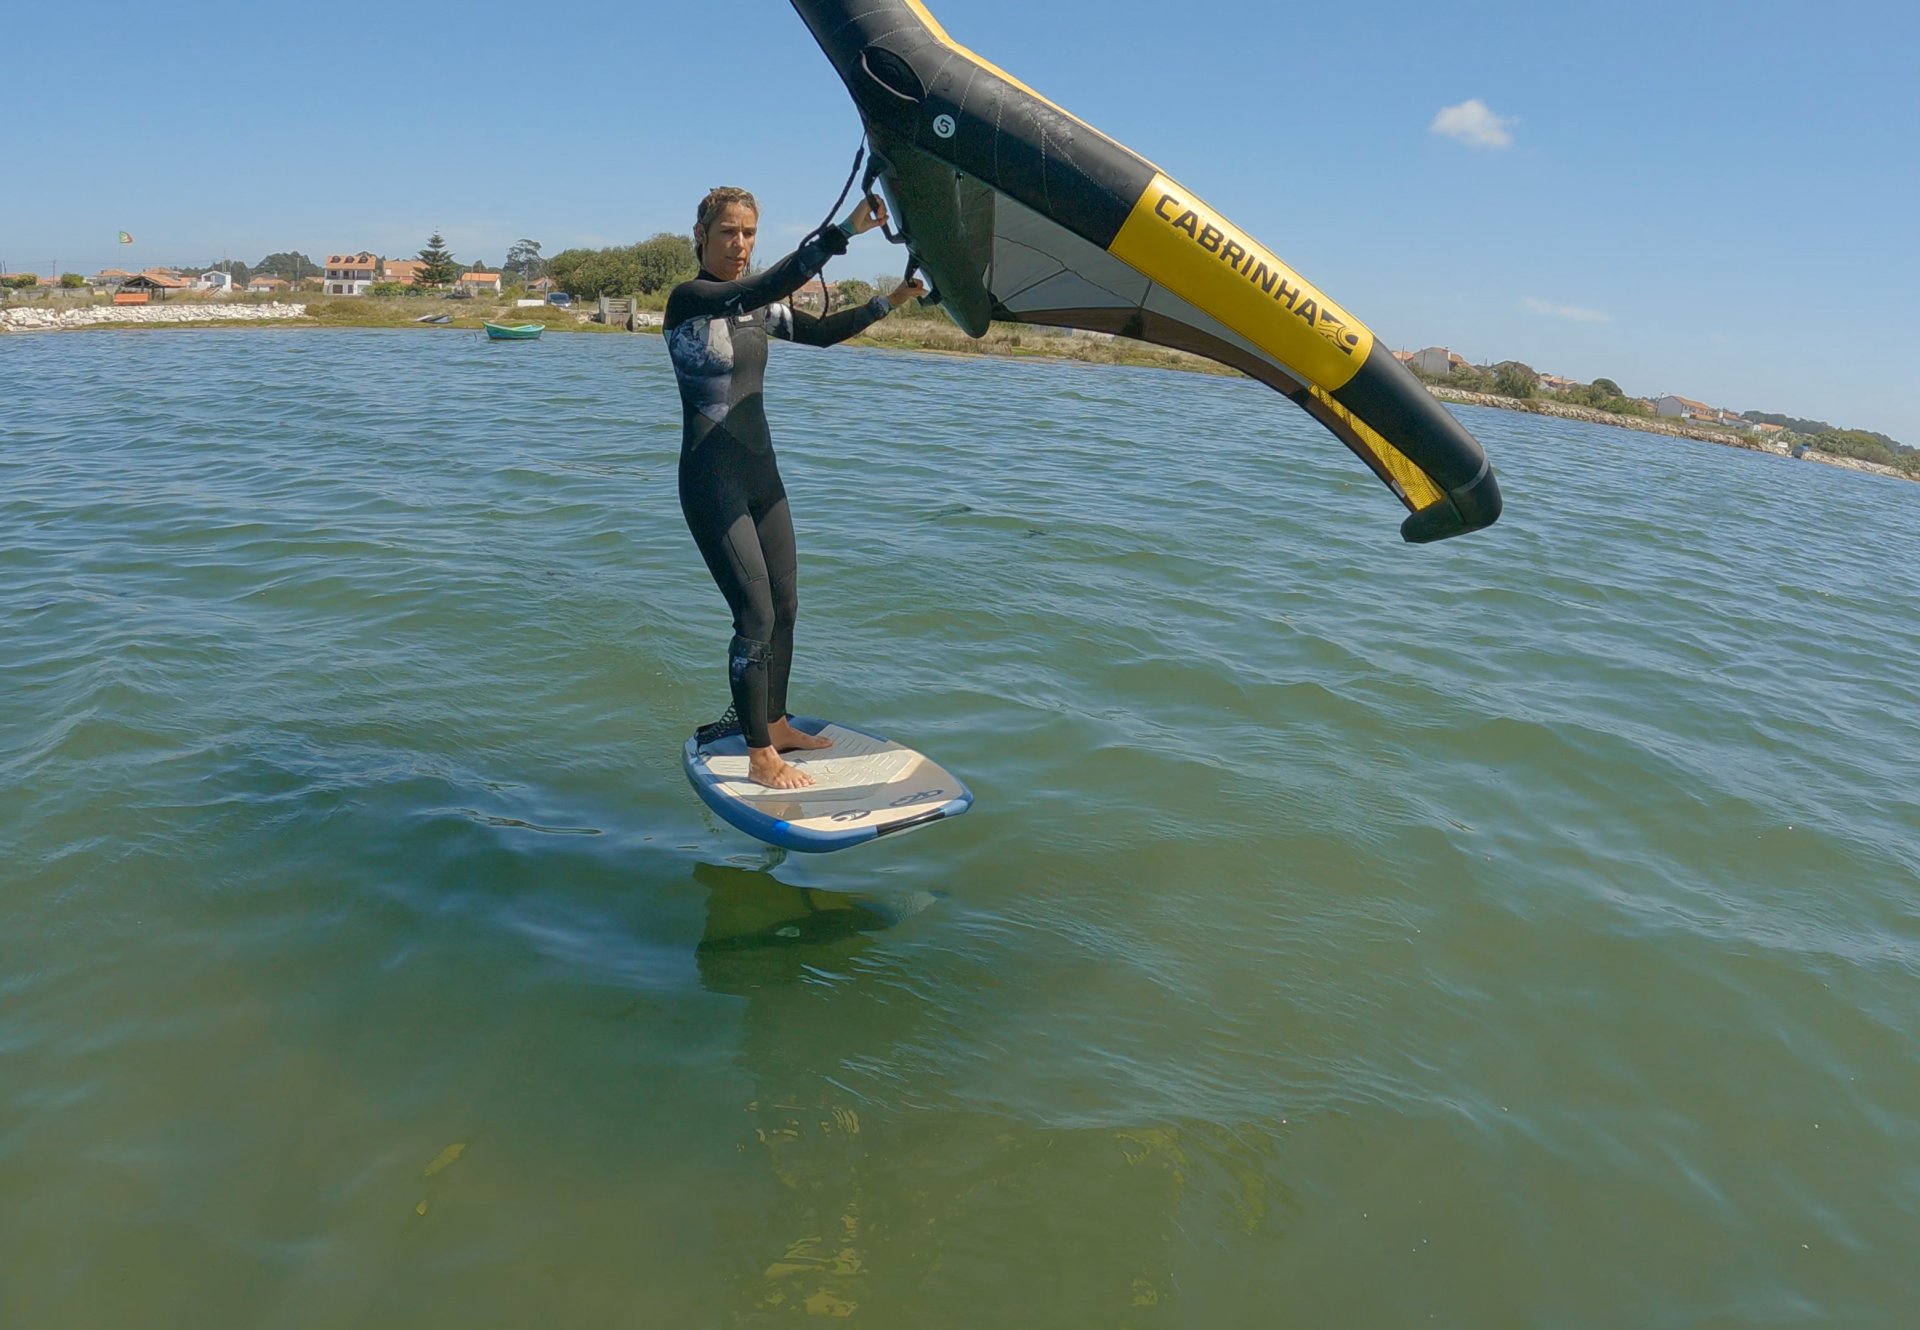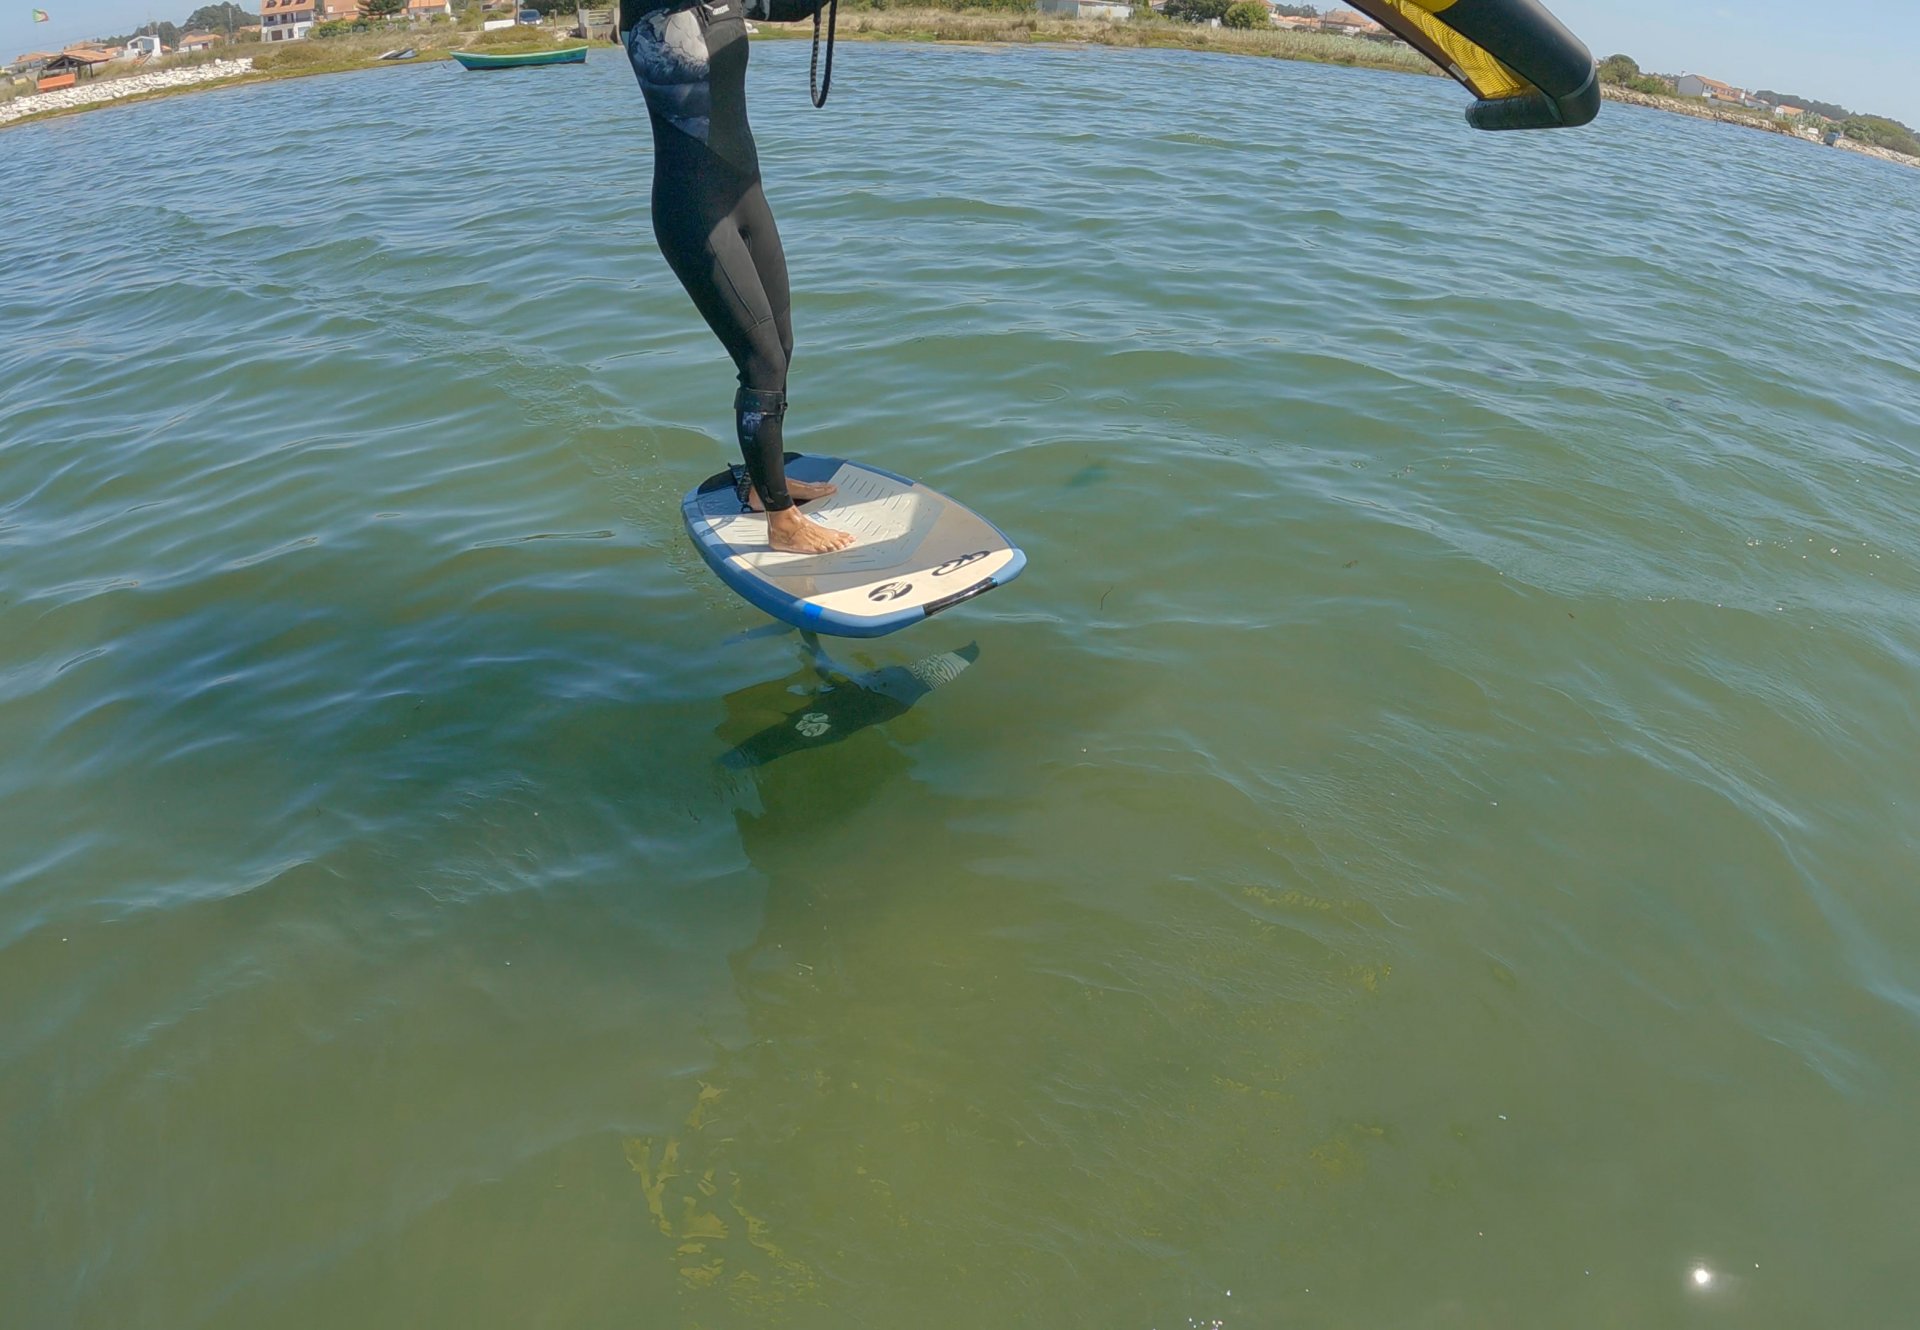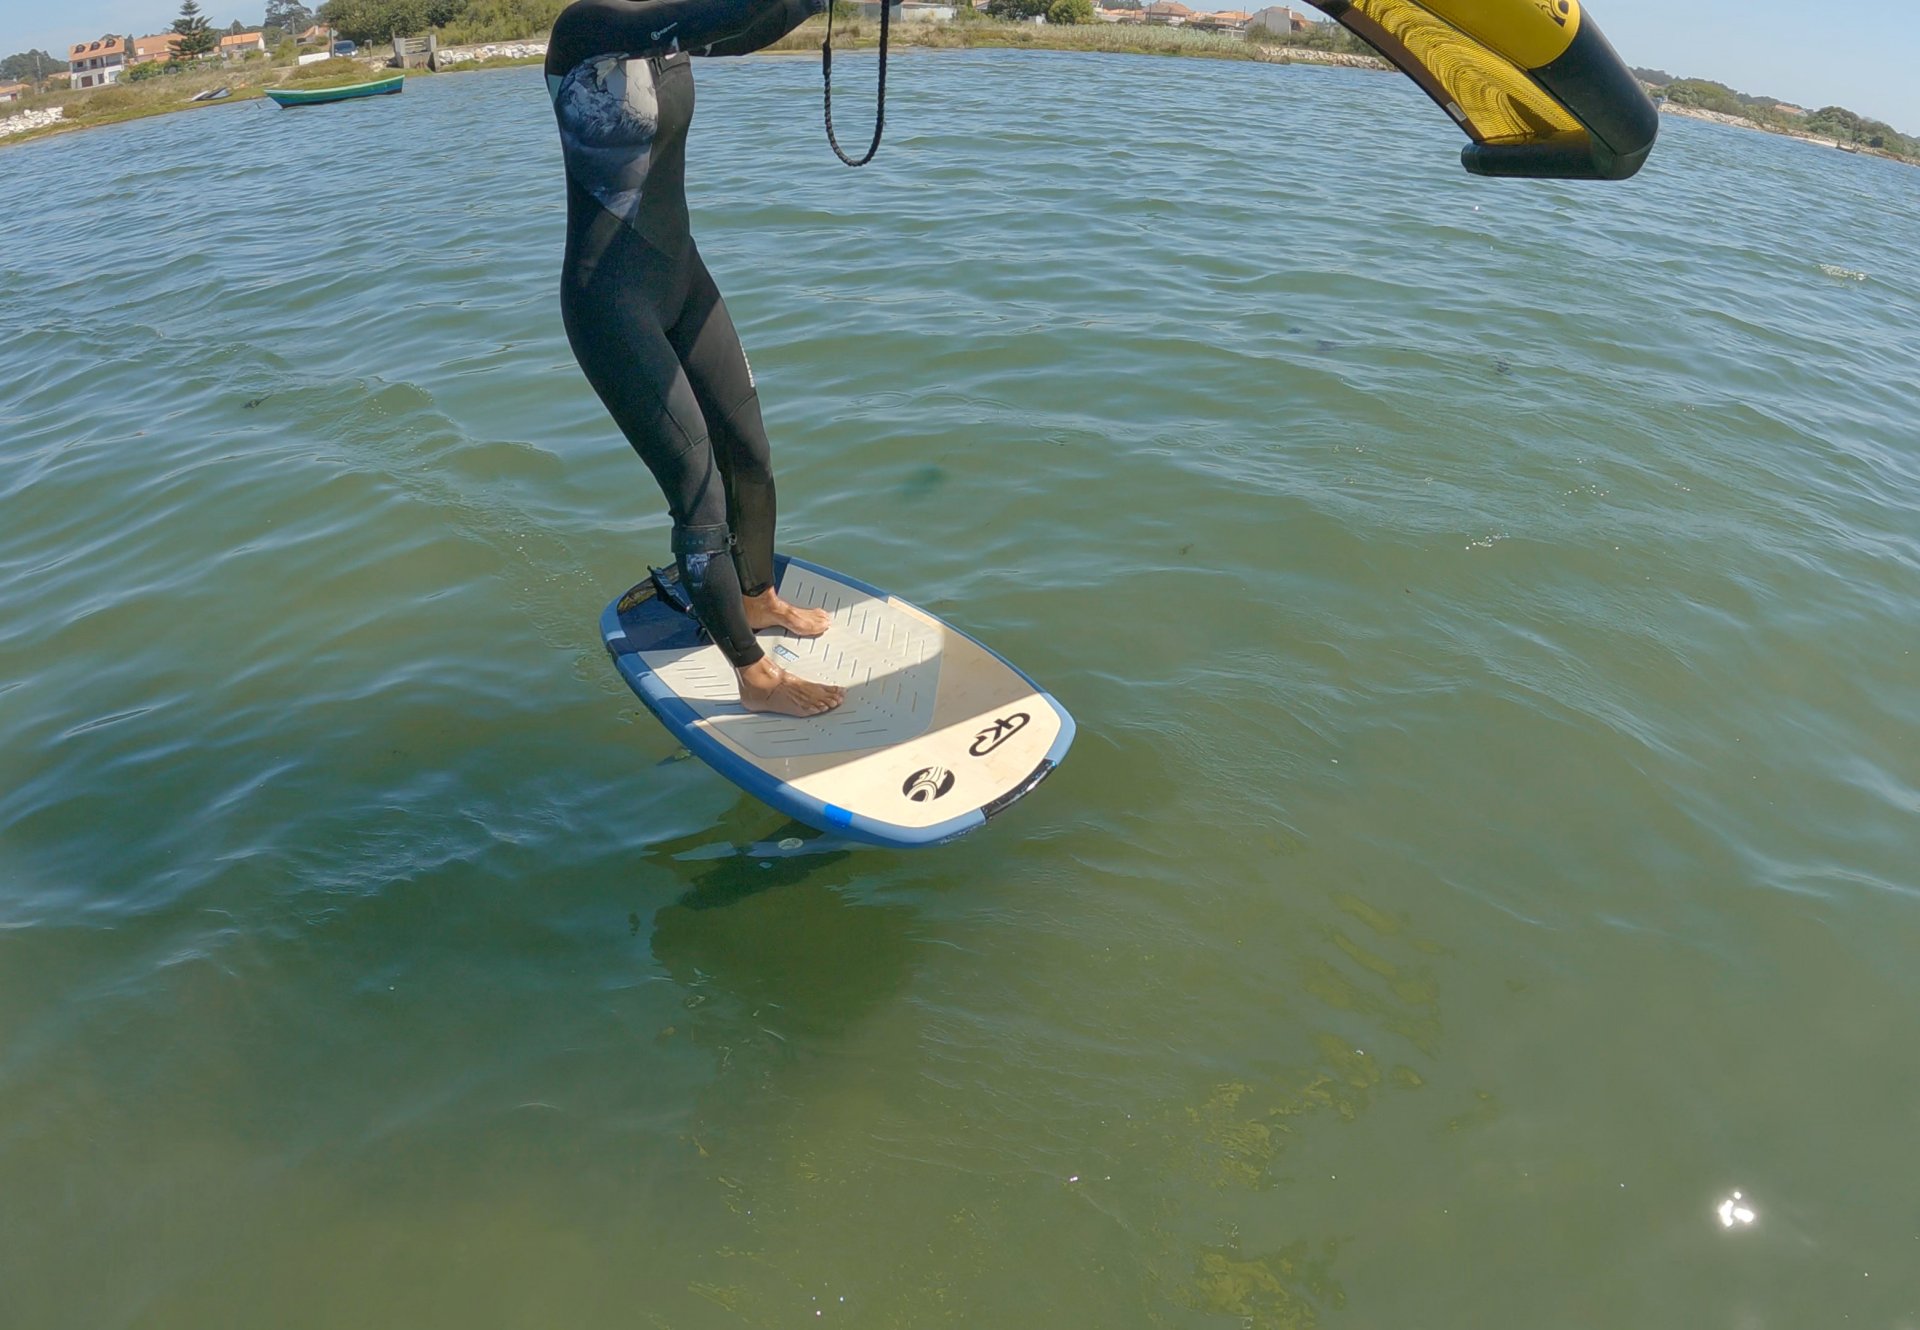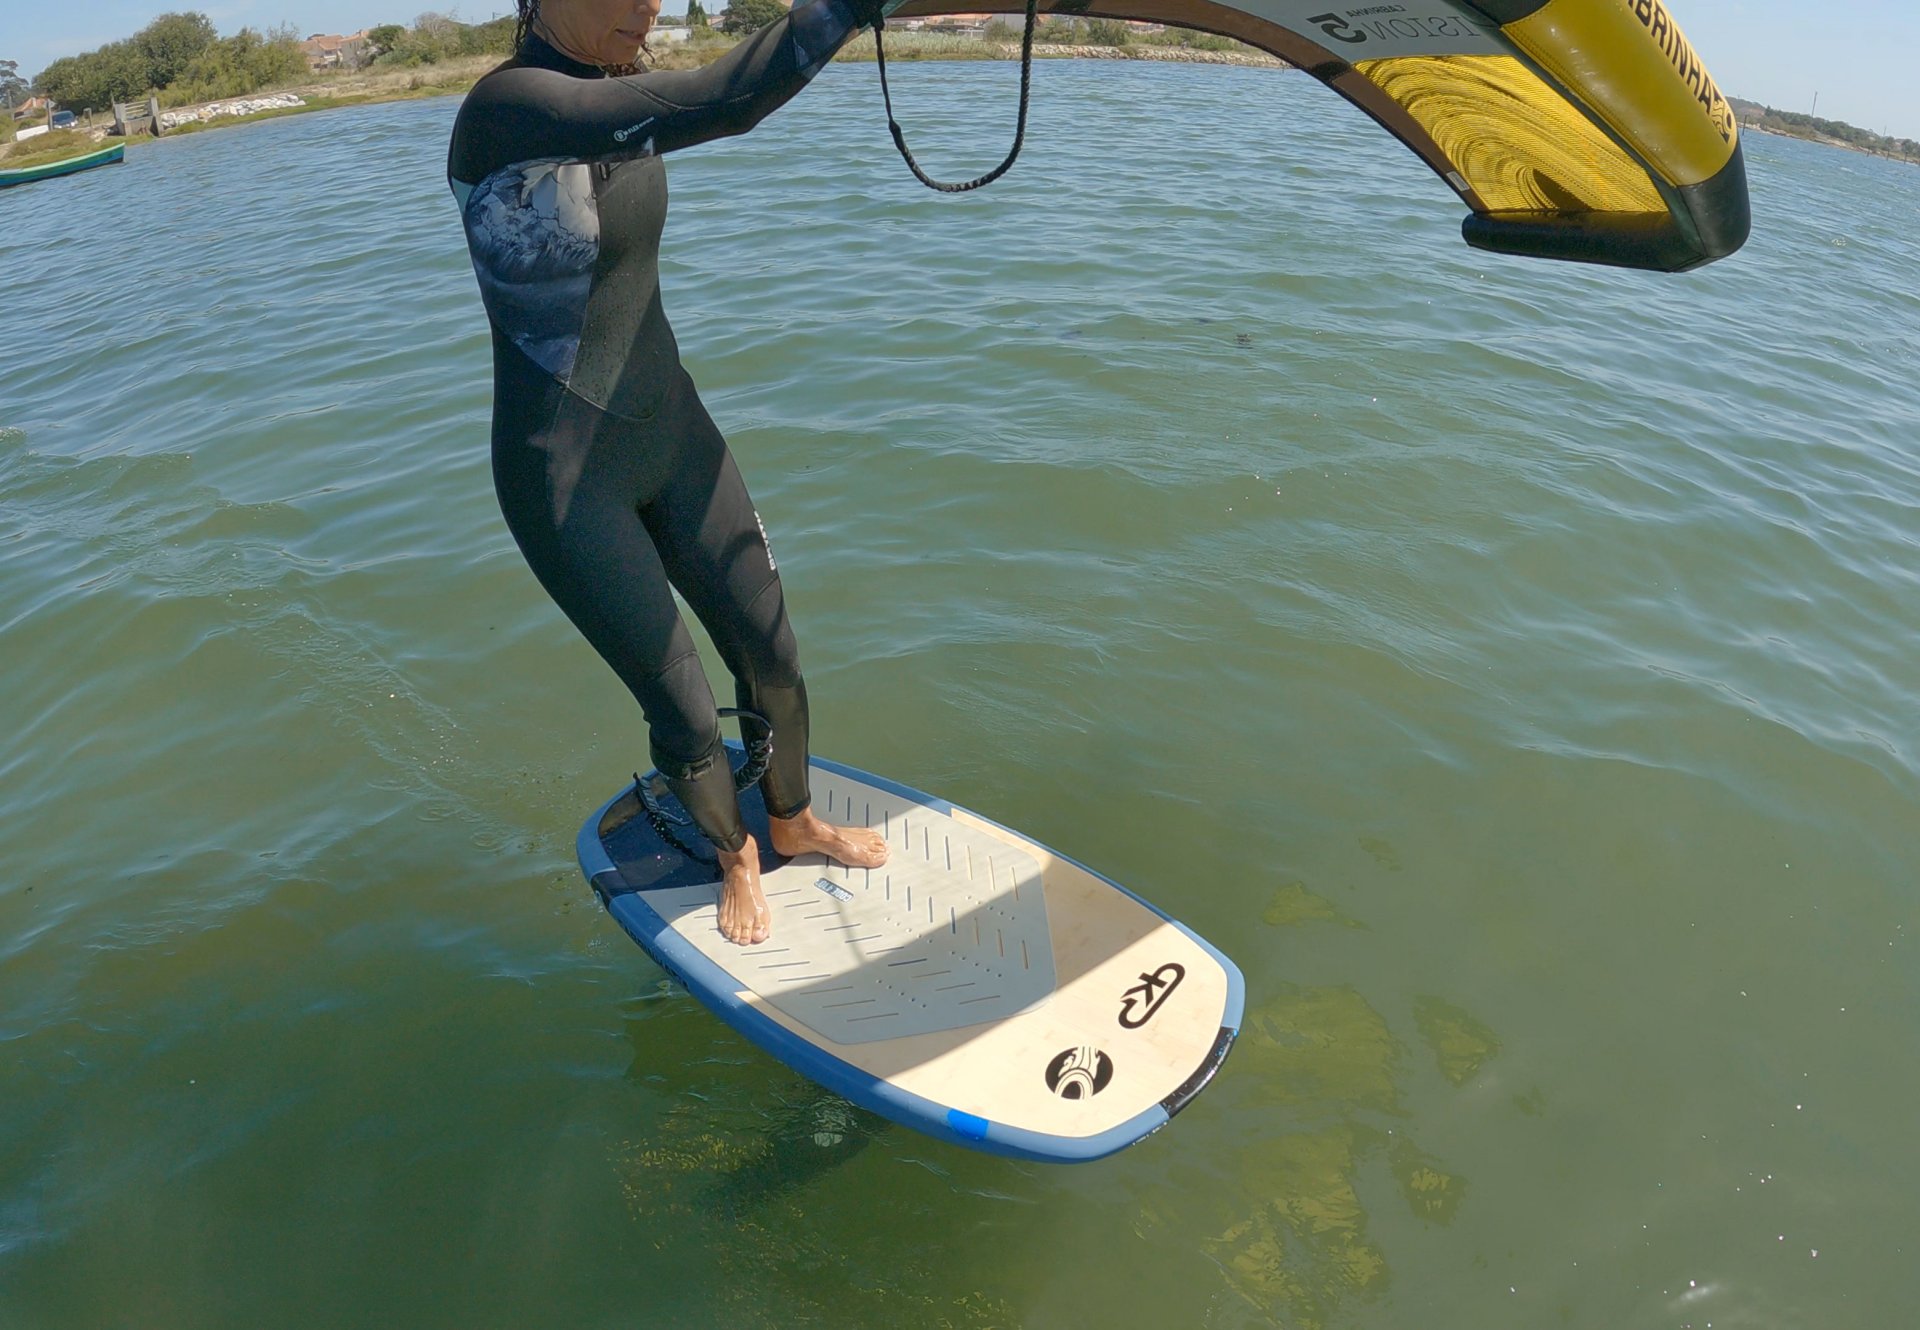

As the title suggests, this is intended as your very first foiling foot change. We say this as there are a myriad of methods and possibilities, both simple and more advanced. However, we rate this technique and order as one of the simplest and most useful which will stand you in good stead. We’re assuming that you have already changed your feet woffing, are happily foiling, and have the beginnings of a toe side before giving this a go.
Firstly, it allows you to practice your toe side without having to gybe.
Secondly, as we’ve discussed in past articles, we all have a favoured side. This means that even if you’ve nailed the toe to heel gybe on your strong side, you still may not have a method to turn on the other side. Nail this foot change and you’ll be able to go into your toe to heel gybe, and therefore gybe both sides!
The double step is a little bit easier, you’re trying to fool the foil that nothing is happening. It’s like walking in squeaky floorboards, little steps and you’re less likely to wake anyone.
You don’t need to be lightning quick, there’s no rush they’re baby steps. In fact, you have time to be balanced and in control each step of the way.
This method will teach you so much about the balance point of your foil, where you can stand and quite literally have a little boogie without upsetting your foil.
It works in a wide range of conditions and will serve you well in light wind as well as strong. It’s likely to be the same or very similar to the method that you’ve used when woffing, whether deliberately or by chance.
And although double the number of steps of the more advanced version, it does lead towards this, should you fancy giving it a go sometime in the future.

If we use Karine as an example, she is regular footed, so her left foot is stronger leading. Hence in the Toe Side technique she rides toe side left foot forward. She is stronger gybing left foot forward from her heels onto her strong toe side. By using this foot switch heading to the right, she changes from heel side to her strong toe side. If you prefer heel to toe gybing right foot forward, you’ll use this foot change when riding heel side to your left, so that you can change to your strong right foot forward toe side. This then enables you to go for a toe to heel gybe:) Of course, in time you can learn this both sides.
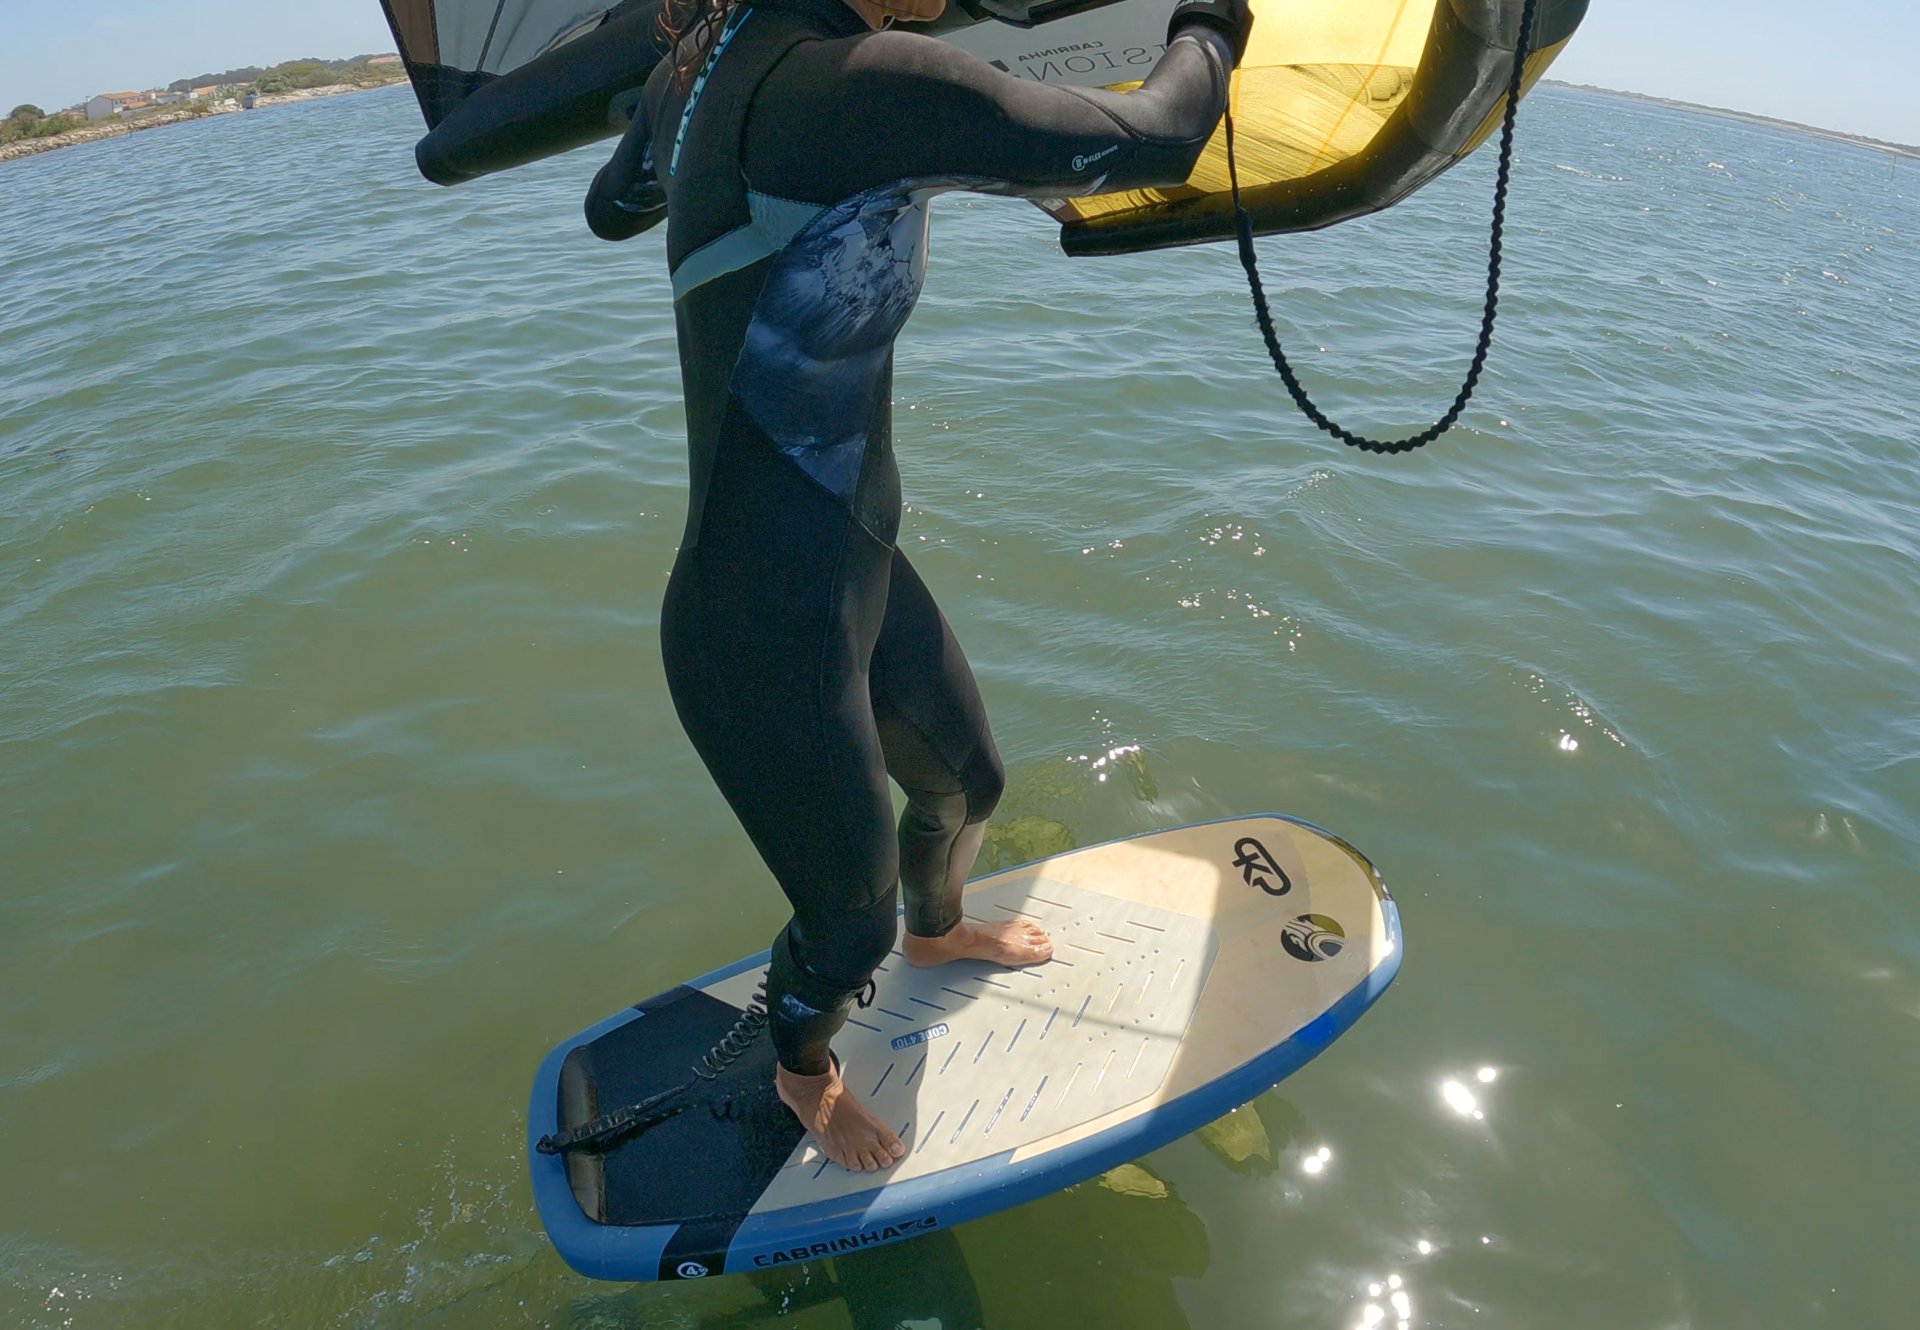
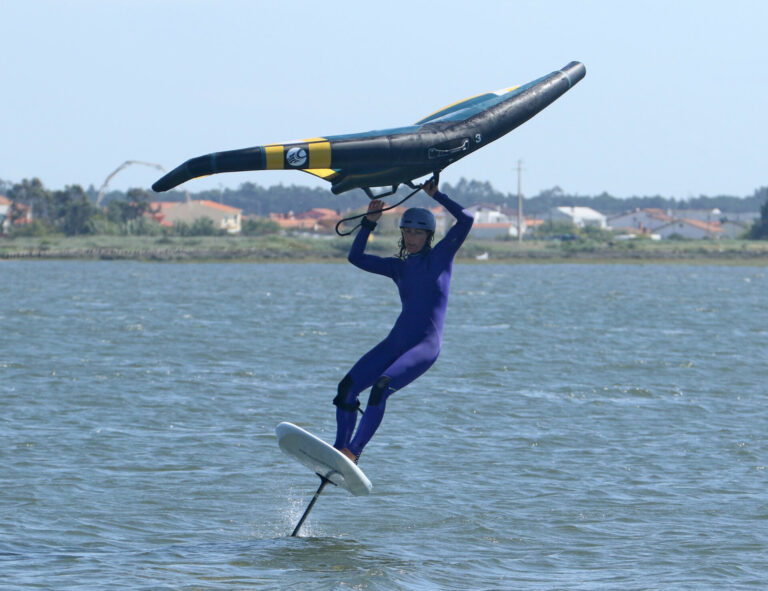
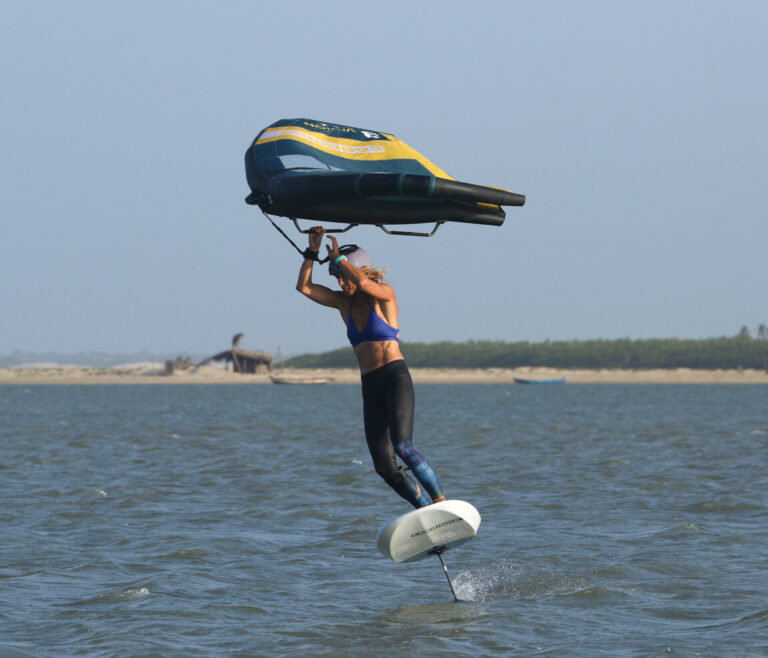
Simply put, your aim is to ride in a straight line and change your feet from a heel side stance to your toe side stance, whilst keeping balanced and flying. Realistically only your lower body is moving, rotating as you step your feet, whilst you try and keep your upper body and wing still, and your foil trimmed. You’ll start the process by moving your back foot, a very small step forwards, before moving your front foot back and so on. Imagine a tyre lying flat on the ground and you’re standing on it. You’re going to step or shuffle your feet through 90 degrees (open stance to open stance) whilst following the curve of the tyre.
Let’s have a look at the pieces of the puzzle as they will play out, in chronological order.
In preparation for the foot change you need to narrow your stance to around shoulder width. Turn so that you’re heading gently upwind. Make sure your feet are offset, so rear foot across the centre line and front foot upwind of the centre line. Gently move the wing up a bit so that you’re standing over the board. You’re ready.
Open your hips so that they are facing forwards, whilst keeping weight on both feet. This is easier if you point your front foot forwards.
Your first baby step. With your weight on your front foot, step your back foot a tiny bit forward and across. This can be a deliberate step or a slidey shuffle. You want it angled forwards and further across the centre line. This will open your stance further, makes room for the next step, the incoming front foot, and it balances your board and foil rail to rail. With your back foot away from the centre line you’ll feel less likely to fold on the foil.
Now with your weight on your rear foot you can step or shuffle your front foot back next to your rear foot. This may look precarious but because your feet are either side of the centre line, you’ll be surprisingly balanced. And because you have already moved the other foot forward, you are effectively standing in the middle of the see-saw. There’s no need to, but you could carry on riding like this. It’s important that your shoulders and wing don’t join in, they stay fixed where they were.
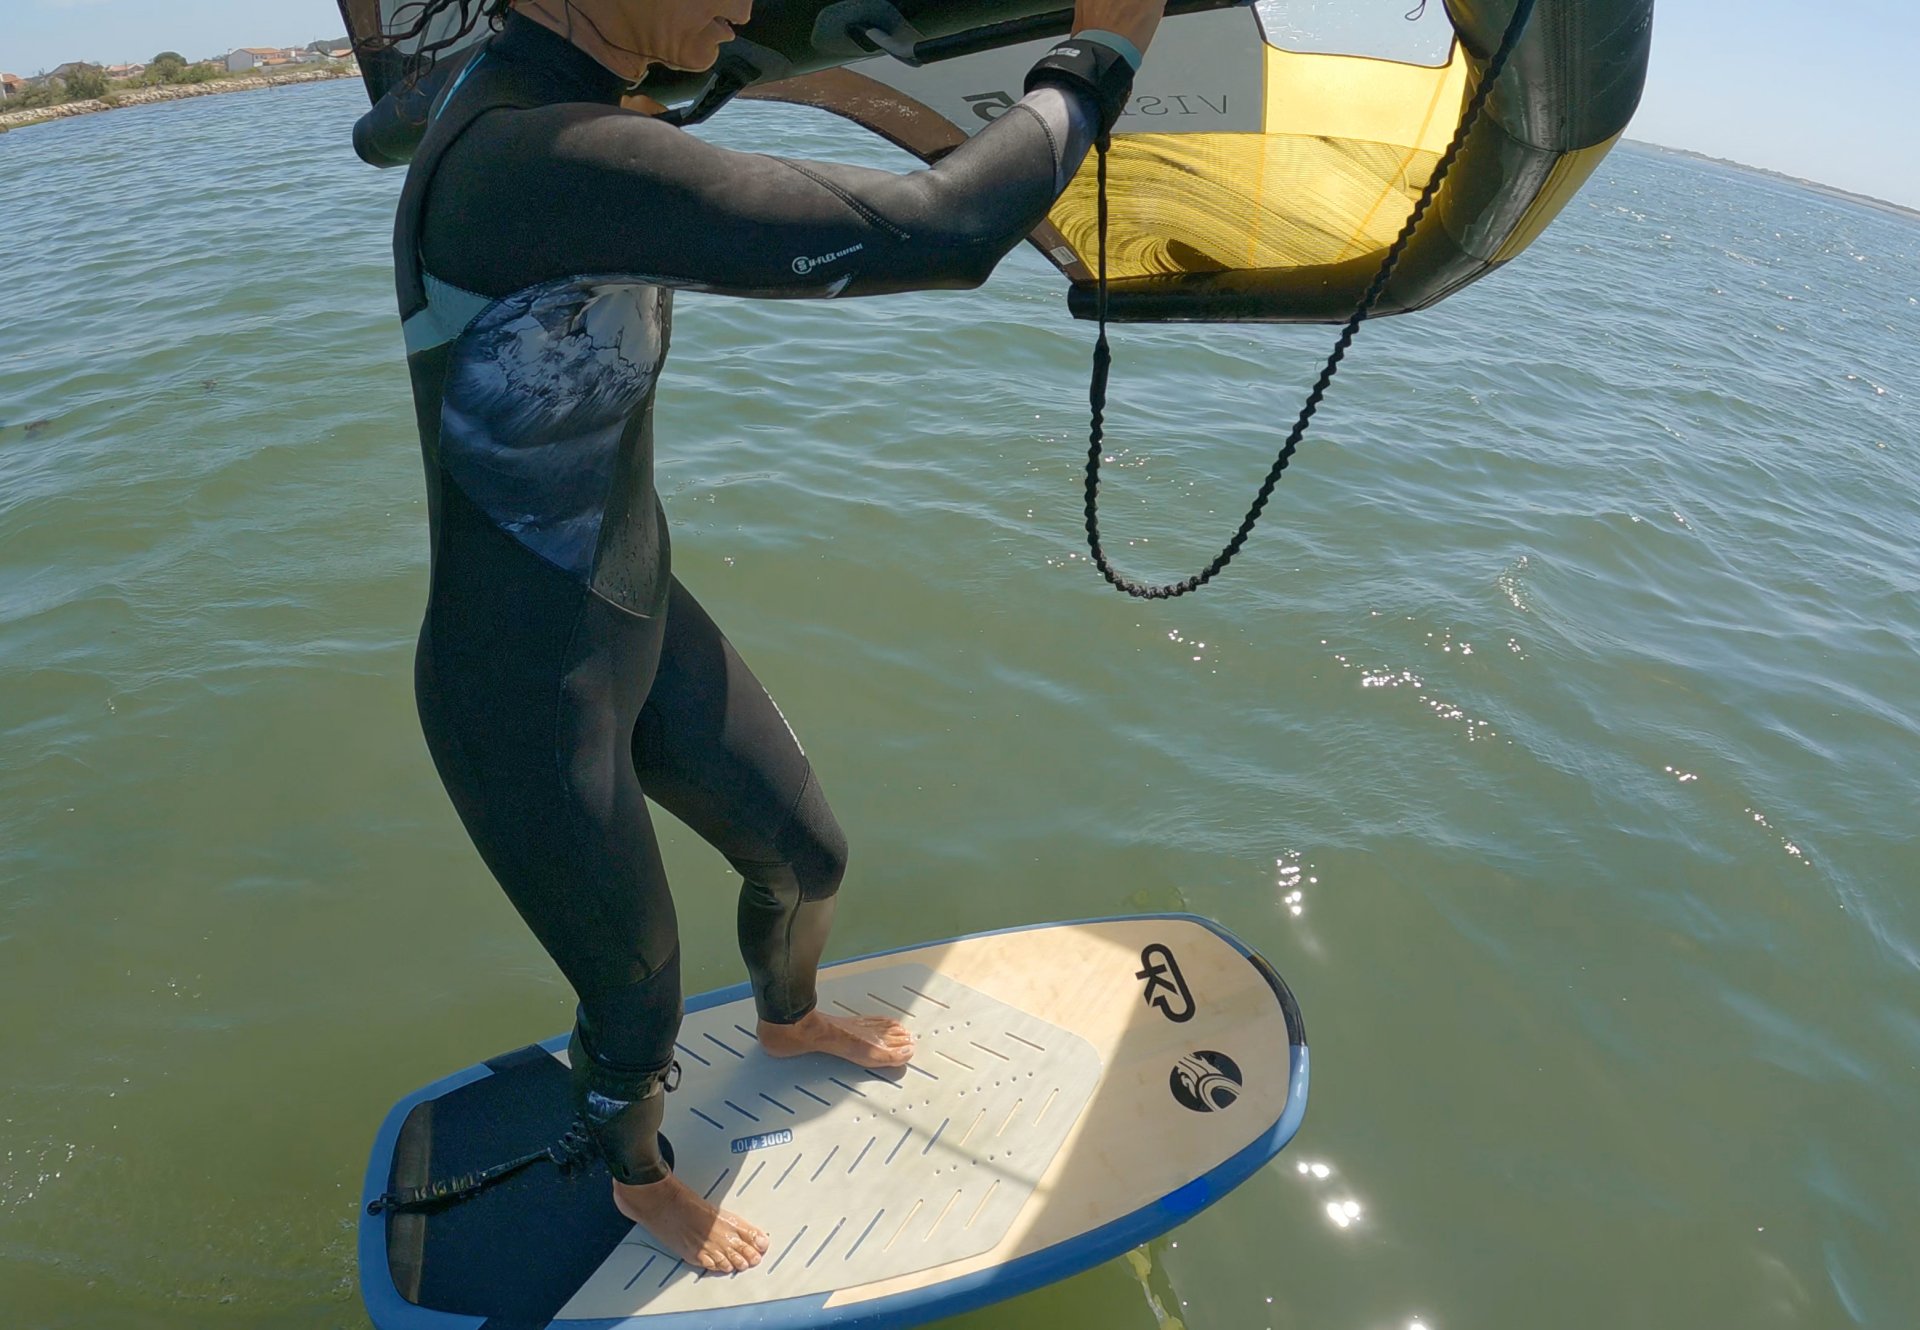
It’s all about rotating into some sort of toe side position. Shift your weight onto the foot you just moved back and step or shuffle what was your back foot forward again, to where it would roughly be in a narrow toe side position. It wants to end up on the downwind side of the centreline. This will keep you balanced, and it’ll keep your hips open, preventing you from turning your upper body upwind. Don’t go for a big step, you’re aiming to stay within reach of the balance point. If you do step a tad too far forward it won’t be the end of the world, but you’ll likely touch down.
To make sure that you stay up on the foil you will need to get weight onto your back foot and further back on the board. This can mean stepping further back, or just twisting your back foot so that it points across the board. This has the same effect, as it means the ball of your back foot moves further back, bringing your weight and pressure with it. If you touched down, you will need to move your foot further back to fly again. Once you’ve done this you can power up the wing by extending your front arm, pointing it forward and sheeting in a tad if needed.
It doesn’t have to be pretty. When you first try this, you shouldn’t expect it to be super smooth and ultra-stable. If it is, bravo, but don’t beat yourself up if it isn’t. You need to get used to the movement. Practice on land, waiting at the bar, on the train, any given opportunity will help.
Conditions. We know, we say it in every video, but choose conditions which suit learning. If you’re hanging on for dear life and in big chop it may not be the session to give this a go. Lighter wind and flatter water so that you can fly lower will give you more confidence to start dancing and it won’t matter if you tread on anybody’s toes.
As alluded to, you may end up touching down whilst trying this, which isn’t a problem. However, we recommend that you don’t deliberately touch down first to change your feet, the aim is to do it whilst flying.
With practice, you’ll find that your movements will become smoother, quicker, and more comfortable, and as a result the whole thing will feel even better.
Have another look at the sequence and check out the video for a real time foot change experience.
We’ll be back to cover the toe to heel foot change in an upcoming issue, but for the moment work on getting this one nailed!
This technique article was in Issue 17 of Tonic Mag.
By Christian and Karine