
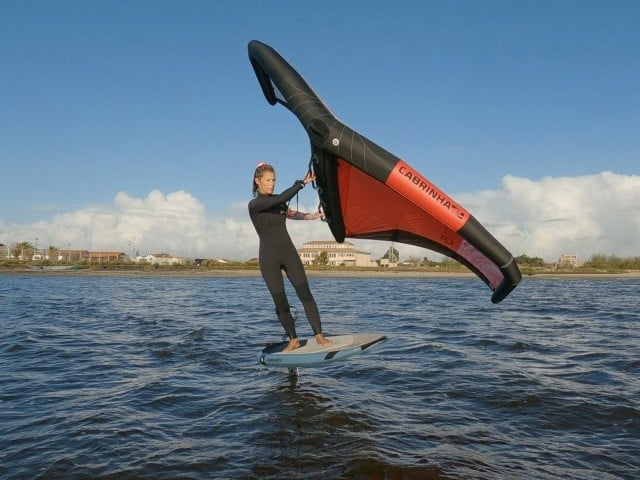
All in the Prep
Technique / Wing Foil

Introduction
Unless you’ve been hiding under a rock, you’re most likely aware that recently there have been a few well-off gents flying up to the edge of space, dressed as Thunderbirds, who have then returned to earth with big grins to pop corks and shower their teams in Champagne. Your Wing foiling journey will have many similarities. You aim to leave the usual confines of water-based sports and fly on the edge of your usual atmosphere. You’ll most definitely fist pump, high five, whoop and rather drink some bubbly or cold beverage of choice when you’ve returned successfully from your first flight. Even you bank balance will have taken a hit. However most importantly but so often overlooked and ignored is the preparation that went into making their and your mission a success. The pure joy and ecstasy are a direct result of the work that’s already been done.
It’s All In The Prep
As this is the first of our Winging articles, we’ll concentrate on the preparation needed to Wing on the Foil, by winging off the foil. Consider this a guide and our CKPerformance method to help your discovery time and exploration on the water and off the foil. The aim is to feel at ease, be comfortable on your equipment, gain confidence and understand what’s going on. We will give you a process to get up on the board, to use the wing to both position the board and to navigate, find your balance, the board’s balance, and prepare you for getting up on the foil. And there’s always the chance that you might get that Birthday gust which pulls you up for the very first time!
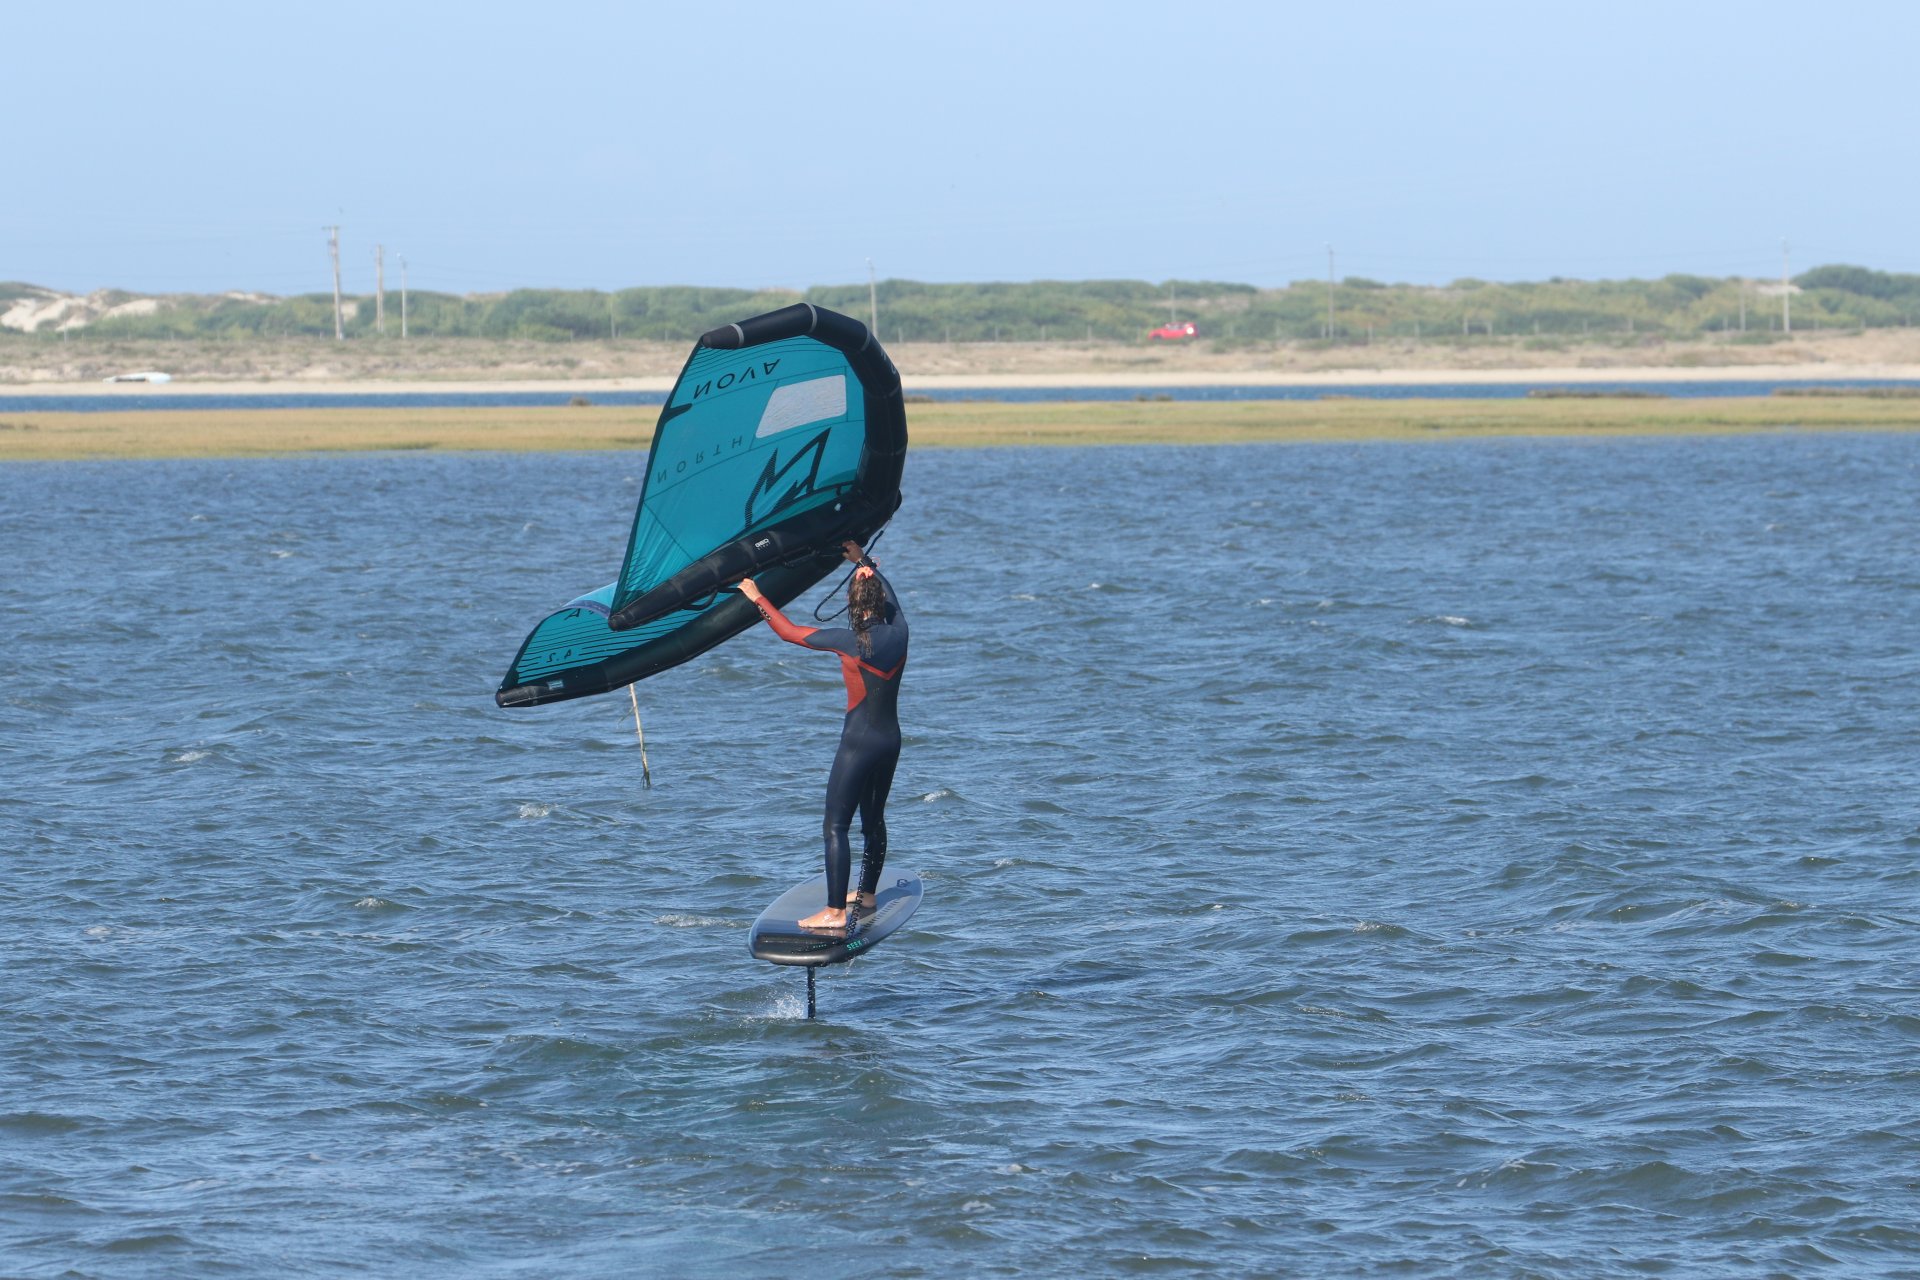
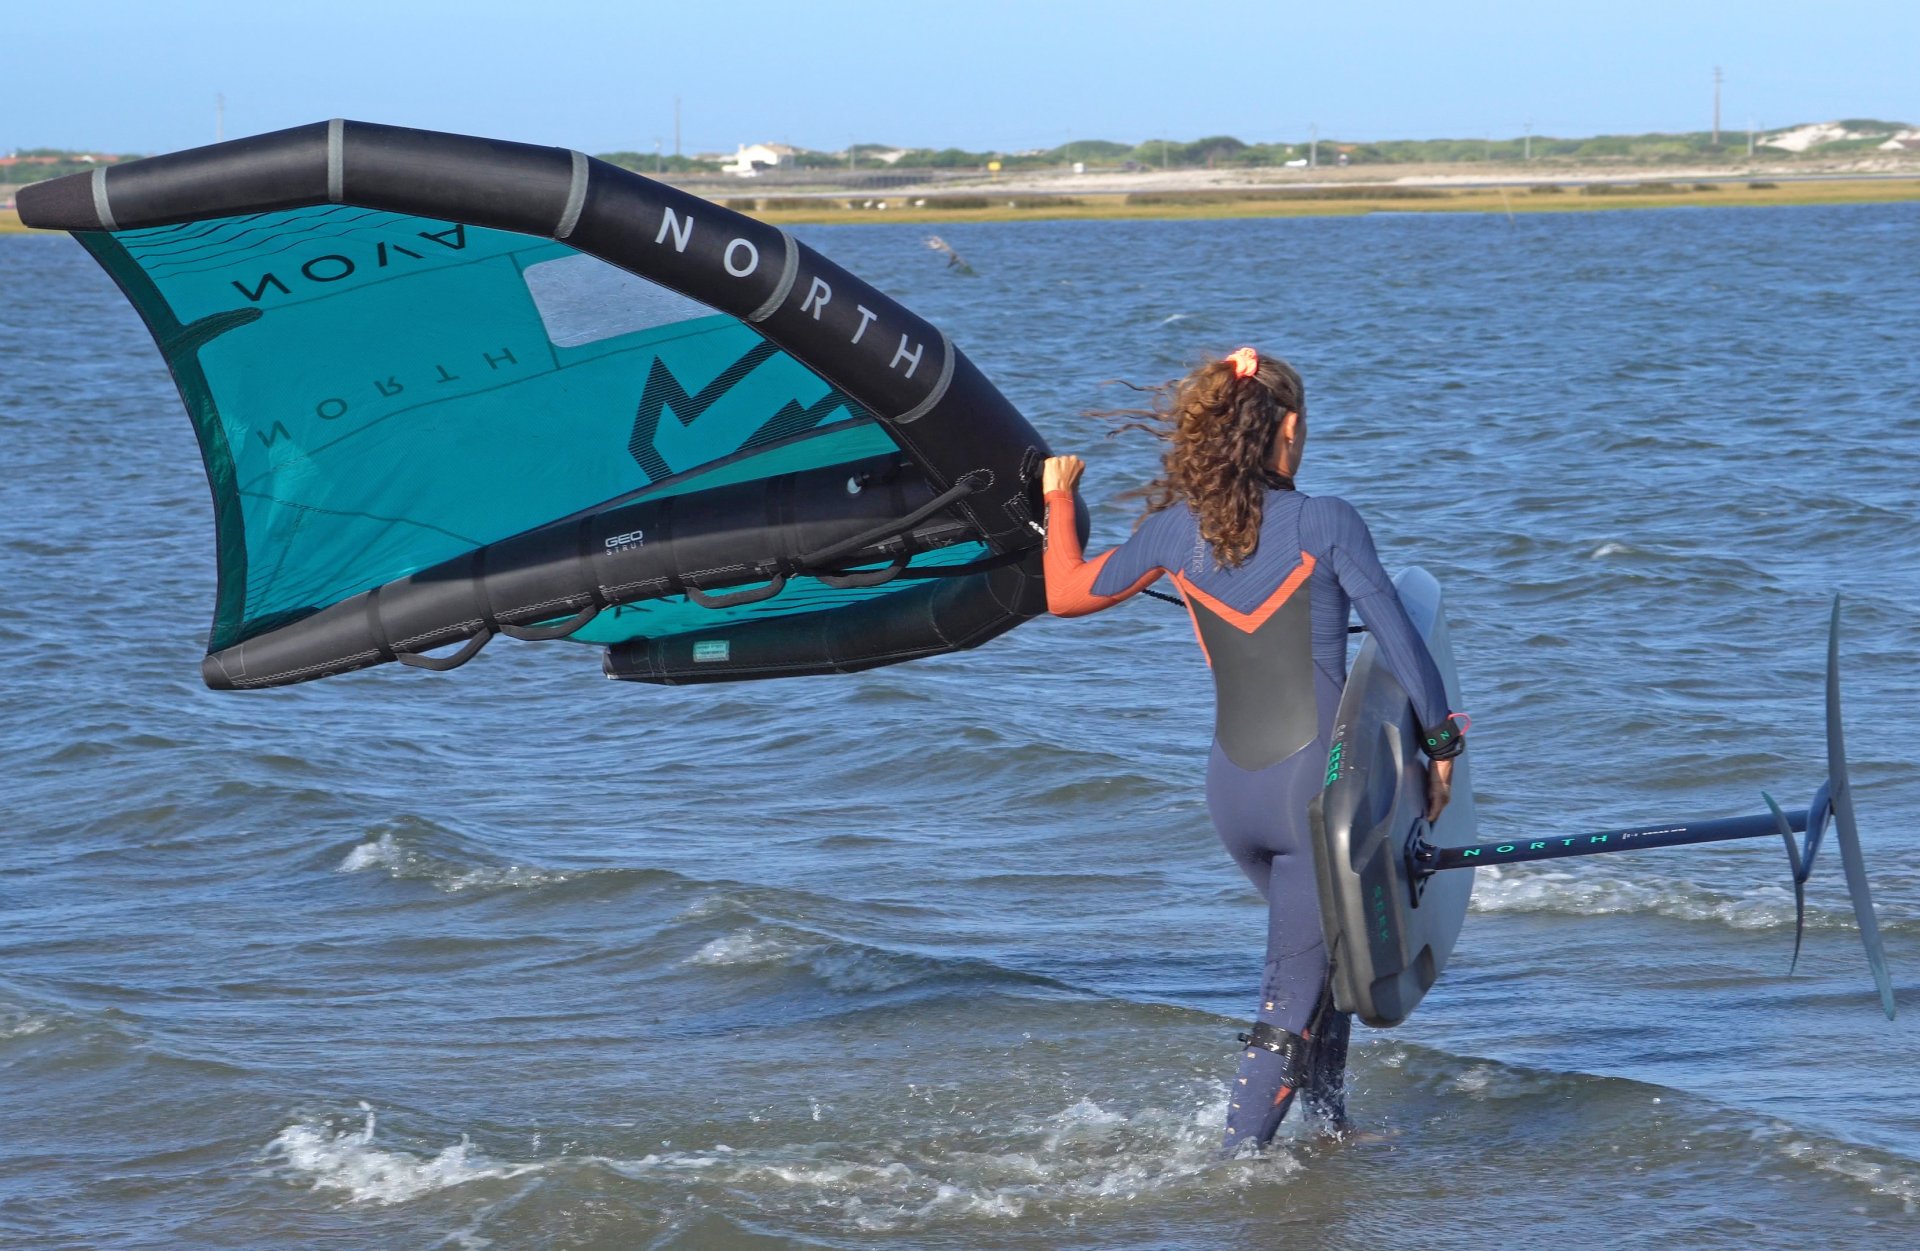
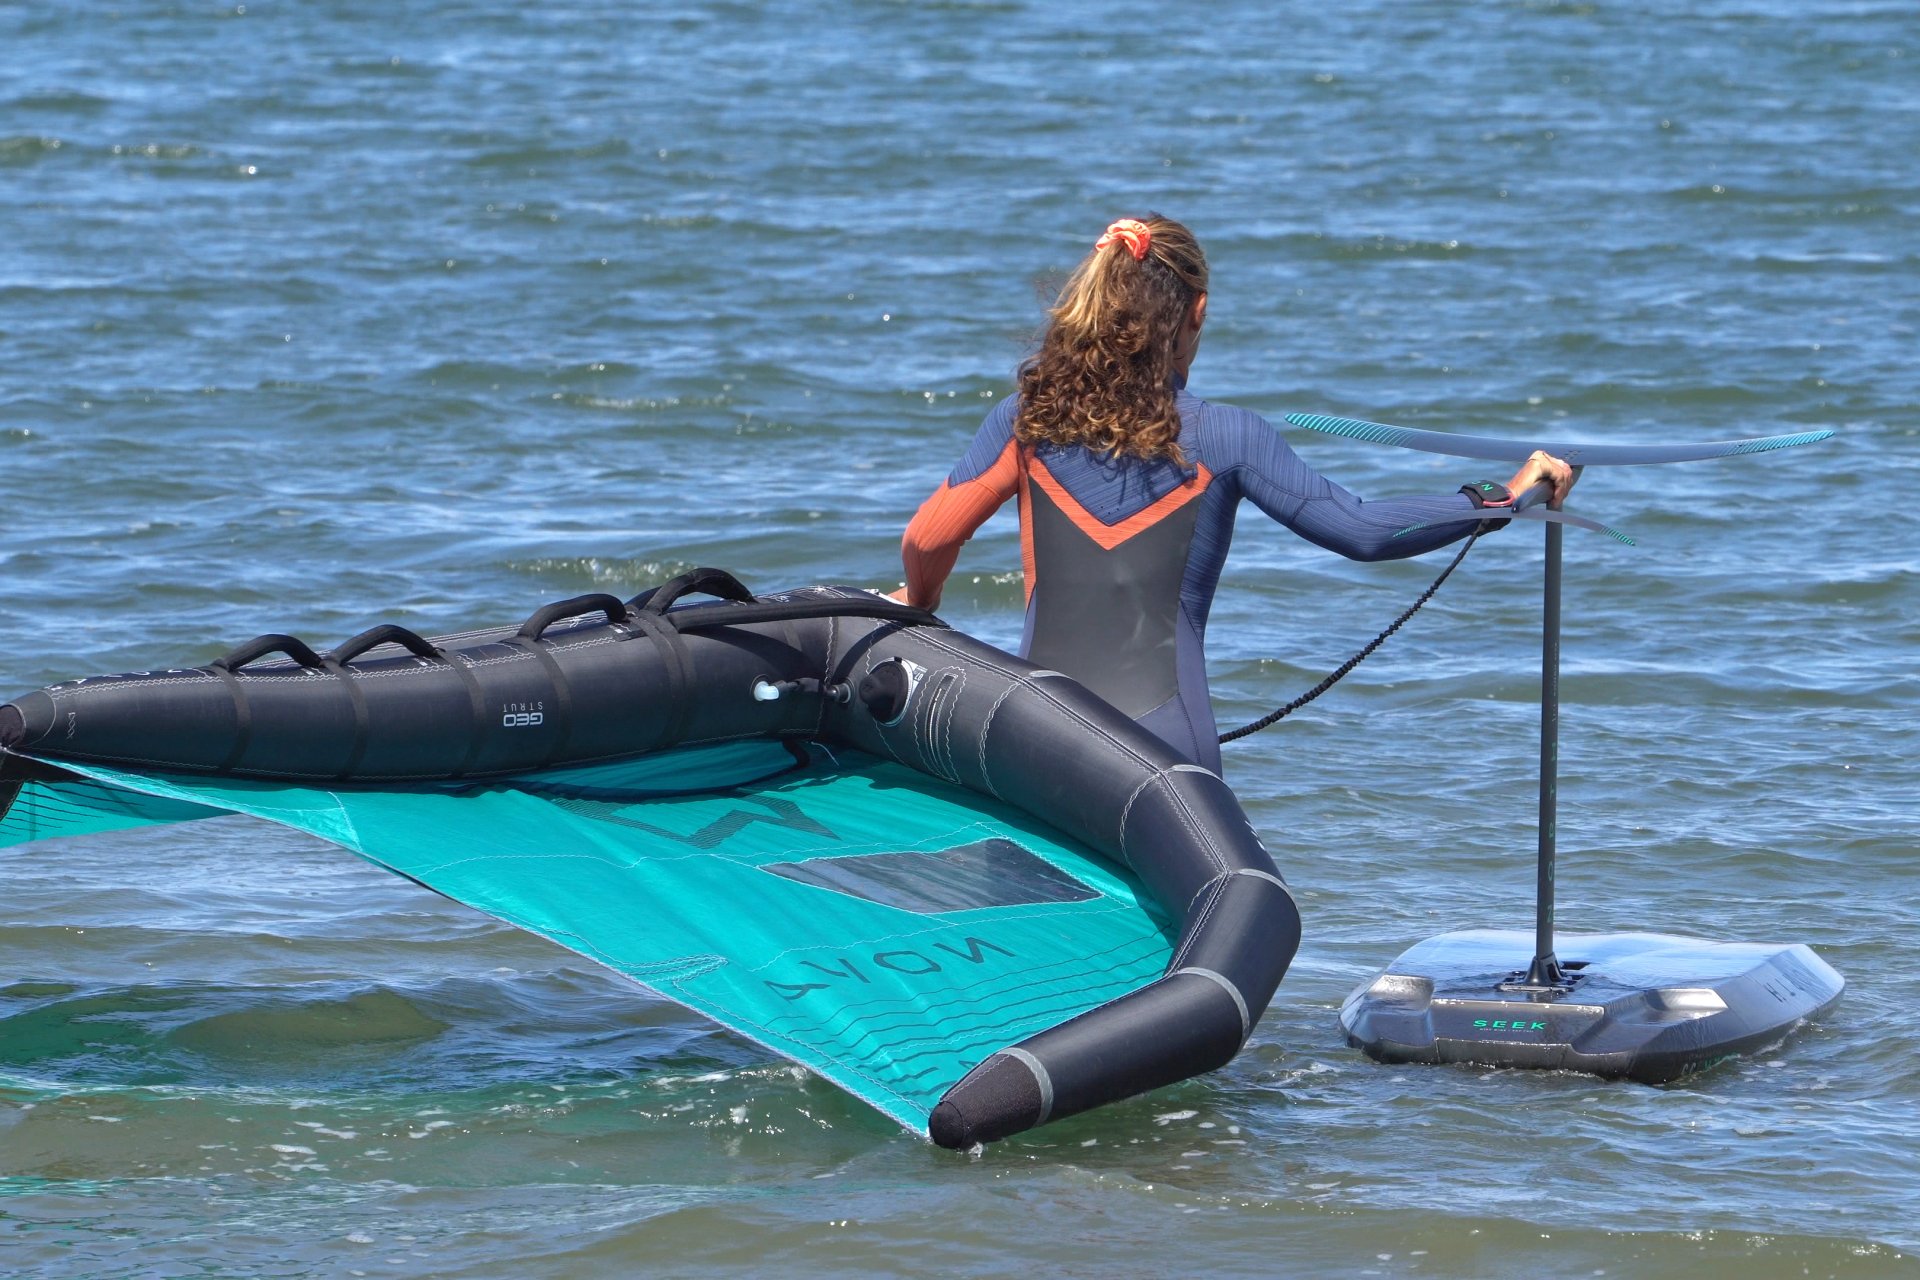
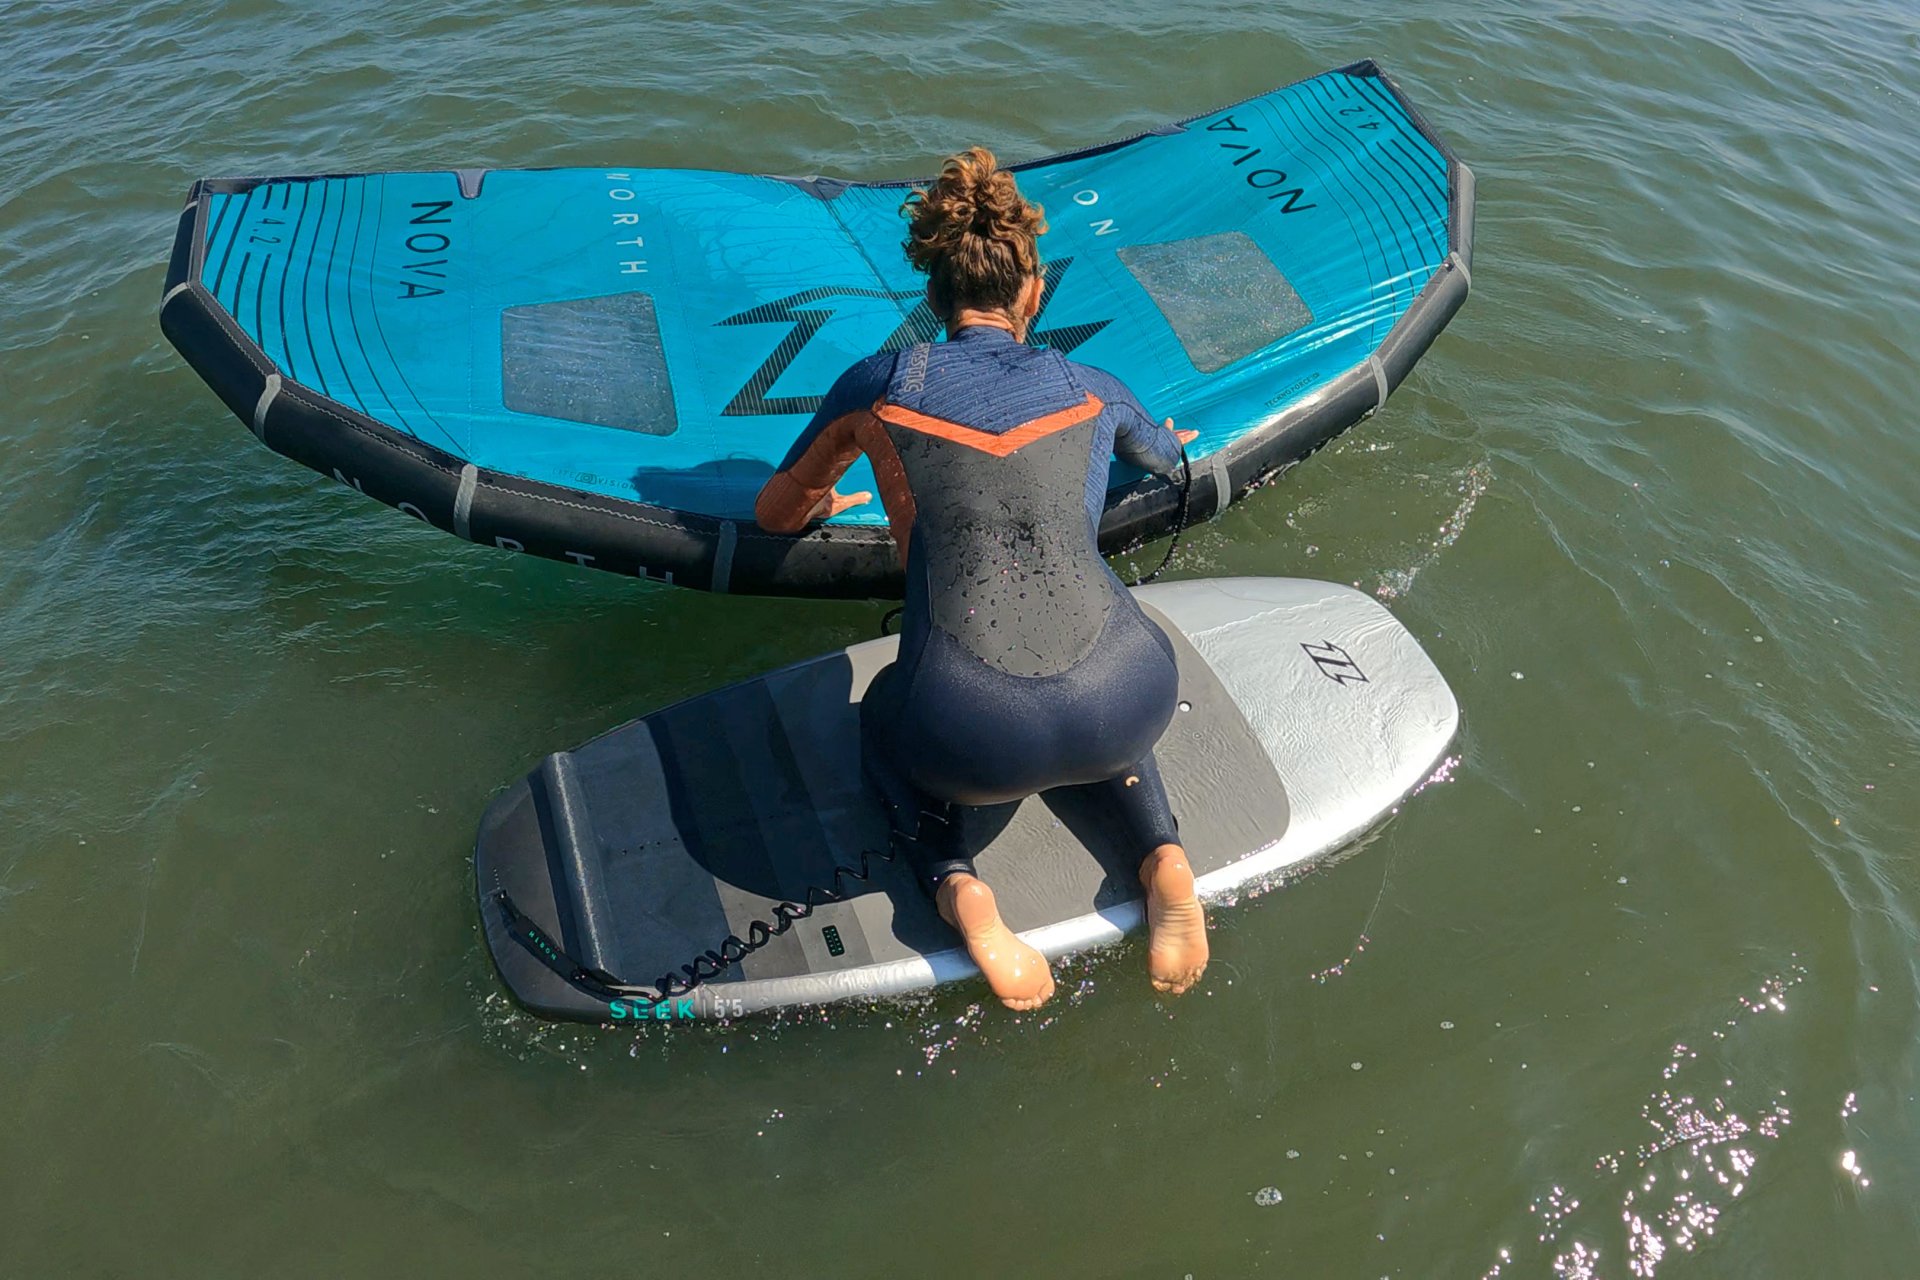
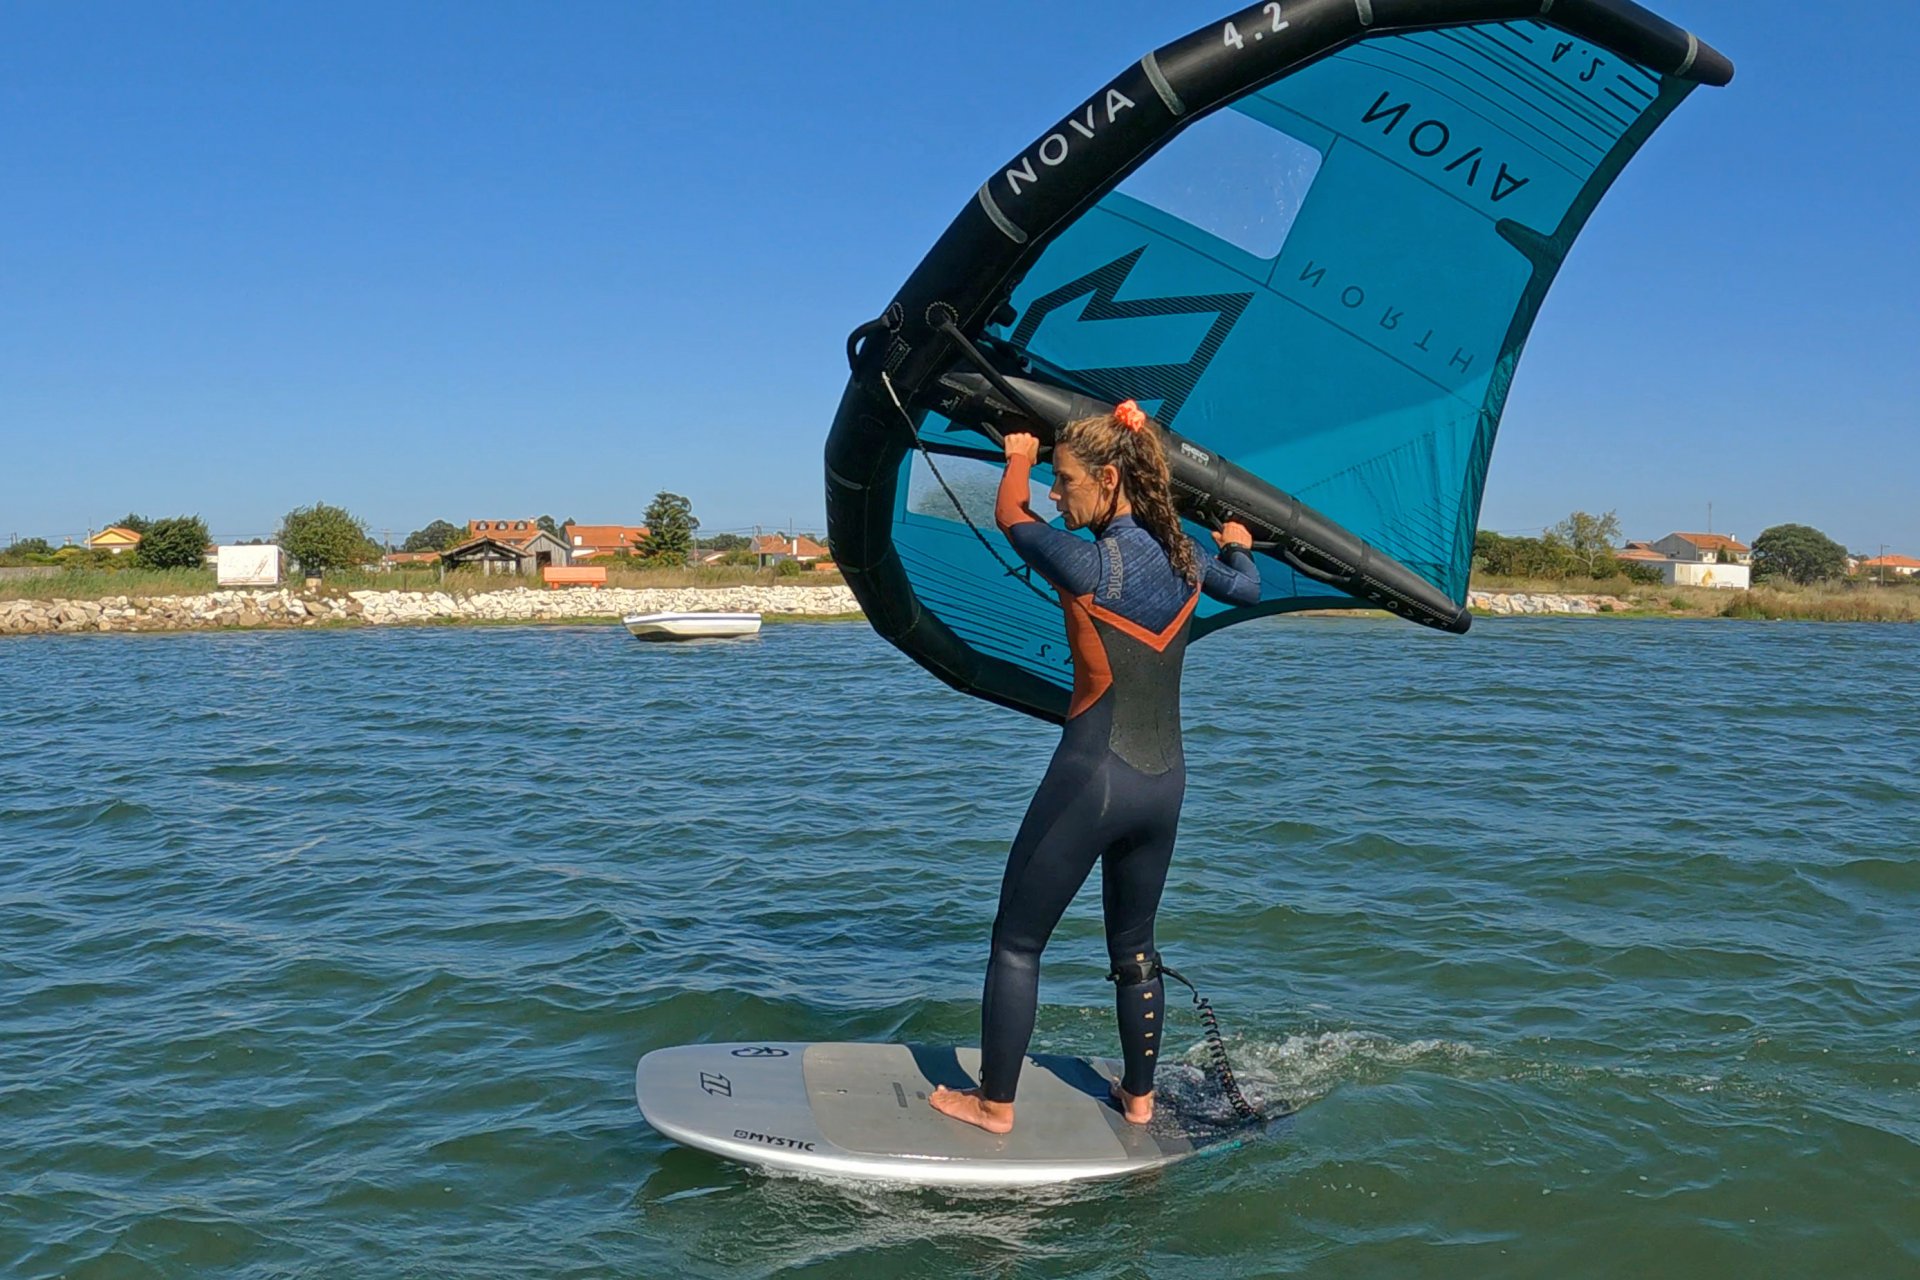
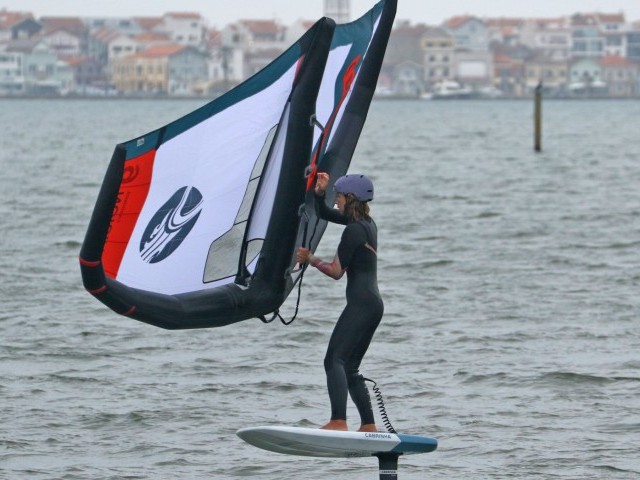
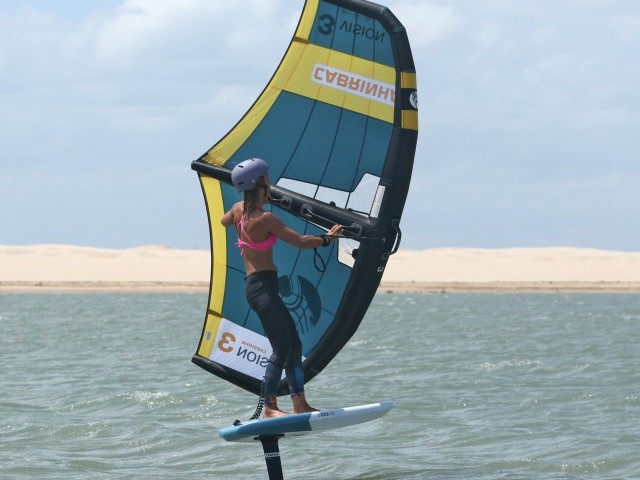
Pic 2 All in the Prep
There is no magic wand, but time and mileage on your kit following a process that you can rely on and return to when things aren’t going to plan, the conditions change or fatigue sets in is paramount to gaining that confidence. And what’s more, it will remain relevant as you progress through the gears.
All of what follows should be practiced in light wind and can be performed in strong wind.
We should also take a moment to tell you that this is not a lesson, and no substitute for one. This is for you that have had a go, a lesson, you’ve got some kit, or maybe you’ve even got up on the foil, but you don’t really understand what’s going on and why it’s happening. This is water based and with it come the inherent dangers of wind, weather, and water.
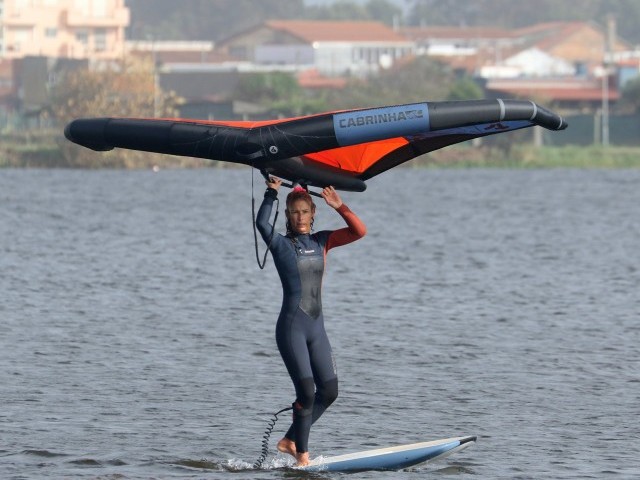
GET READY!!!! Choosing your kit
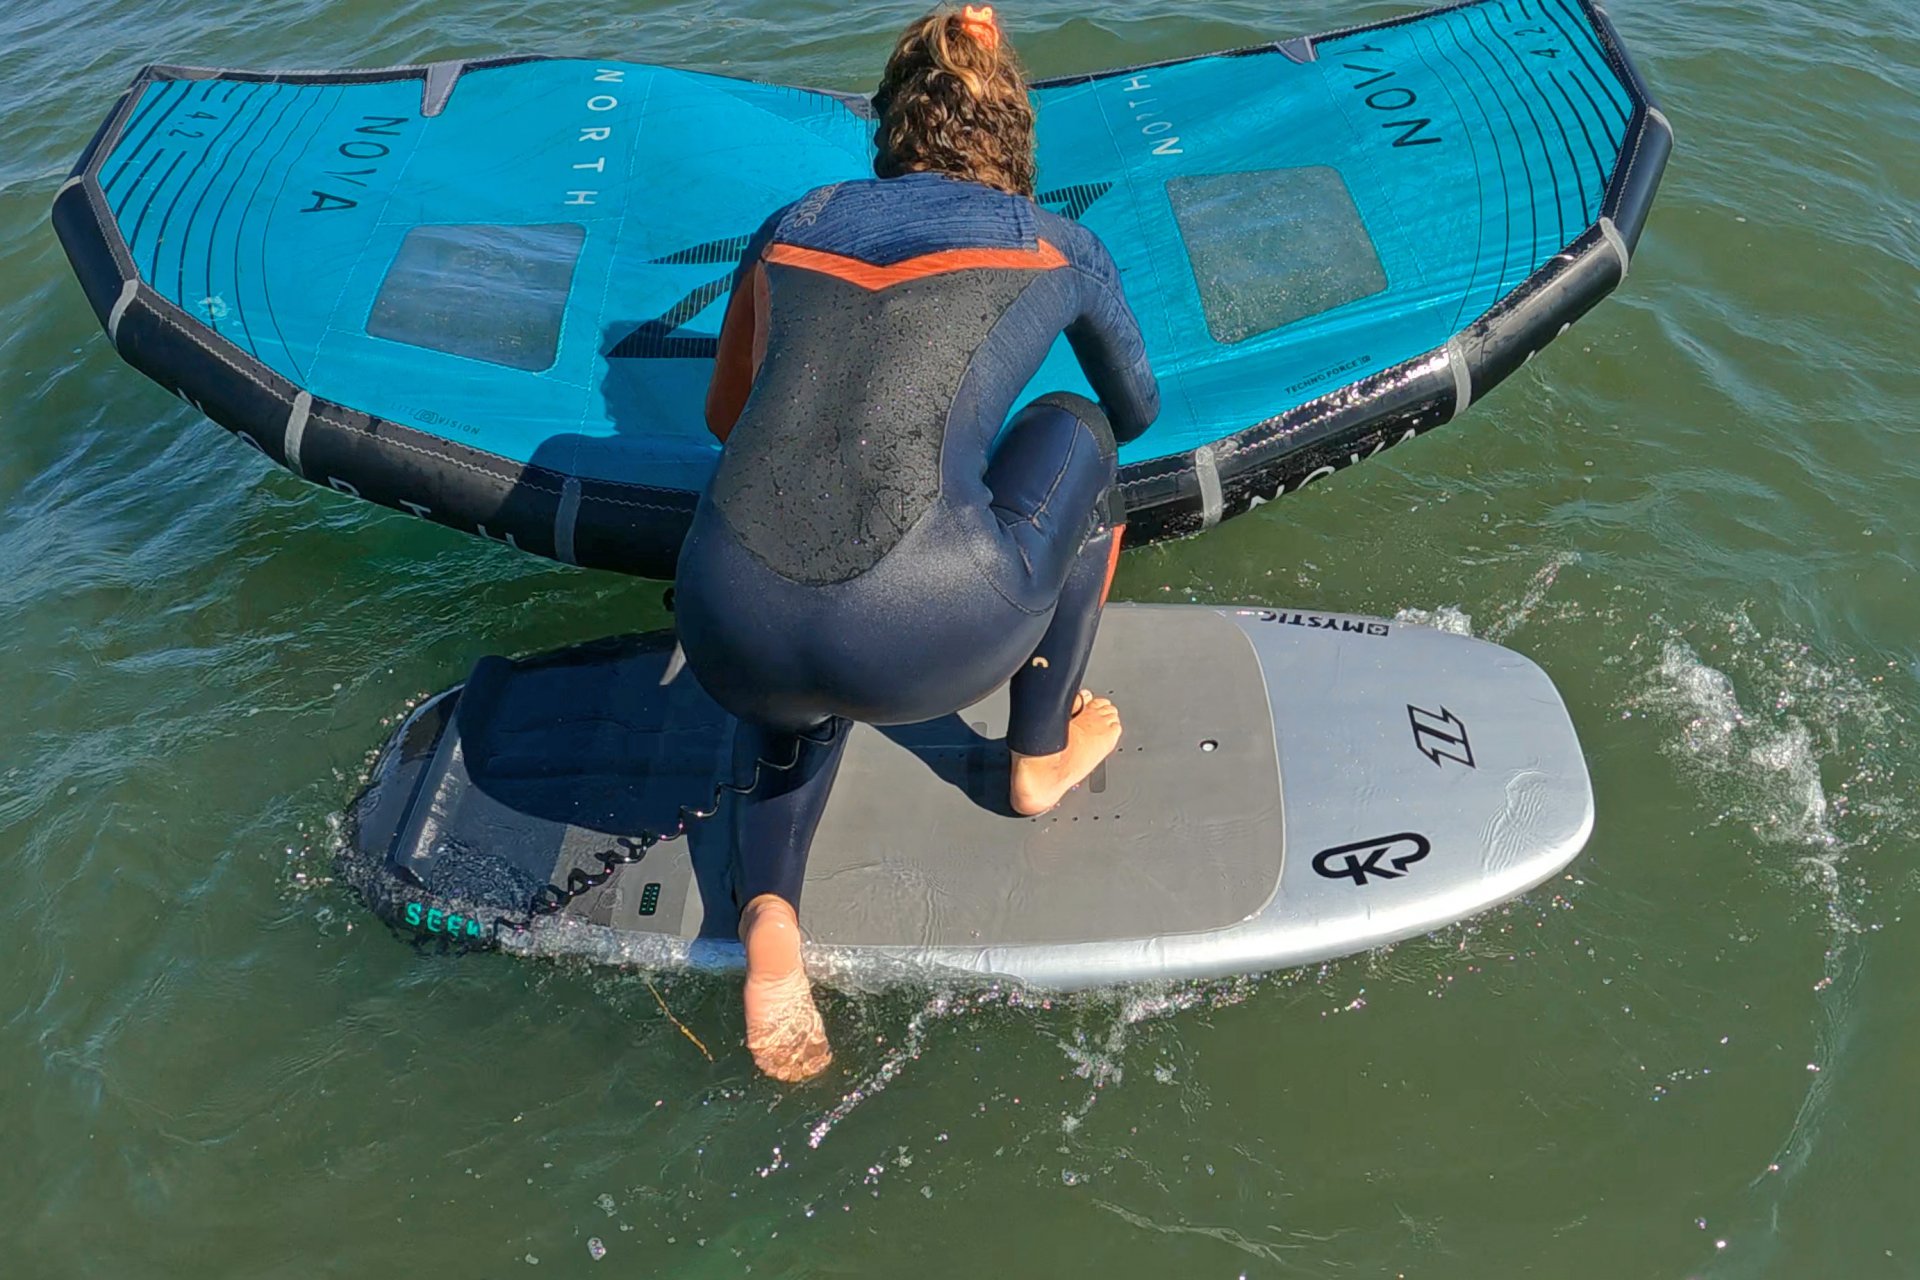
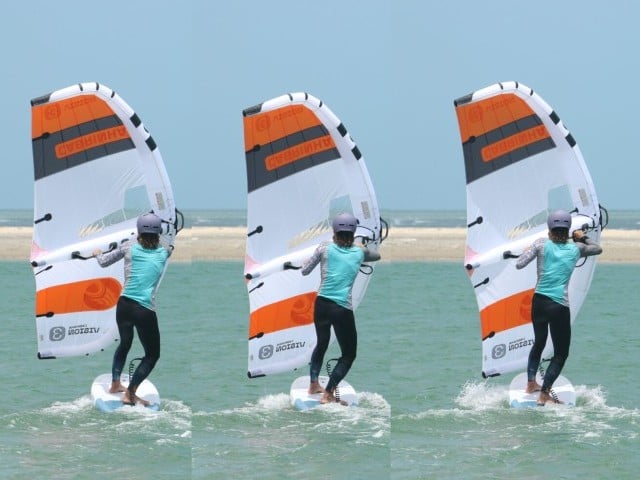
Pic 3 The Full Shebang
Board Whether bought, renting, or borrowing. You want something big enough. And when we talk about size, we’re really looking at volume. There is always the temptation of getting something to grow into but try to avoid the call of something better suited to someone with tones of experience. Right kit for the right time. Fortunately, there’s a lot of good kit on the chunky but funky side. Just because a board has loads of volume, it doesn’t make it agricultural. You want something that you can happily stand on, 30 to 40 litres above your body weight (where 1 lite = 1 kg). This way you can practice when there’s little wind, and for those inland 5-minute lulls, it’ll be a lot less tiring, and you know that you can always get back to shore. There are plenty of short and wide boards, that give oodles of stability when you’re not foiling and wobbling about. Yet because they’re relatively short they feel lively, sporty and pumpable once you start flying! Even if you come from a kitesurf or windsurf background, foot straps are not necessary. At the moment they’ll just do their damndest to trip you up and you’ll find that you can progress miles without ever even dreaming of a pair.

Wing If you’ve purchased a Wing, it’s the right one to play with. If you have a selection your mid-sized wing will be perfect for pottering and preparing.
Mast Whatever you’ve got, just make sure that the water is deep enough to accommodate the length of your mast and the front wing on the bottom of it.
Front Wing Same again, whatever you have. If you happen to have a choice, a large semi satellite dustbin lid type is your weapon of choice. Plenty of lift, stable for manoeuvres and foot changes, carves well, easy to use. Off the foil it won’t make much difference, although it won’t stick out as much and therefore, you’re less likely to kick it. And once it’s time for lift off it’ll sure make life simpler.
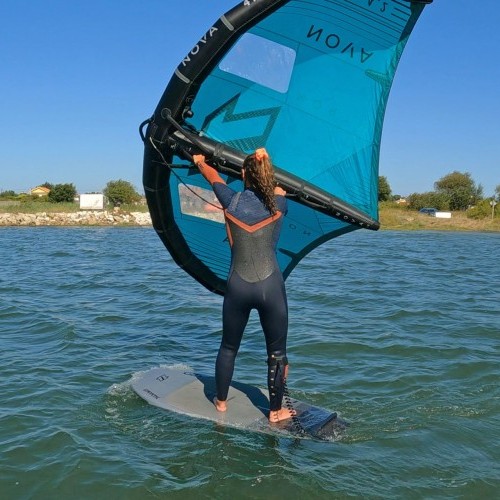
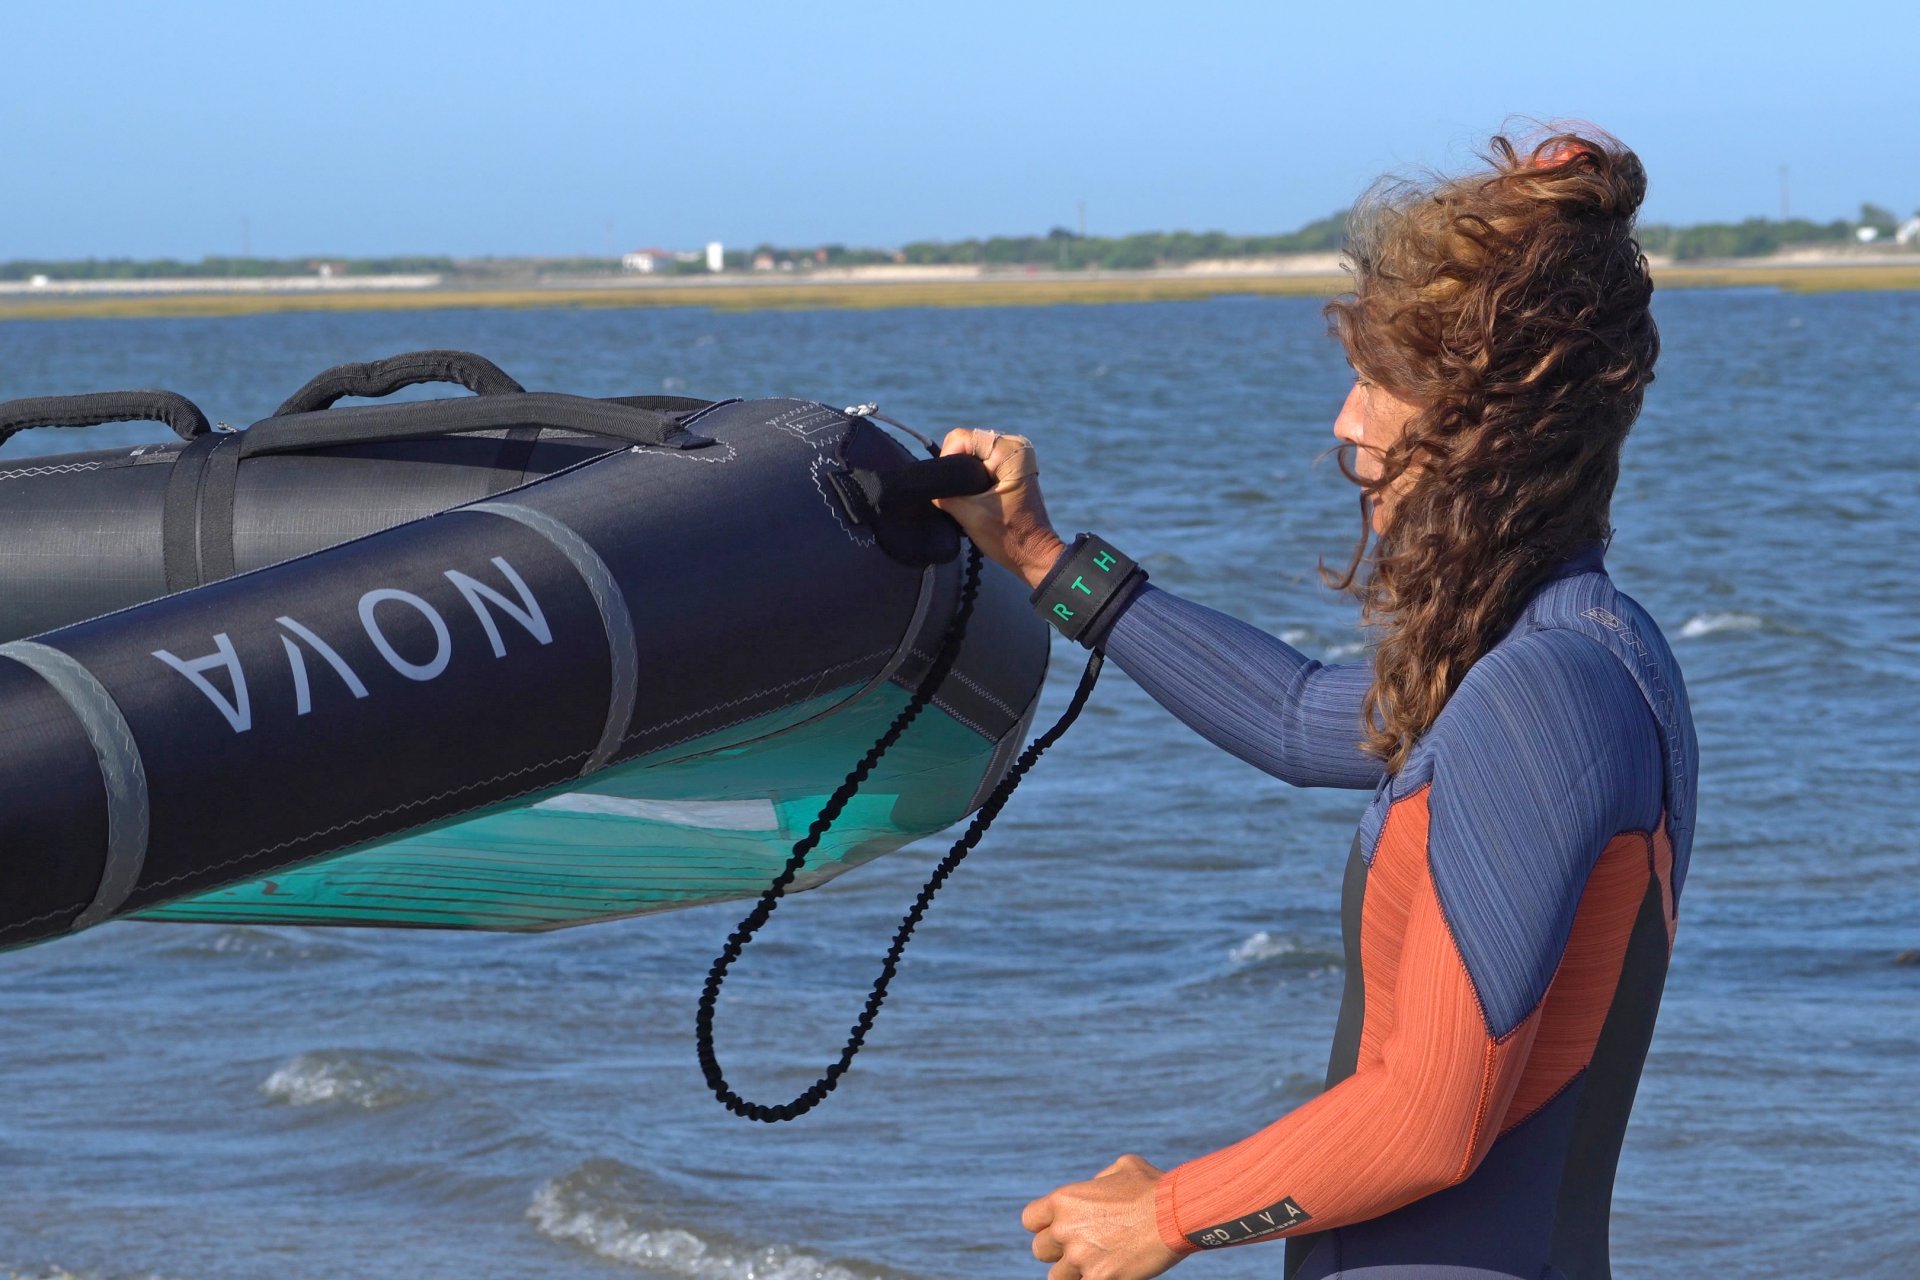
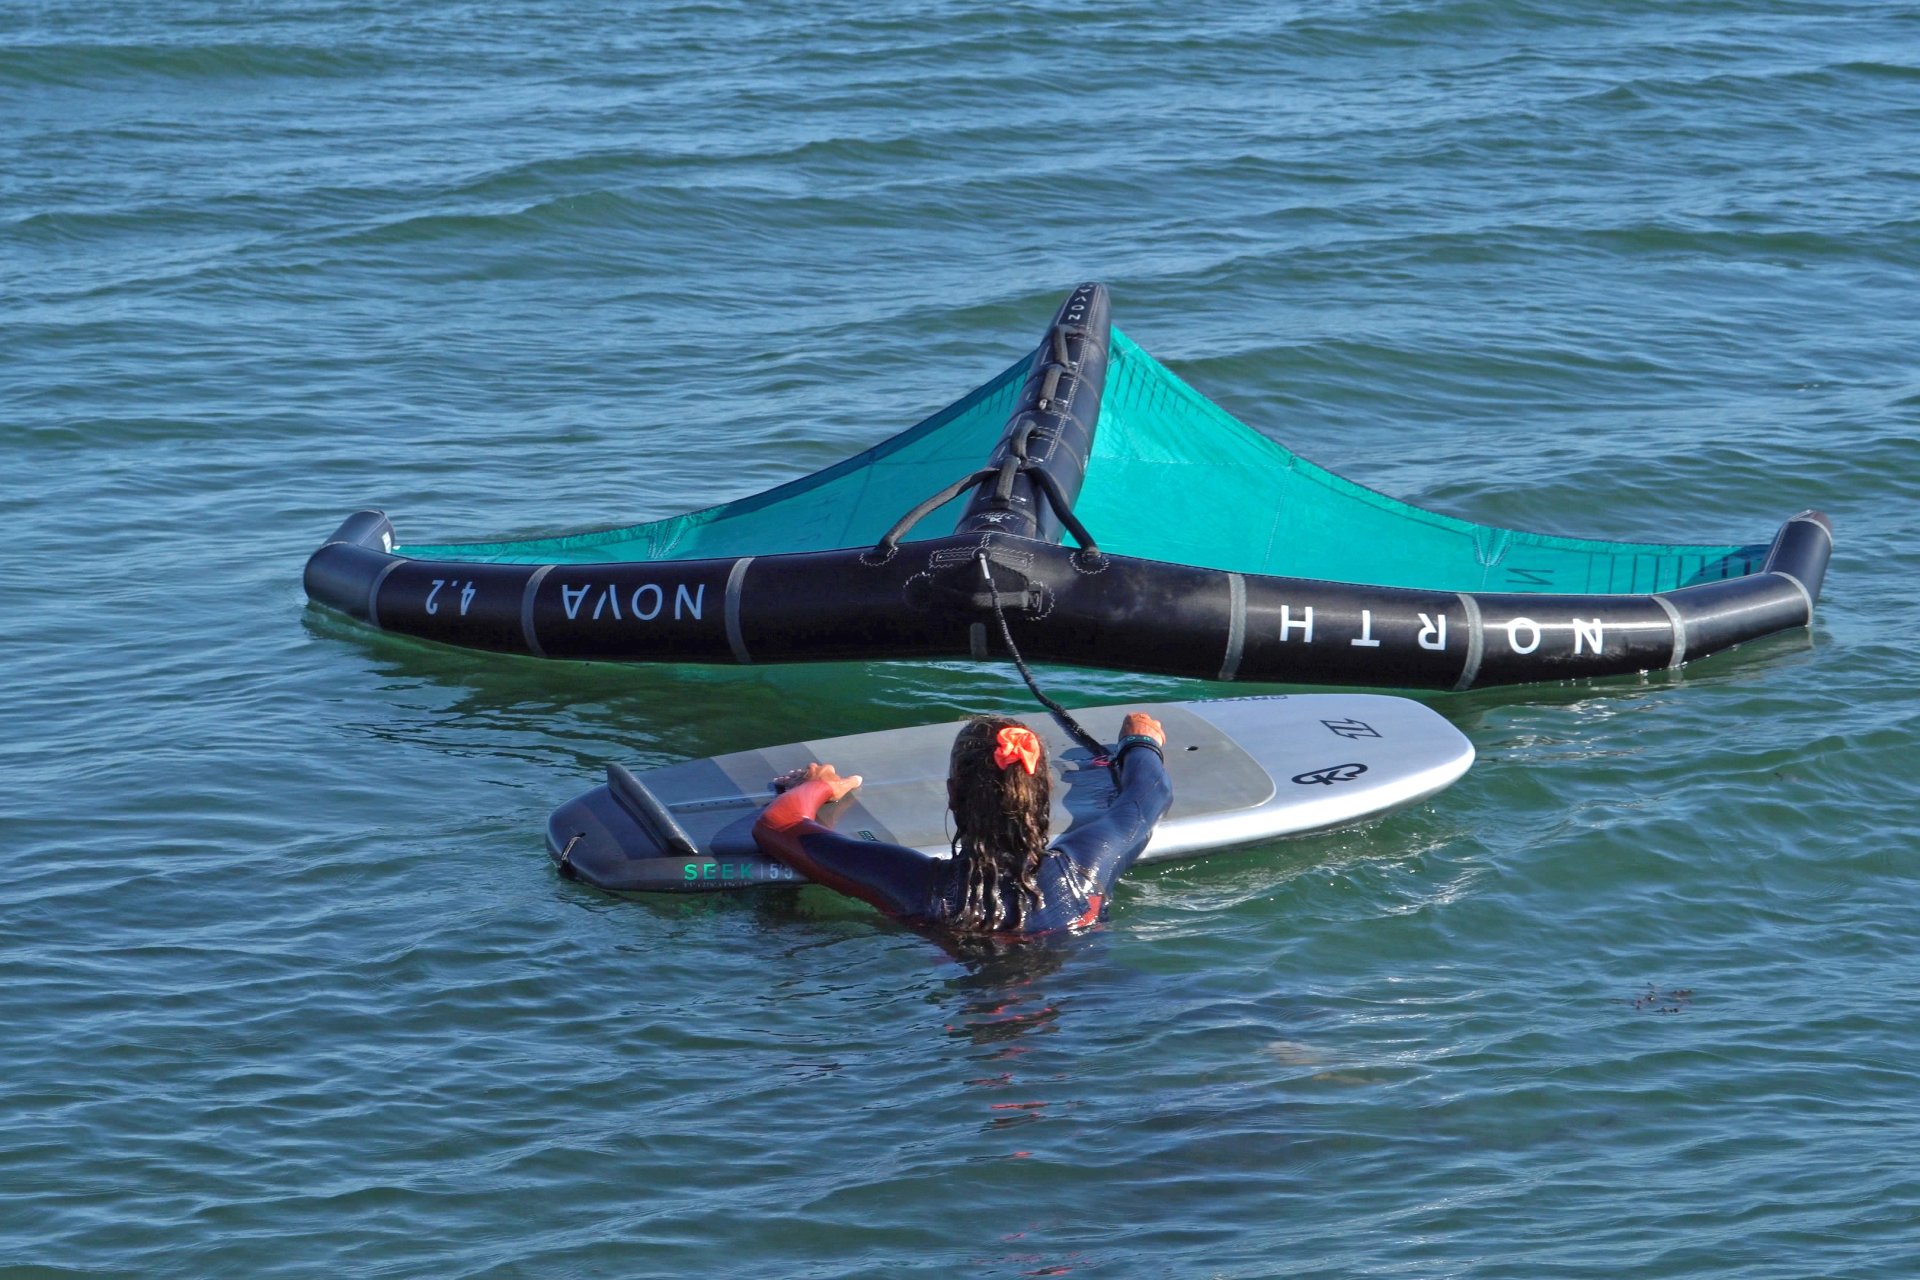
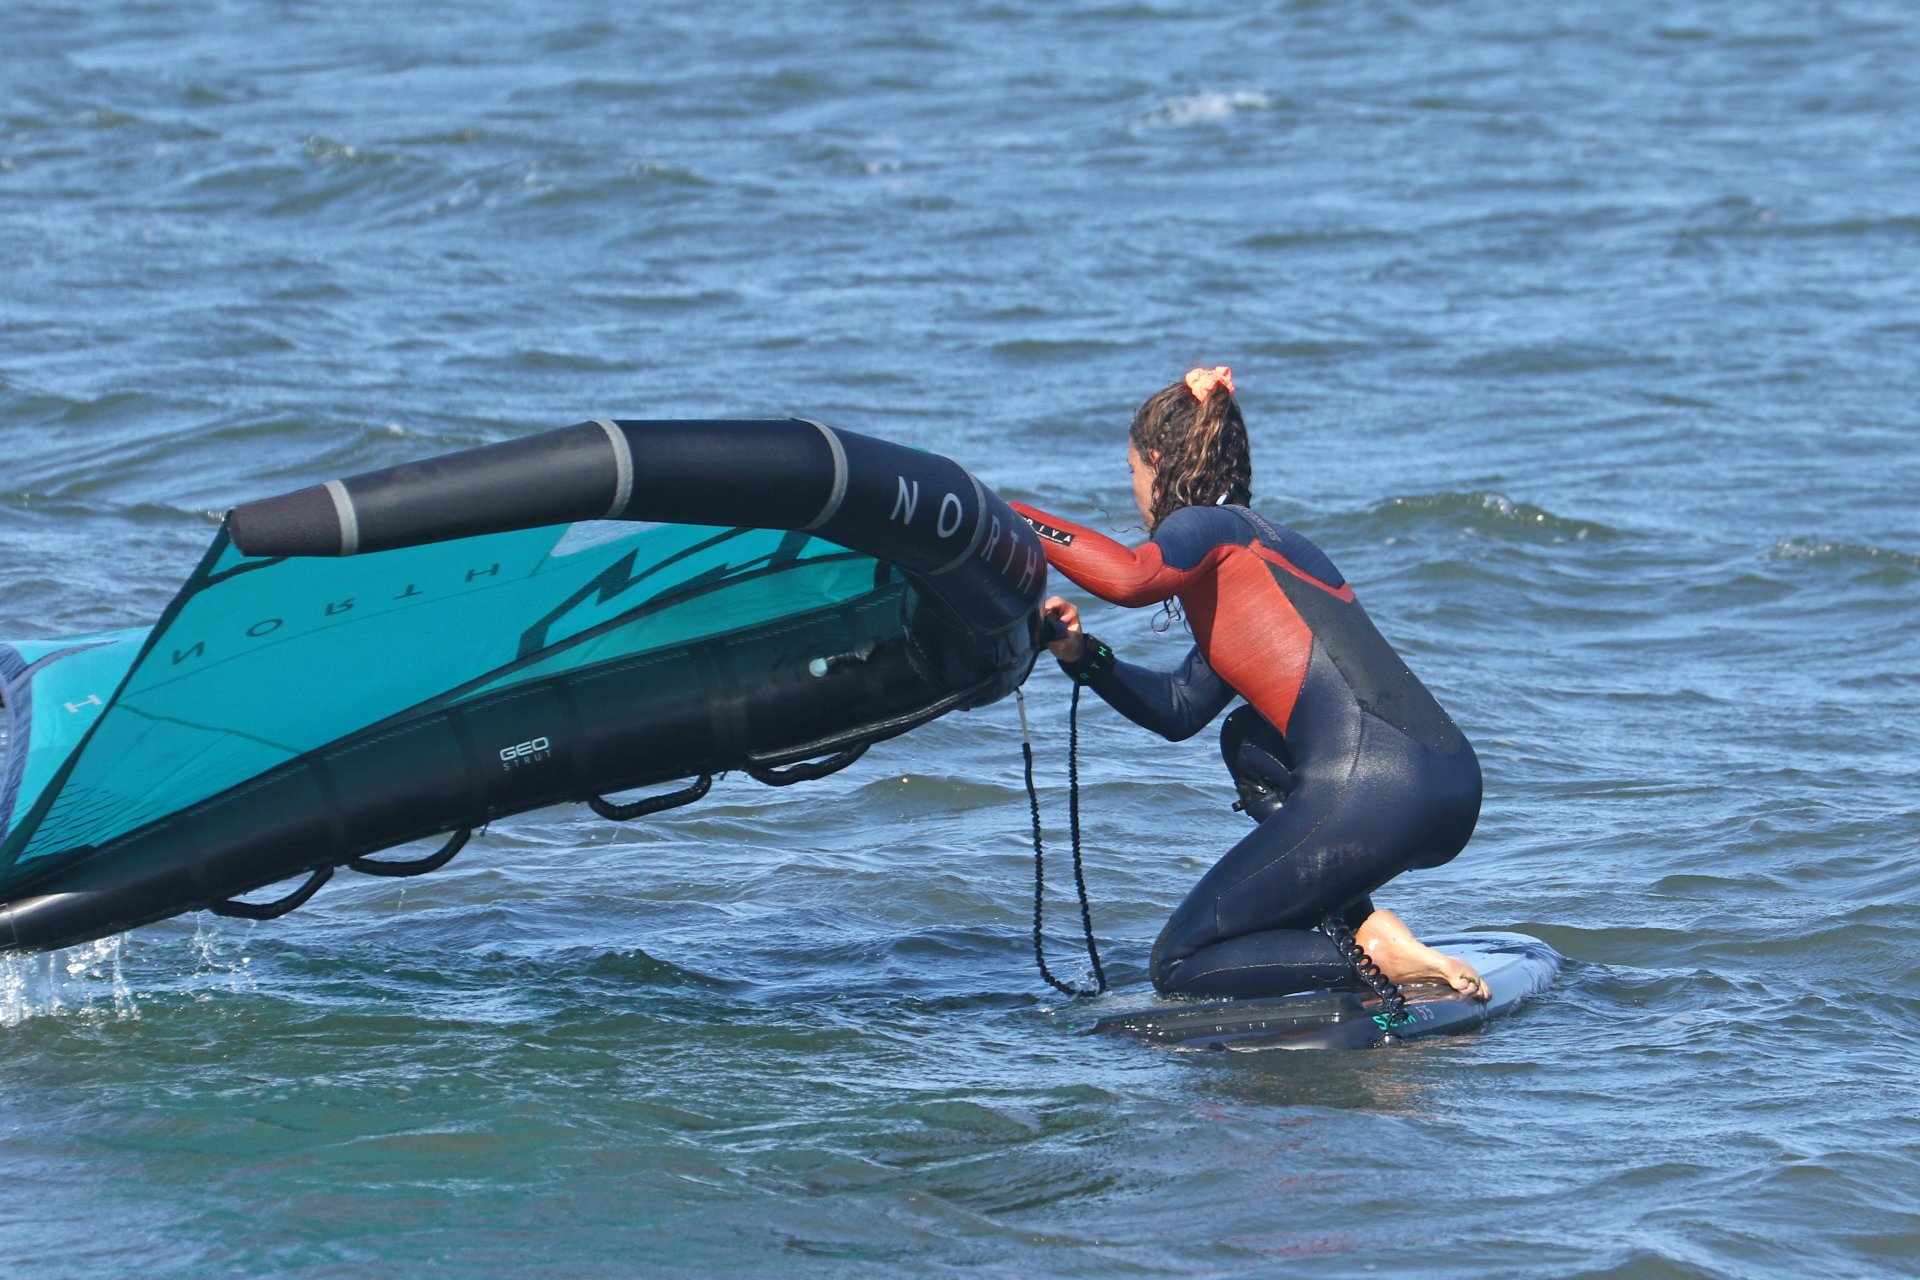
Wrist Leash Wear it on your dominant hand. When you’re not holding the Wing, you’ll feel where it is, and as it’s your more coordinated hand you’ll find it easier to untangle. When you’re splashing around in the water it’s easy to lift the leash over the board before you get on.
Pic 4 Wrist Leash on Dominant Hand
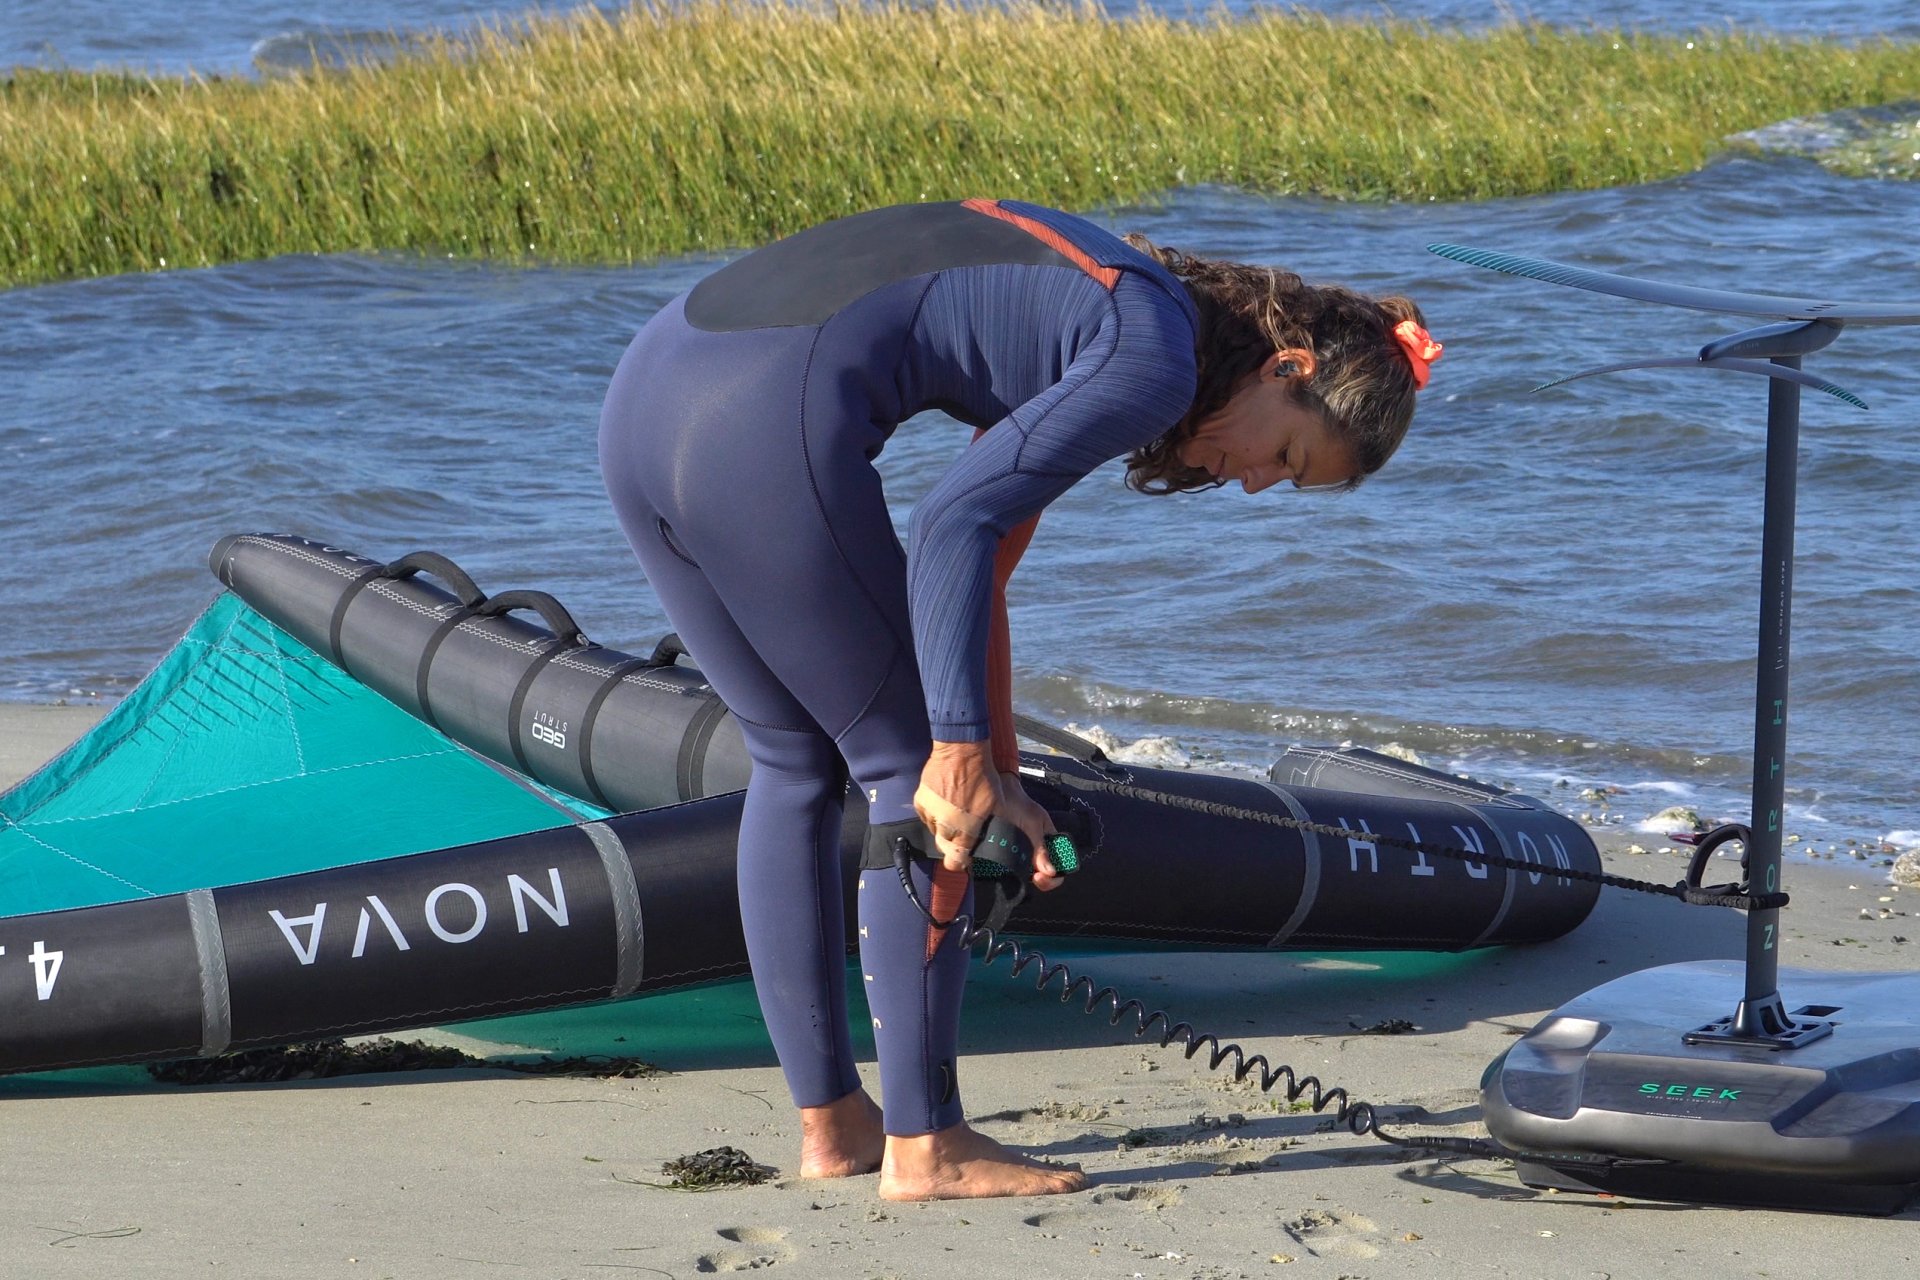
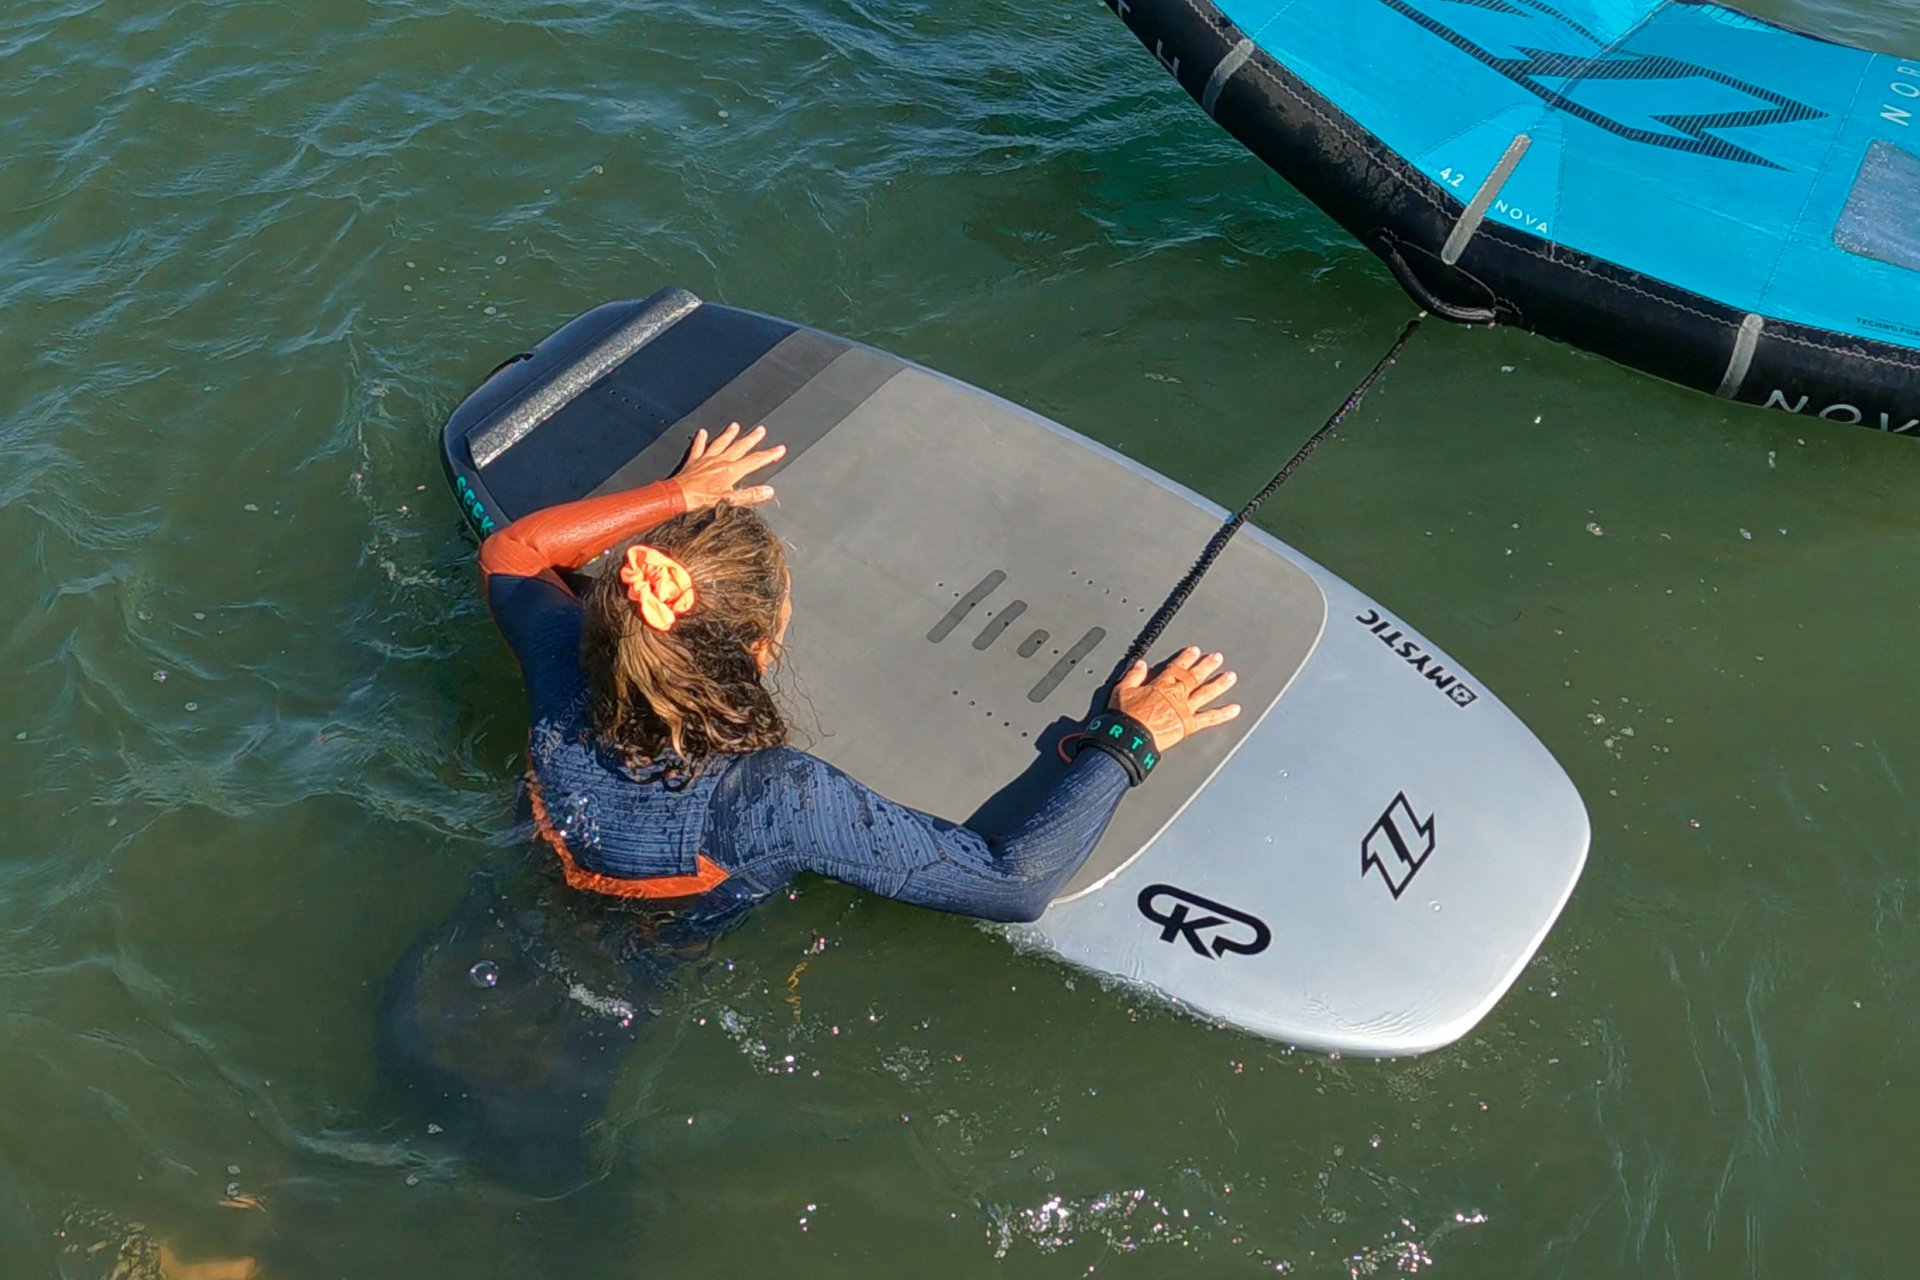
Board Leash Do you need one? It’s a personal choice but, YES. Whilst you’re improving a leash will help so much. Comforting to know that your board won’t disappear, gives you confidence to try things and fall in, happy in the knowledge that your trusty steed is patiently waiting. It’s pretty amazing how quickly boards, particularly high volume boards can blow away even in a gentle breeze. Michael Phelps would struggle to swim after a board with a wing attached to one arm! A calf coil leash is a great purchase.
Pic 5 Calf Leash
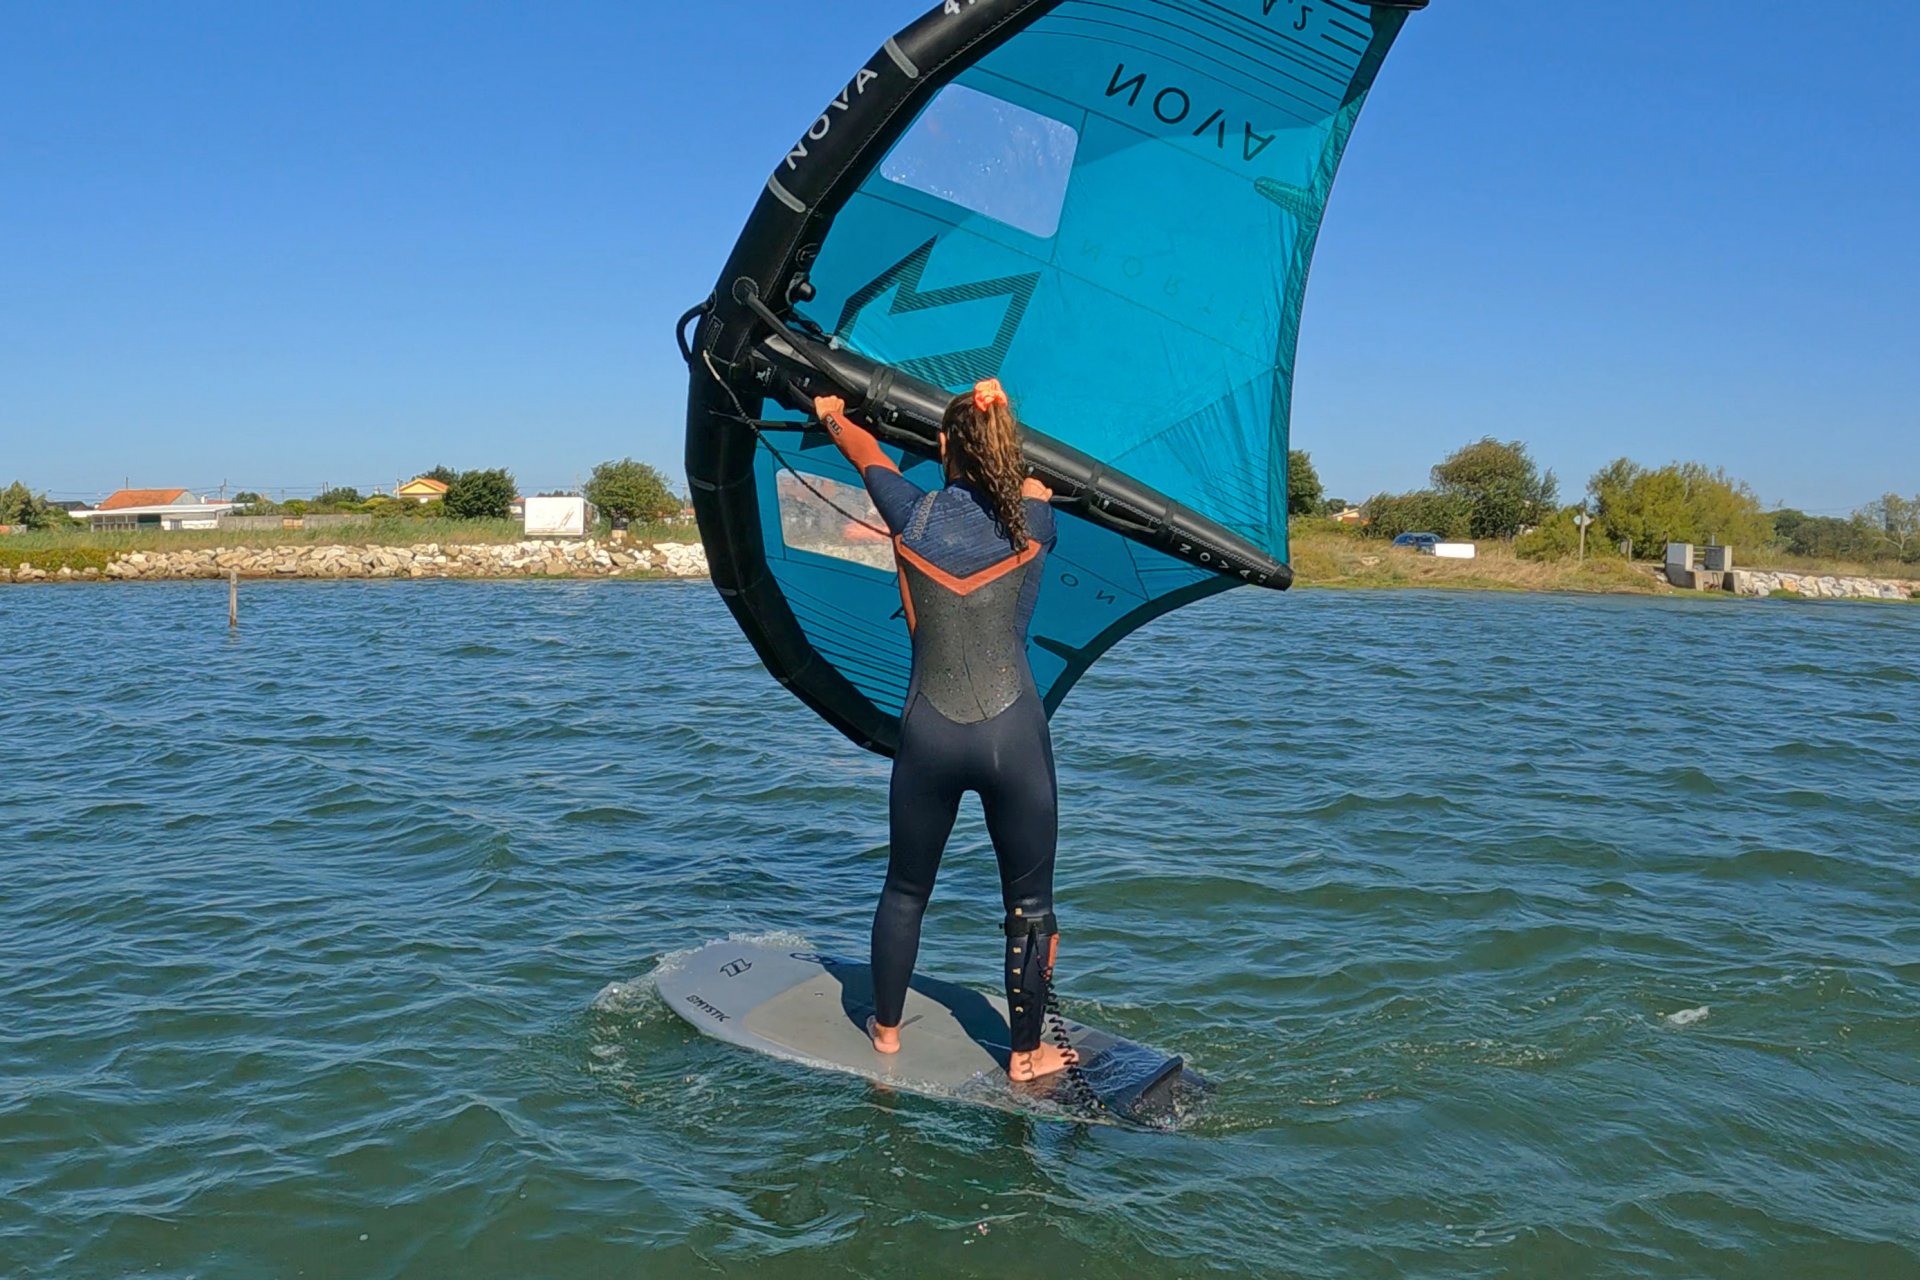
GET OUT ON THE WATER
Now that you’ve got the full shebang, use it… Why? Even if it’s 6 knots and there’s no chance of getting up on the foil, any time spent on your set up can only be a positive. You’ll become closer, better acquainted, and more of a team It’s good to get used to the foil lurking underwater. The board will turn differently, but it will also give you stability, like a keel. When you’re having fun in light wind you can concentrate on where the foil is, become aware of it, so that you won’t be kicking it and swimming around the board in a way that isn’t realistic.
Flying your wing on terra-firma is a crucial first step. Once you can steer the wing up and down without battering the sand nothing beats being on the water. It’s very different being fixed to the spot and leaning against a wing on the beach to standing on a moving board or foil, grasping it with your fingertips, experiencing the magical mixture of true, apparent and induced wind at play. Don’t fret, no need to go into the theory now, but by moving around on the water you’ll get a different sensation and a realistic feel of what’s to come.
Pic 6 Get Out On the Water
When?
It doesn’t matter if you’re an Olympic gymnast, Tom Daley or a fledgling winger, baby steps are the path to greatness. This applies to both technique and conditions. If possible, find some flat, still water (without ice) and a gentle breeze. As your ability and confidence grow you can step out into stronger breezes and bumpier waters with the skills you’ve acquired on the way. Why wait for wind when you can enjoy a light summers evening wobbling around in a few knots, honing your skills in preparation of the autumnal low pressures. That’s exactly what we’re going to do.
GET STEADY!!!! Front Foot Up Method
As with most things in life there is more than one way to boil an egg. Our preferred method for getting up is to position your front foot on the board whilst you can still use the leading edge for support. We’re fans of this for several reasons; you can make sure that your front foot is in the correct place on the board so there’s less chance of tipping yourself off or sinking the nose. You’re effectively higher and as a result it’s easier to keep the wing up and reduce the chances of catching it in the water. If you’re not the most flexible being on the planet, you can force your front foot into place while remaining perfectly steady. Finally, by doing this you’re already half up, so it requires less energy and less balance to get up and it means that you miss out on the dreaded silly but very real internal dialogue of “stand up, go on, do it, why aren’t you listening legs” as you gain speed but can’t quite find the perfect moment to move from kneeling to one leg up, to then two!
Order of Play
Before you can clamber aboard you need to consider the order of play. There are endless positions and combinations of where you and your beloved kit end up, so before springing into action, make sure that the board is down wind of you and the wing is down wind of the board. If it’s windy this is more likely a natural occurrence, if it’s light you may have to do some housekeeping. Whether the wind has positioned everything or you have, it’s worth making sure that your board leash won’t be in the way once you’re on the board. If it’s the wrong side of you, let the board drift away, float on your back and lift your legs over your leash.
Pic 7 Order of Play
Balance It’s all about balance. For us to find our balance the board needs to be balanced and stable. For the board to be balanced it needs to lie flat on the water. By flat we mean that it must remain level on both planes, from nose to tail and rail to rail. Like two perfectly balanced sea saws. In principle simple, but it’s more than a concept, it’s a reality and we always need to concentrate on keeping the board balanced, or trimmed as the preferred nautical term would have it.
Knowing this, your aim now is to climb onto the middle of your board from the upwind side, so that you are kneeling across it.
The Climb: Having the board across the wind will help and make sure that your wing leash is over the deck of your board. Although it’s pretty much a matter of climbing on without grace or dignity, place your hands relatively wide on the deck to balance the board from nose to tail, and either on the centra line or slightly off-centre each side, to balance the board from rail to rail.
Pic 8 Keep Board Balanced When Climbing On
Wing for Support: Once you’ve on, use your wing leash to pull the wing in towards you until the centre of the leading edge butts up against the board. Now you have the luxury of placing both hands onto the leading edge, giving yourself something buoyant and supportive to lean on.
Now the board is steady, and you are stable. Take a breath and enjoy your newfound stability.
Assuming that you are kneeling comfortably in the middle of the board, and have you wing pulled into your knees it should naturally turn the board across the wind, so that the wind is blowing onto your back, and you’re facing downwind. Brilliant. From here you can flip the wing if it’s on its back, or move on if it’s the right way up.
Pic 9 Lean on Leading Edge for Support
Front foot up: Make the most of having something to lean on. Whilst you’re steady you can already bring your front foot up. Placing it so that your toes lie across the centre line and your foot points slightly towards the nose of the board. Your front foot should be at least as far forwards as the front foot strap inserts.
Finding the Sweet spot Exactly where you front foot is positioned will depend on the length and width of your board, your weight and even the size of your feet. Too far forwards and you risk sinking the nose when you stand, and not central enough you risk tipping the board sideways. Once you’ve found the sweet spot on your board, you know that it will be steady with your front foot there. With your back leg still across the board and weight supported on the leading edge you have time and balance to position your foot exactly where you want it.
Pic 10 Front Foot Up
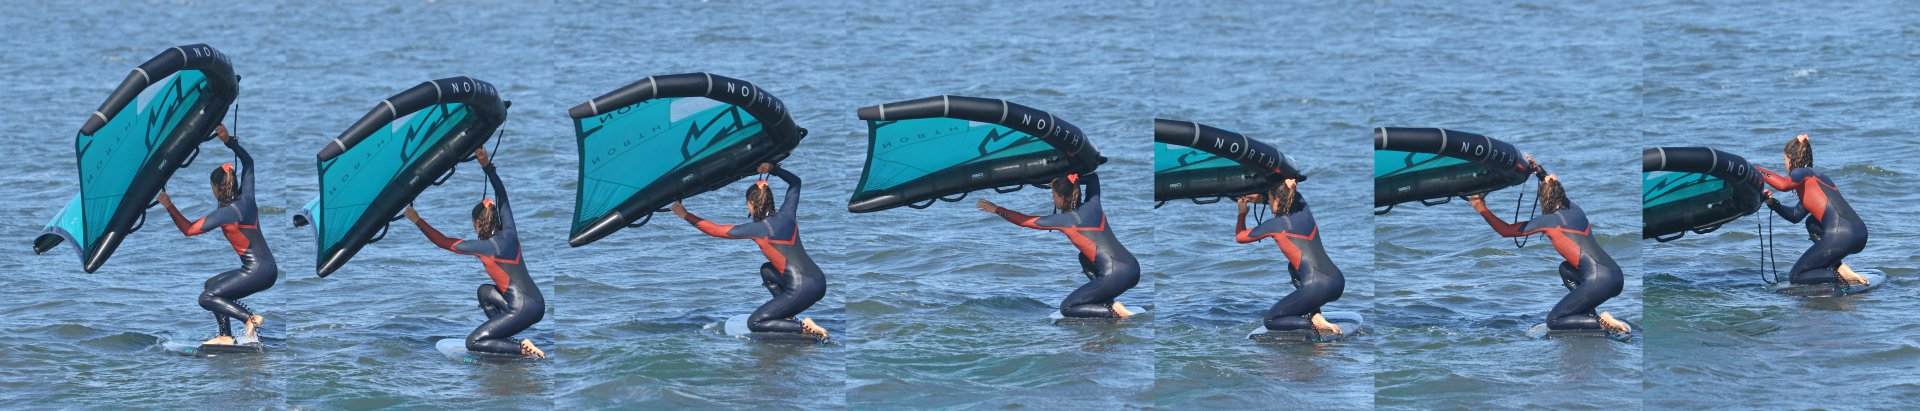
With your front foot in position, you can now fly the wing.
Flying the Wing: Grab the leading edge handle with your front hand and lift the wing straight up to eye level. If needed you can still support yourself lightly on the leading edge with your back hand as the wing lifts. Once the wing is flying you should grab the first front handle with your back hand.
Pic 11 Fly the Wing
Check Your Bearings In this position you can manoeuvre the board. If you move the wing back by pushing your arms back towards the tail of the board, the nose will turn up into the wind. If you move the wing forwards, pushing your hands towards the nose of the board, the nose will turn away from the wind. Bring the wing back to centre and the board will be back across the wind. Another concept which sounds simple, but well worth practicing as you’ll be using this skill once on the board and once on the foil.
Pic 12 Position Board with Wing
Position the Board: Move the wing back, so that the nose of the board turns up into the wind slightly. With the nose pointing up you’re less likely to catch the wing in the water when you stand.
Hand Swap: Once your board is pointing slightly upwind you can swap hands. Move your front hand from the leading edge handle to the first front handle, where your back hand is. Then you can release your back hand and reach further down for a rear handle. You may need to bring the wing over your head with your front arm to reach a back handle. Once you have both hands on check that your board is still pointing just upwind. If not move the wing back a touch.
As a side note, in this position, facing across the board with one leg up and the other behind you, you can still sail, using your wing in the same way you do when standing.
Stand Up: Use the wing to help. Lift your front arm high and sheet the wing in gently by pulling in with your back arm to help you stand up. If the wind is light you won’t get much help from the wing, so it’ll be mostly leg work. If it’s windy it will help. Be prepared to sheet out as soon as you’ve stood up.
Pic 13 Grab and Go Sequence
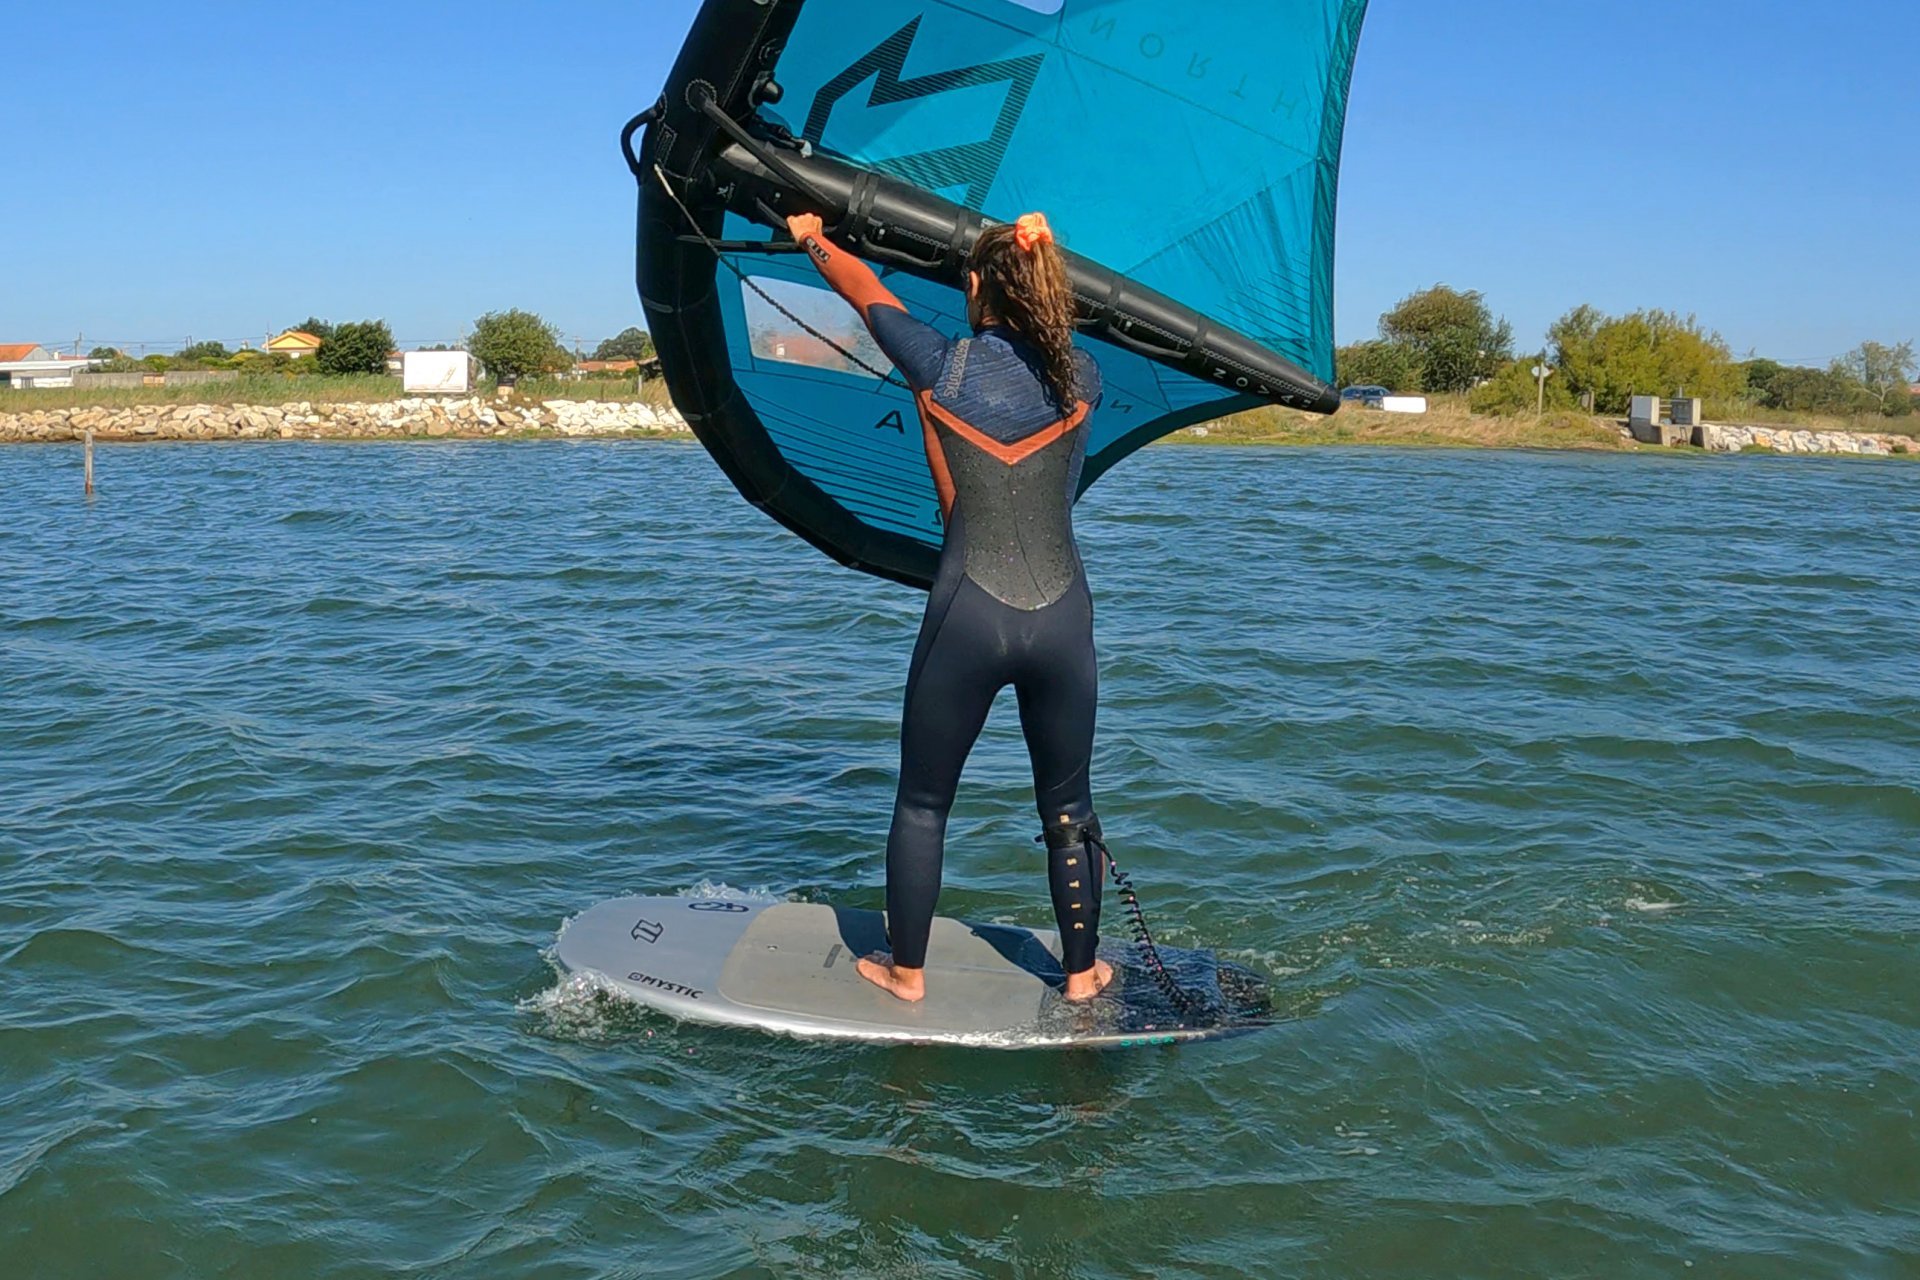
Up & Going!!!! Trim & Wing Handling
Trim Your Board Back to the balance! Once you’re standing on the board you aim is to keep it relatively flat from nose to tail and from rail to rail. This is important now and will be even more important once you take off and start foiling. Your foil is attached to your board, and as such mimics it. If the nose of your board points up, so does the foil, if your board tilts into wind, so does your foil. Get this dialled now and you’re onto a winner as the dynamics will be the same once you blast off onto the foil.
Feet Position: It’s all about your feet, where they are and how much pressure and weight you put through them. You want weight on both feet, so keep your hips centred between them. Your front foot which is already positioned with your toes over the centre line and foot angled diagonally across the board, will work together with your back foot. You should be standing with your feet about shoulder width apart, maybe a tad wider, so that you back foot is positioned just in front of the mast. More importantly still, you back foot should straddle the centreline of the board, so that it can keep the board flat from rail to rail.
It’s important to understand that your feet are not fixed into position and will move around to suit the wind, your direction of travel and a host of other variables such as wing position, foil position, power etc. The beauty is that without the need for foot straps you can move your feet freely, whether big steps or incrementally, and thus explore and discover the subtleties of keeping the board trimed.
Pic 14 Foot Position Guide
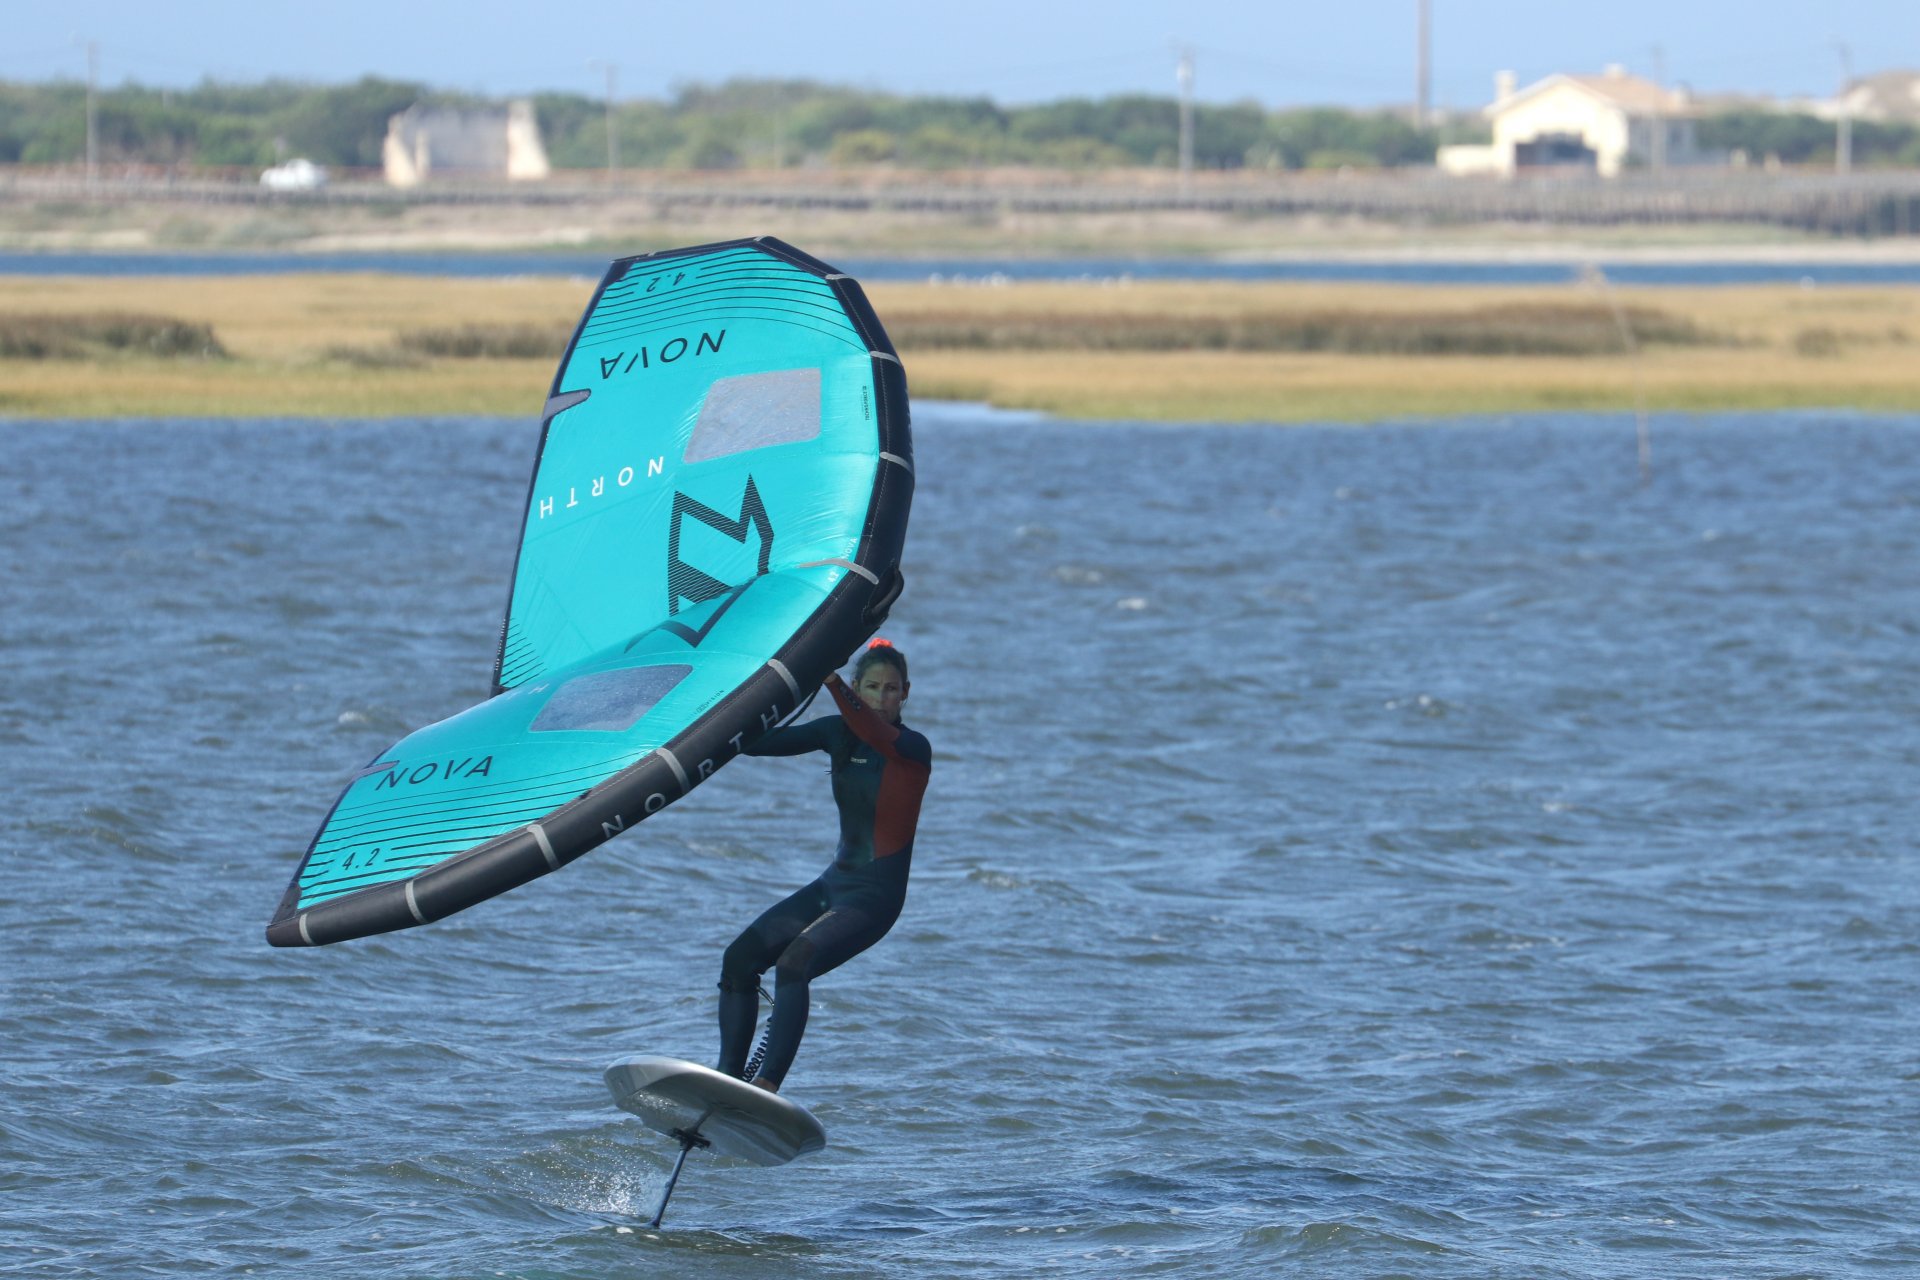
Wing Position: Makes a massive difference, however just like with your feet, it’s not a matter of saying that X marks the spot. Once again, many factors affect where and how your wing flies. That said there are some indicators that will make life easier. If you think of your leading edge as a big arrowhead, ideally it wants to point in the direction that you wish to go in. If you hold you front hand high and back hand low, the wing is pointing up. Great for standing up, not so great for moving forwards. By bringing the front hand down slightly the arrow will point more forwards and the pull from the wing will help you on your way.
Hands: Holding the wing should not be a white-knuckle ride. Use your fingers as hooks which the wing can pull against. This way you’ll be gentler with your movements, and you’ll acclimatize to the feeling of being pulled. Aim to have an overhand grip on both hands so that your palms are facing down. Yet again, where exactly you hold the wing, which handles you use will depend on your wing. Front hand forwards gives you a good solid starting point, whilst you will need a fairly wide span between your hands to have the necessary range of movement. You can see on these wings Karine is using the front front hand handle and the front back hand handle.
Handling your Wing: Three specific rules for now!
-Your front arm should always be relatively straight. Although this will depend on how much the wing is pulling you should let the wing pull your front hand away from you.
-Your front hand should remain higher than the back hand, even if only fractionally as this will prevent the wing steering down into the water.
-And perhaps a tad trickier to visualize when one doesn’t have a scooby of exactly where the wind is coming from, your front hand should always remain further upwind than your back hand, as this prevents you from sheeting the wing in too much and killing the power.
Pic 15 Wing Arrow Head
Take Control!!!! Steering & Upwind Riding
Where to go You’re balanced, you’re standing and you’re moving, absolutely brilliant. Where do you want to go? You have the choice. How about heading upwind? If you’re not ofay with sailing, windsurfing, or kiting and you don’t yet know about points of sail it’s high time that you get yourself up to speed. However seeing as we‘re here, by upwind what we mean is heading diagonally towards the wind. You can’t go straight into wind, in fact far from it, but if you can travel in a straight line with the nose pointing a bit upwind from across the wind, you will be making ground and certainly not losing any.
The Essence Leaning to ride upwind off the foil is essential for numerous reasons.
First and foremost, it allows you to come back to where you started from. Once you ‘re on the water the wind will push you downwind. Even whilst climbing on and sorting your wing, you will lose ground down wind. Once you start turning around, learning to get on the foil and each time you fall off, you will drift downwind. When you ride upwind it means less walking or paddling, and more time actually winging.
Navigation To be able to choose where you go, you need to steer the board. And it’s a fairly useful way of avoiding things too! The great thing is you already know how! Remember how you used the wing to position your board before standing up¬¬¬? Once you have the wing pulling you gently along you can steer by moving your arms and the wing back slightly to turn up towards the wind, and forwards more towards the nose, to bear away and turn off the wind. Looking where you want to go is vital to this steering of the board.
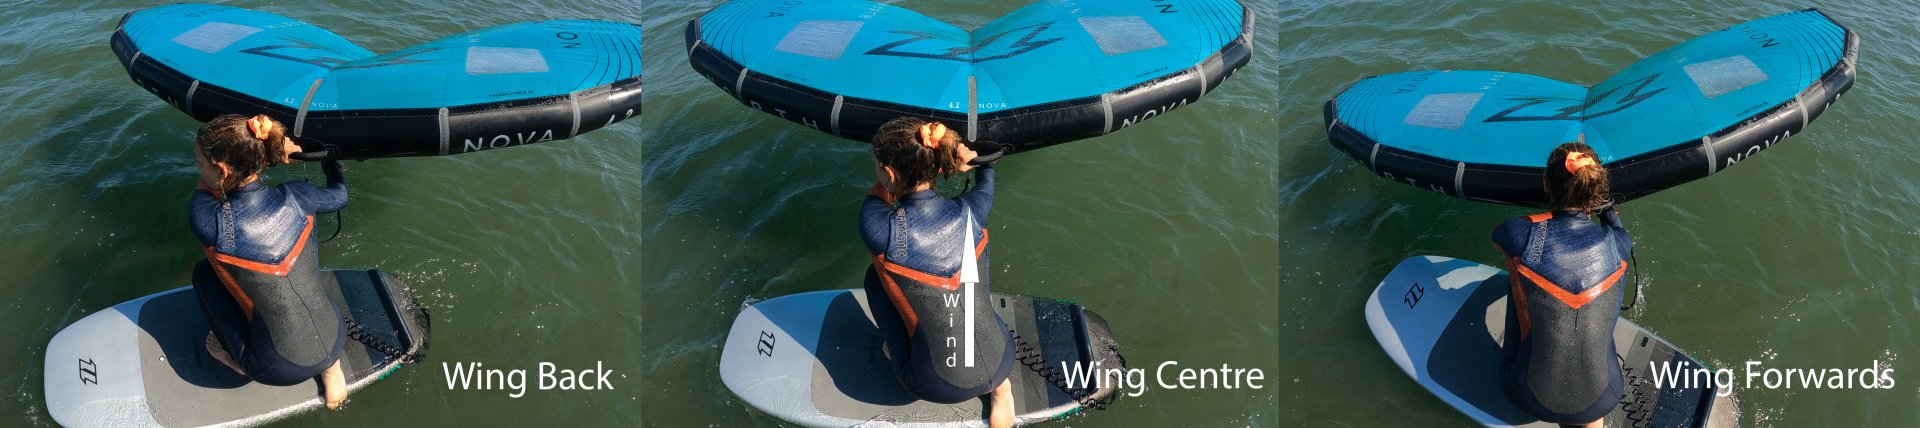
Pic 16 Wing Back
Zig Zag A good exercise is to start by turning upwind a bit, moving your arms and wing back slightly. You’ll find that the board slows to a stop as the nose turns too much towards the wind. From here you can turn off the wind, or bear away, by moving your wing forwards towards the nose and sheeting in gently with your back arm. Do this a few times and the result will be a snaky zig zag. Be aware that as the board turns off the wind you will need to sheet out with your back hand.
Pic 17 Wing Forwards
Straighten the Wheels Much like a car or bike, once you’ve turned a corner you need to straighten up your wheels to head in your chosen direction. The same applies here, you need to return your wing to a centred position. By exploring this range of movement you’ll find the centre, balanced point, where you straighten up and continue on your chosen path. This feeling is crucial as it means you can turn up towards the wind and then return the wing to this straight wheels point, so that you’re now heading in a straight line but slightly upwind. Keep looking where you want to go. Bingo!
You’re not just heading upwind to reduce paddling or walking. It also happens to be a very balanced starting point from which you can then use the same process to prepare for some foil time.
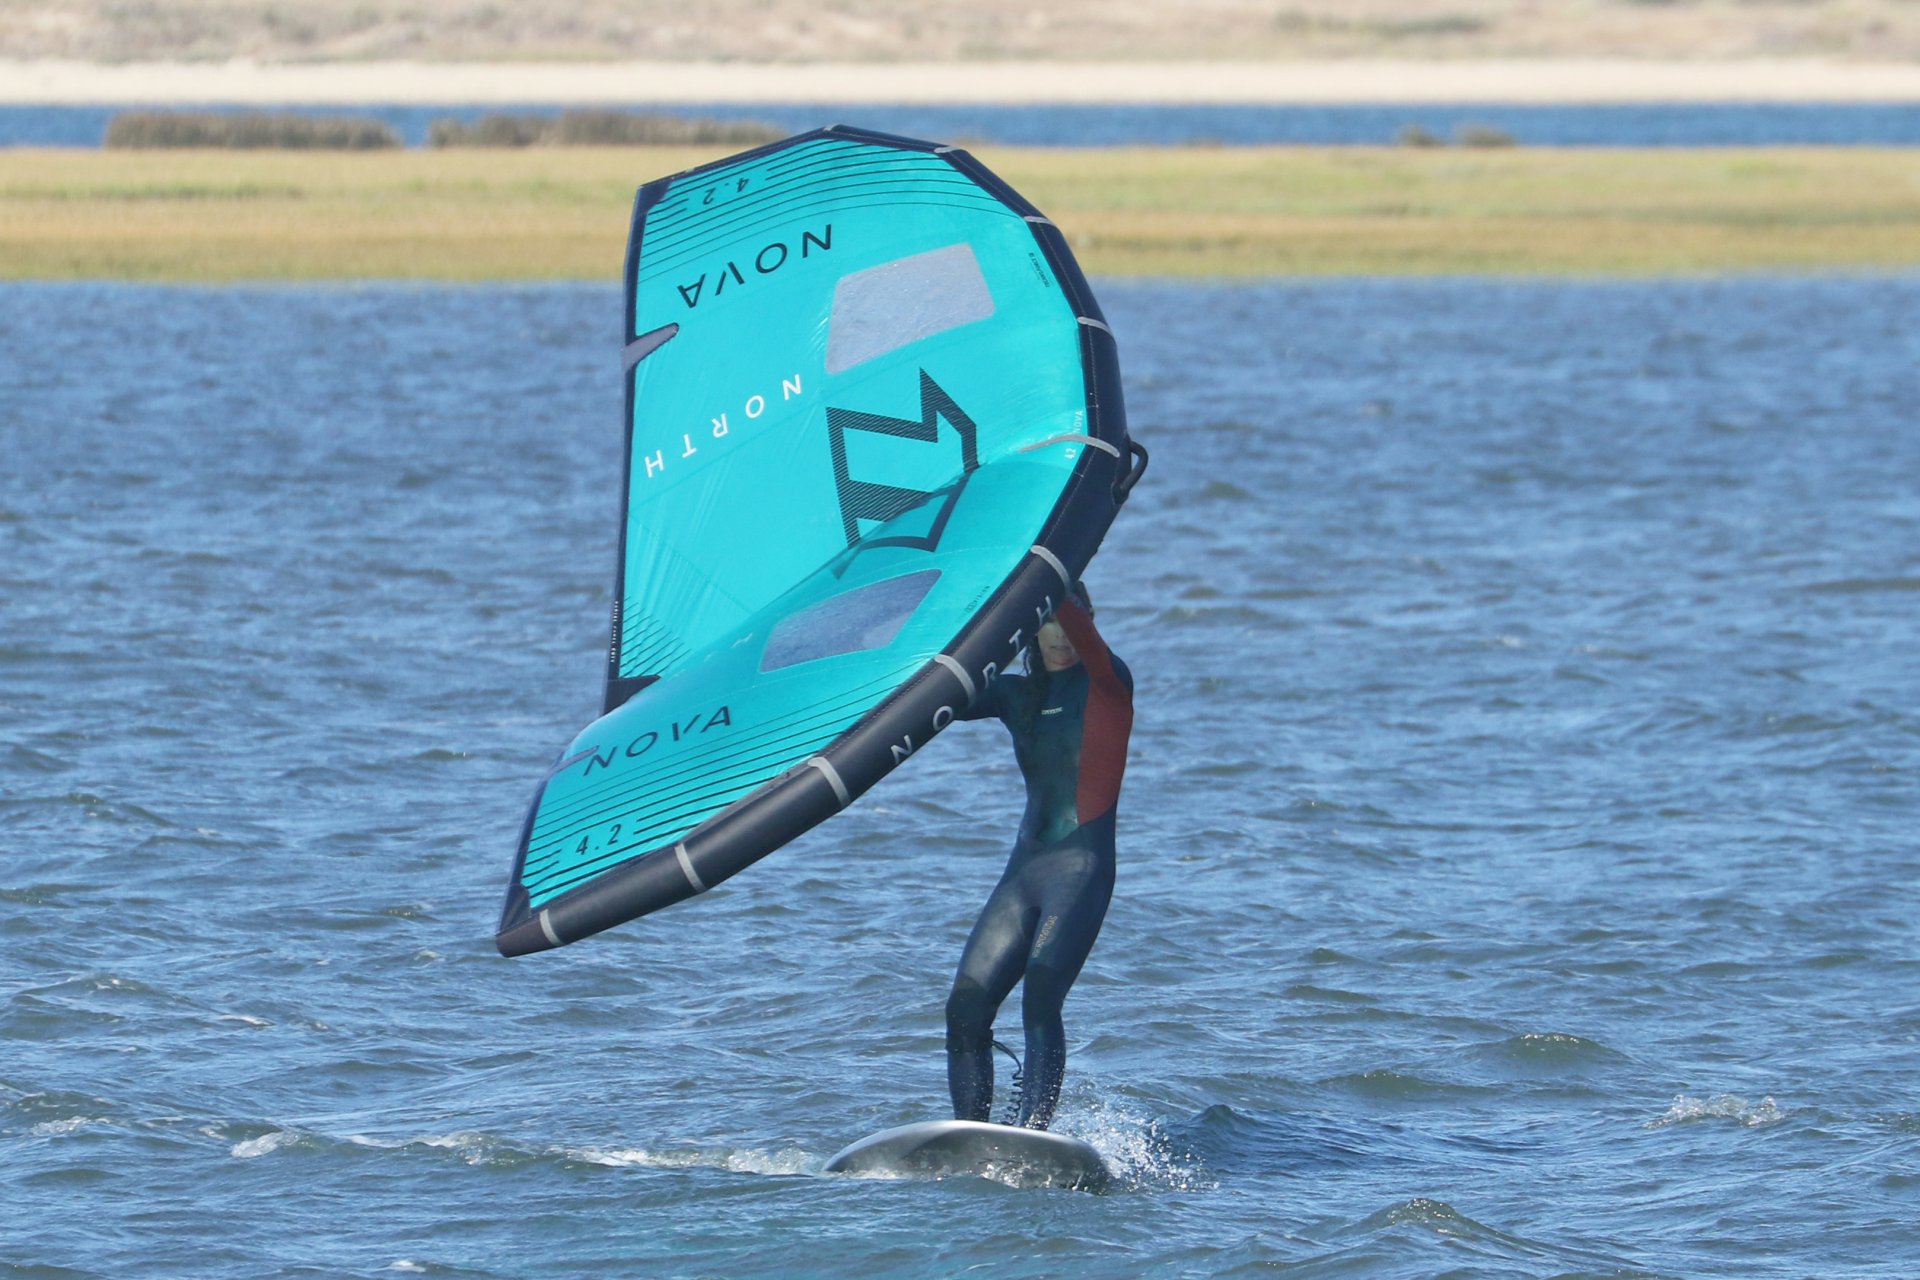
Gaining Speed for Take Off
During your steering practice you’ve experienced bearing away, and you will have noticed that as you bear away you accelerate. This acceleration will be vital for building up sufficient speed to get up and going on your foil. Your last bit of prep is to practice bearing away from your upwind riding position when you feel a gust or have more power in your wing.
Stage 1 – Bearing Away. Really moving the wing forwards towards the nose on an extended front arm, whilst sheeting the wing in with your back arm. Transfer the power through your body into your front leg, pushing the nose of the board off the wind with your front foot.
Pic 18 Bear Away
Stage 2 - Accelerating. As the board bears away and you gain speed, your aim is to keep power on in the wing and keep your board trimmed. To keep the power on, hold the wing forwards and away from you with your front arm, whilst opening your shoulders and sheeting out with your back hand. Counterintuitively this will keep wind in your wing.
Pic 19 Accelerate and keep power on
With the power going through your front leg, the board will stay flat from nose to tail, but you’ll have to trim it flat from rail to rail with your back foot. This takes some getting used to.
And now you’re prepared!
Next issue we’ll cover getting up on the foil in depth, but have faith that if you prepare and practice all that’s come before, get comfortable trimming the board and keeping power in your wing, you’ll be ready for your first flight. And if you just so happen to get that lucky gust, you will accelerate, feel the foil lift and the board lighten. Get the bubbly in the fridge. Enjoy C&K
This technique article was in Issue 9 of Tonic Mag.
Related
By Christian and Karine
